Recorder area, 2 voiceover process, Process overview – EVS XEDIO CleanEdit Version 3.1 - January 2011 User Manual User Manual
Page 182: Defining the area to record the voiceover, Mark in, Mark out, Voiceover process, Oiceover, Rocess
Xedio Suite Version 3.1 – User’s Manual – CleanEdit
EVS Broadcast Equipment – January 2011
Issue 3.1.B
171
R
ECORDER
A
REA
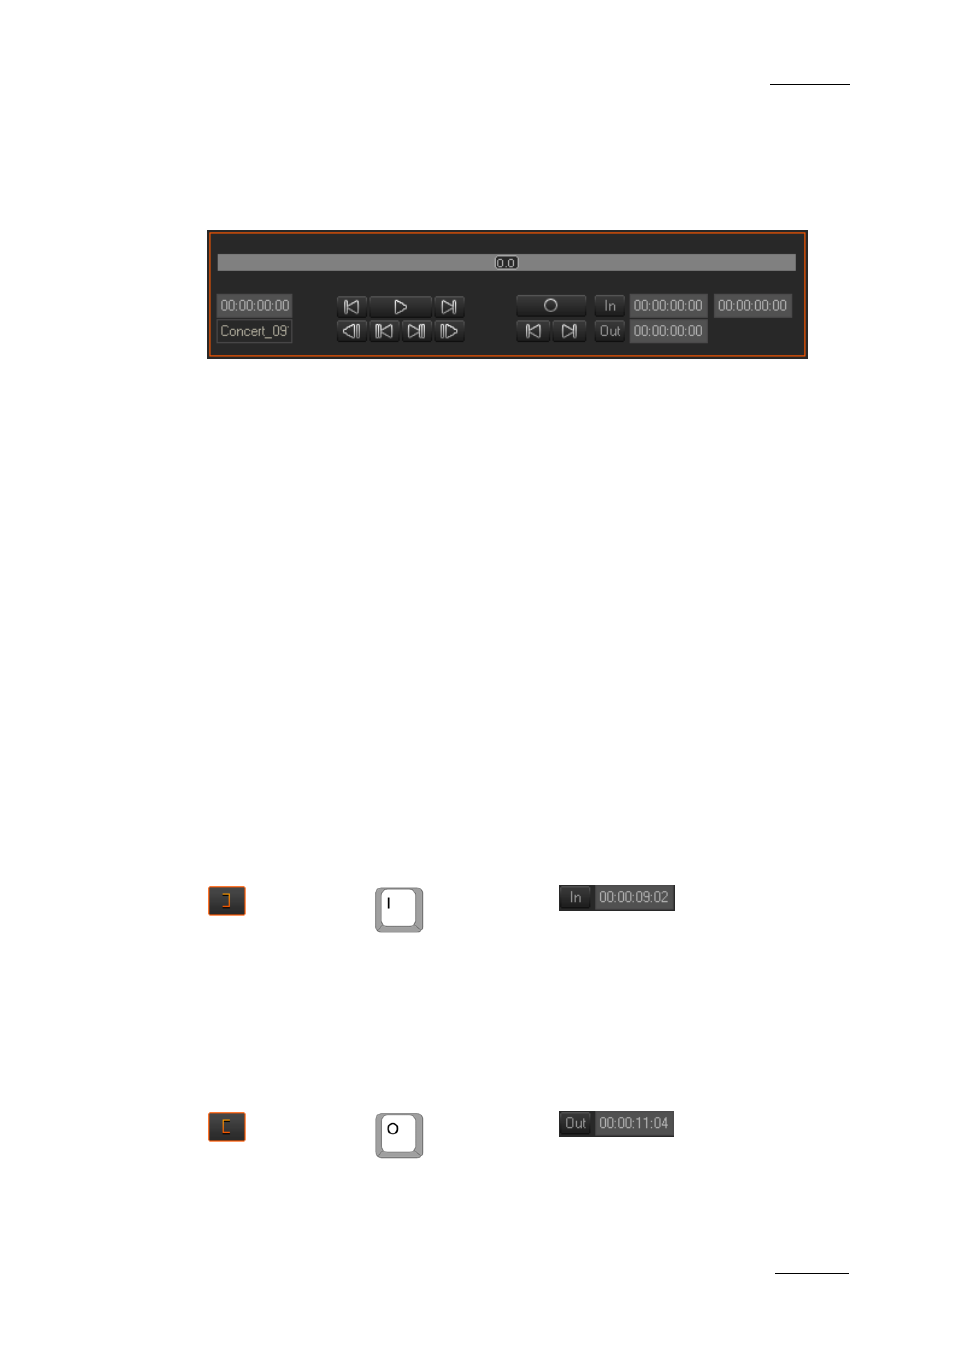
This display area is similar to the normal panel on the Edit tab in that the
transport controls are the same, but has some different features to record the
voiceover.
The description of the common transport buttons and fields can be found in the
section 6.3.5 ‘Playing the Edit in the Recorder Area’, on page 73.
The other buttons and fields, specific to the Voice Over tab, are described in the
next sections.
10.1.2 V
OICEOVER
P
ROCESS
P
ROCESS
O
VERVIEW
The voiceover recording process includes four steps:
1. Defining the Area to Record the Voiceover (see page 171)
2. Recording the Voiceover (see page 172)
3. Checking the Recorded Voiceover (see page 173)
4. Attenuating other Tracks when Using Voiceover (see page 173)
D
EFINING THE
A
REA TO
R
ECORD THE
V
OICEOVER
Mark In
or
or
Place the nowline in the timeline where the voiceover should start, then click the
Mark IN button in the timeline or recorder area to define the IN point of the
recording area for the voiceover.
The timecode of the mark IN point will be displayed in the recorder panel next to
the IN button.
Mark Out
or
or
Place the nowline in the timeline where the voiceover should end, then click the
Mark OUT button in the timeline or recorder area to define the OUT point of the
recording area for the voiceover.