Avago Technologies 3ware 9650SE-12ML (Channel) User Manual
Page 122
Configuring Units
110
3ware SAS/SATA RAID Software User Guide, Version 9.5.1
You are returned to the main 3BM screen.
12 When you are finished making configuration changes, press
F8
to save
the changes and exit 3BM.
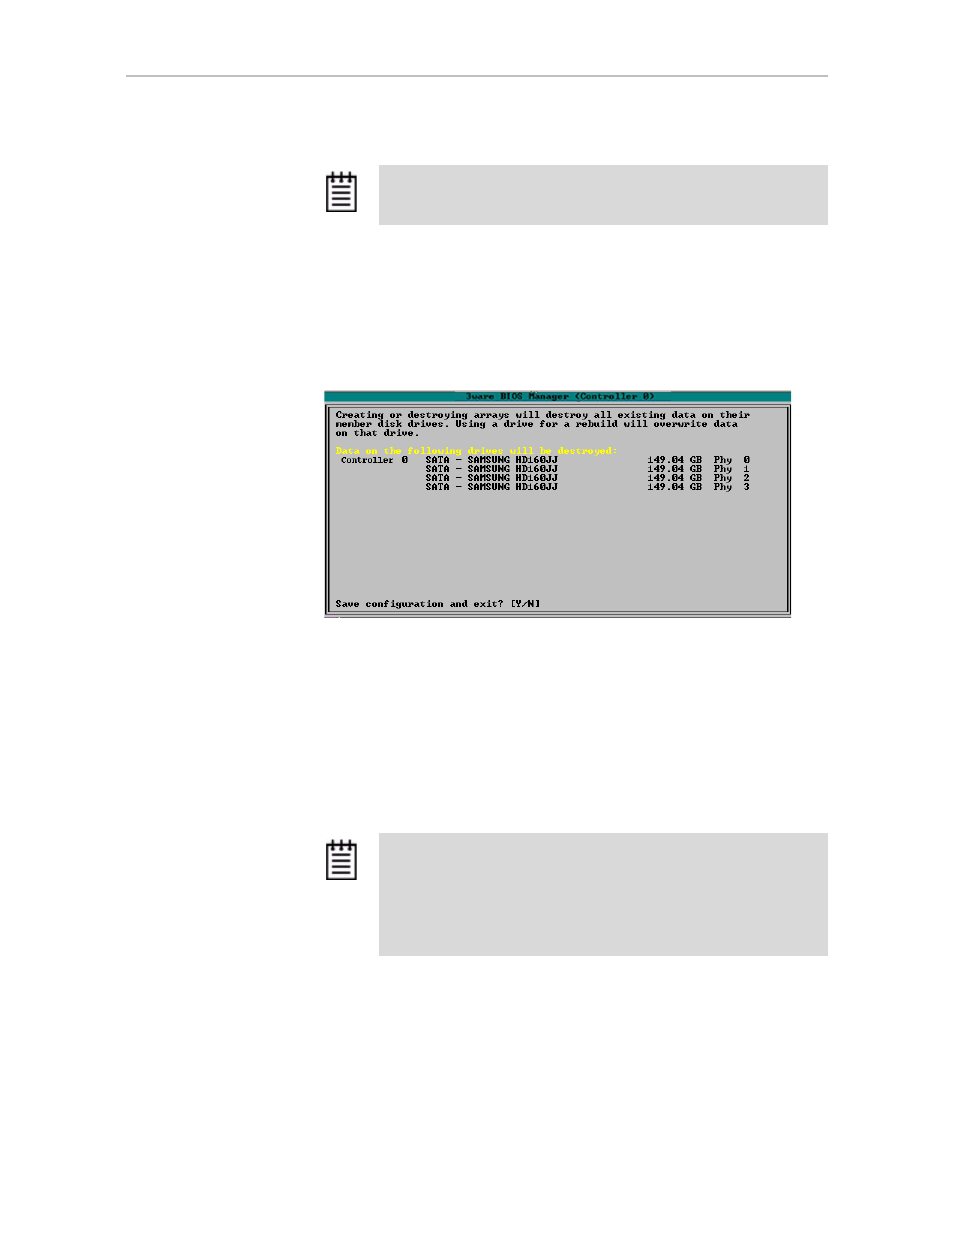
A warning message tells you that all existing data on the drives will be
deleted, and asks you to confirm that you want to proceed.
Figure 53. Confirmation Message when Saving and Exiting
If you made changes to units on more than one controller, the details
about changes about to be made may extend beyond one screen. In this
case, you use the
PgUp
and
PgDn
keys to bring more information into
view.
13 Type
Y
to continue, delete any existing data on the drives, and create the
unit.
14 Partition and format the units, as described under “Partitioning,
Formatting, and Mounting Units” on page 111.
Note:
The unit is not actually created and no data is overwritten until
you have finished making all your changes and press
F8
.
Note:
For RAID 5 and RAID 6 units with 5 or more disks, and RAID
50 units with a subunit of 5 or more disks, initialization of the unit
begins immediately. You can postpone initialization if you want to
begin using the units right away, however initialization from the BIOS
is faster than it is under the operating system, so it will be a longer
period of time until the unit has optimal performance. For more
information, see “About Initialization” on page 158.