Creating an individual shared page from a template – Grass Valley Xbuilder Vertigo Suite v.4.8 User Manual
Page 27
Xbuilder User Manual
3-3
Creating, editing and previewing pages and/or scenes
Creating an individual shared page from a template
Shared pages are graphics created as an instance of an existing template. They are stored
on the Xmedia Server as an distinct assets and can be used in many different playlists as
a common item. Like all pages, the shared page’s formatting is linked to the original
template (changes to the template’s formatting are automatically applied to the page). The
following instructions describe how to create an individual shared page.
To create a new shared page from a template:
1.
Open Xbuilder.
2.
In the Asset Browser, navigate through the T
EMPLATES
root directory until you see the
desired template listed in the Template Editor.
3.
Double-click the template, or right-click on the template listed in the Template Editor
and select the O
PEN
command from the context menu.
The template opens in the Template Editor.
4.
Set or edit the variable fields in the template as required (see
content elements” on page 3-10
for assistance).
5.
Select the F
ILE
>S
AVE
AS
A
S
HARED
P
AGE
command.
The S
AVE
P
AGE
dialog box appears (figure
3-2
).
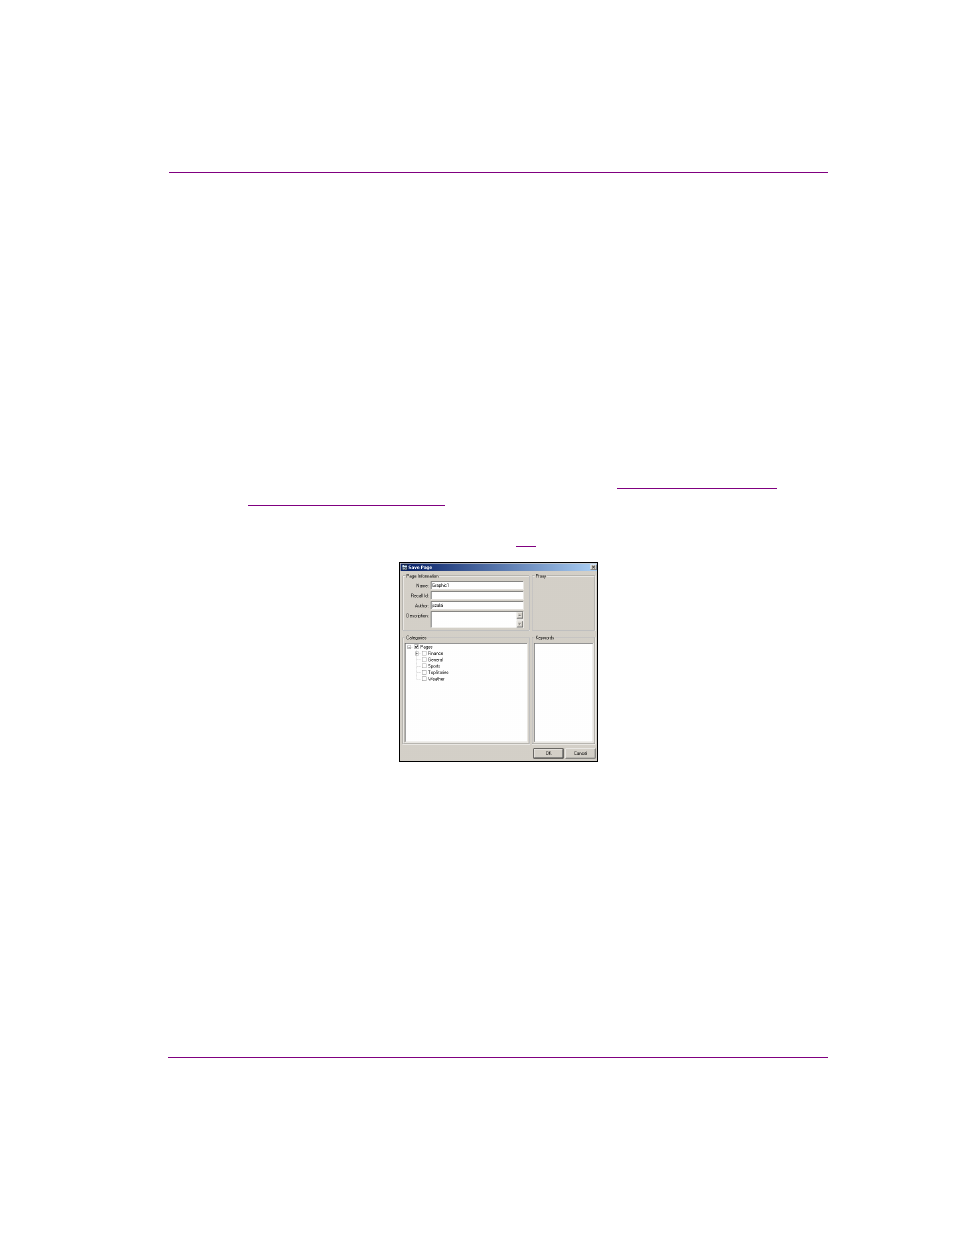
Figure 3-2. The Save As Shared Page command opens the Save Page dialog box
6.
In the N
AME
field enter a new name for the page.
7.
In the R
ECALL
ID field enter a unique a unique alpha-numeric identifier that can be used
in Vertigo Suite applications (i.e. Xbuilder, Xplay) to quickly call up the specific page.
(optional)
8.
Enter your name in the A
UTHOR
field (optional).
9.
Enter a short description of the page in the D
ESCRIPTION
field (optional).
10. Link the page to the Pages root category or to sub-categories by selecting the check
box for each place where you want the page to be accessible from.
11. Click OK to save the page and exit the dialog box.