Deleting a bin, Renaming a bin, See “deleting a bin” on – Grass Valley K2 Media Client User Manual Oct.10 2006 User Manual
Page 125
August 15, 2006
K2 Media Client User Manual
125
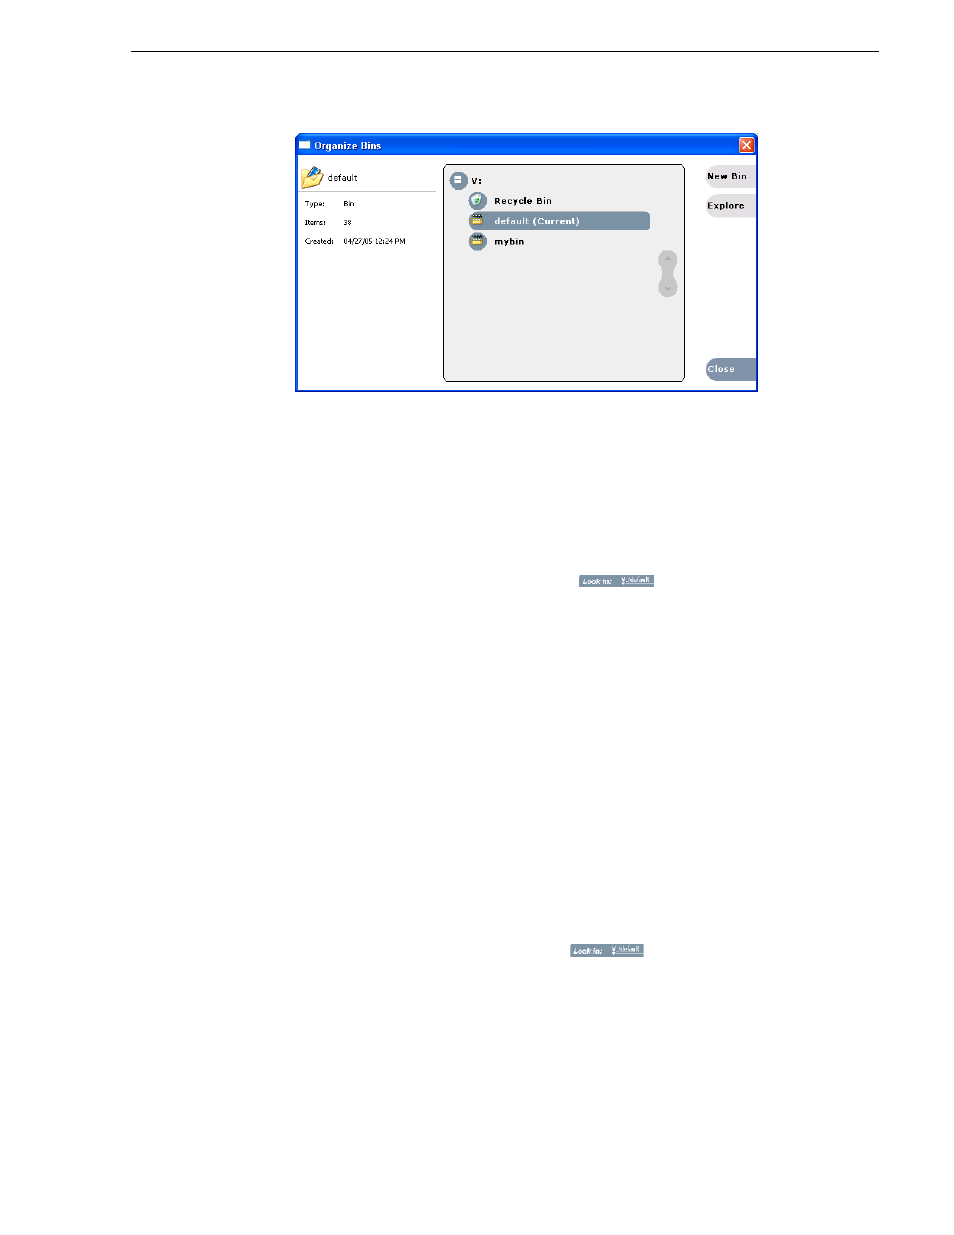
Working with bins
2. Enter the new bin name, then click
OK
.
3. Close the Organize Bins dialog box.
Deleting a bin
NOTE: You cannot delete a bin containing assets that are locked or in use.
However, the unlocked assets in the bin will be deleted.
1. In the Clips pane, select the Current Bin label
, then
select
Organize
Bins
.
2. In the Organize Bins dialog box, choose the bin you want to delete
3. Click the
Delete
button.
Deleted bins and assets are moved to the Recycle Bin unless the “Remove items
immediately when deleted.” option is set for the Recycle Bin (see
Recycle Bin when deleting” on page 134
). Holding down the SHIFT key during
delete also bypasses the Recycle Bin.
4. Click
Yes
in the Confirm Delete dialog box.
5. Close the Organize Bins dialog box.
Renaming a bin
NOTE: If the renamed bin contains assets that are locked or in use, two bins will
appear after renaming— one with the new name, and one with the old name
containing the problem asset.
1. In the Clips pane, select the Current Bin label
, then
select
Organize Bins
.
2. In the Organize Bins dialog box, choose the bin you want to rename, then click
Rename
.
3. Edit the bin name, then click
OK
.
Asset names can contain up to 32 characters, including spaces. Spaces count as two
characters, and the following characters are not allowed: \ (backward slash), /
(forward slash), : (colon), *(asterisk), ? (question mark), < (less than), >(greater