Final installation check list, Unique installations, Final installation check list -5 – Maytag Atlantis User Manual
Page 13: Unique installations -5
Attention! The text in this document has been recognized automatically. To view the original document, you can use the "Original mode".
10. Secure the drain hose to the standpipe
or drain facility with the cable strap pro
vided. This will ensure the drain hose will
not fall out of the drain facility
(Figure 1-7).
11
.
Connect inlet hoses to water supply us
ing screen washers at faucet connections,
with the domed plastic screen facing the
faucet (Figure 1-8). Tighten hose con
nections by hand until snug. Then, turn
another 2/3 of a turn with the pliers.
At Faucet Connection
0=^333
At Water Valve Connection
SL2S5T1F
Figure 1-8
12. With hoses attached to both the faucets
and the water valve, turn on the water and
check for leaks. Note the H and C desig
nations on the water vaive bracket for the
Hot and Cold hoses.
13. Plug the power cord into an outlet.
14. Start the washer in a spin cycle per oper
ating instructions to center basket.
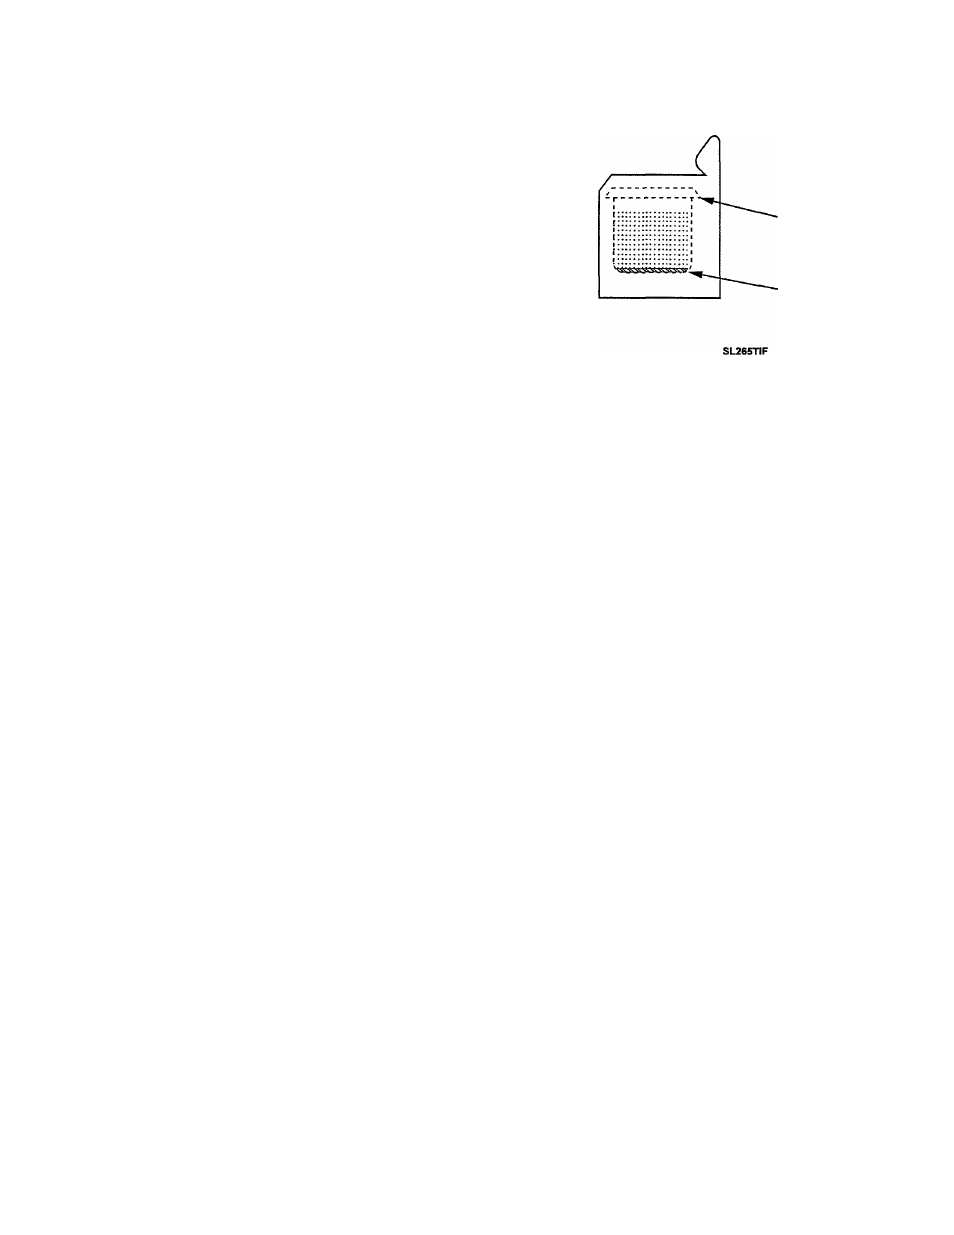
15. Start the washer in a wash cycle per oper
ating instructions. Allow water to fill in
machine until it reaches the level of the
bottom row of holes in the wash basket.
Then, stop the washer by pushing on timer
knob.
16. If the water is not level with the bottom
row of holes all around the basket (Figure
1-9), readjust the leveling feet as required
to level. Remove the water by selecting a
spin cycle.
SIDE VIEW OF WASHER
Tub
Water Level
Figure 1-9
FINAL INSTALLATION CHECK LIST
1. Have all installation requirements
been observed?
2. Have locknuts on front feet been
tightened?
3. Are there any kinks in the hoses?
4. Are any water leaks evident?
UNIQUE INSTALLATIONS
Painted/Sloped Basement Floors - Apply non
slip discs, part number 211692, to the floor di
rectly under the rubber feet of the washer.
Carpeted Floors - Apply carpet installation
discs, part number 204986.
Weak Floors - Install rear legs with plastic
grommets, part number 12001577, to be
inserted into base frame to substitute for
the self adjusting legs.
Cold Storage or installations - Installation in
any location subject to freezing temperatures
is not recommended. If the washer must be
installed in such a location, it should be thor
oughly drained after each use as follows:
16009485-01
©1999 Maytag Appliances Sales Company
Section 1. General Information
1-5