AVer EH11116H-4 series user manual User Manual
Page 44
34
c.
Select the hard disk from list.
d.
Click Format button and click Start to begin formatting
e.
When formatting is done, click OK.
6. Adjust time and date: Setup the DVR system date and time in order to have correct recording time and
date. Following the below steps to setup date and time:
a.
Click Setup and enter the password (If this is the first time, enter the default password [admin]. The
default ID [admin]).
b.
Select System.
c.
In Date and Time Setting, click Setting button of System Date and Time.
d.
Select the Year and Month by click arrow button, click on the date to select the date. And adjust the
time, and then, click OK.
7. Connecting the cameras: DVR supports IP and Analog camera.
Analog camera
a. Connect the analog camera video cable to video cable.
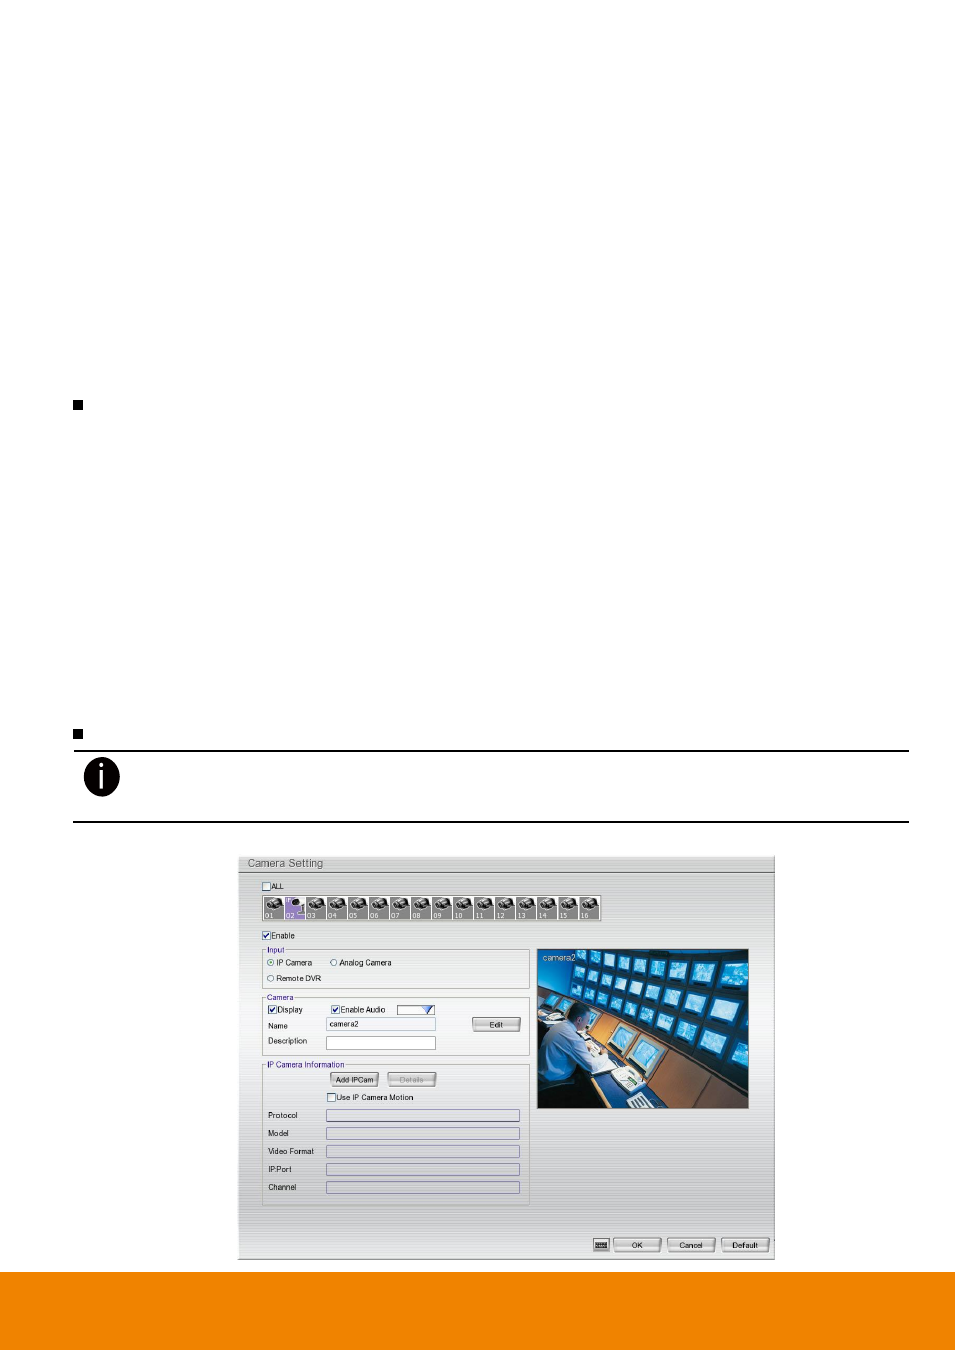
b. Click Setup → Camera
c. Select camera channel and mark Enable to enable the channel.
d. Select Input as Analog Camera.
e. In Camera section, mark Display to allow the live video of camera to display on surveillance screen.
And then, enter the Name and Description of the channel. Mark Enable Audio will allow recording
the sound that received from selected audio input channel (audio input channel located on back
panel of DVR). For example: user has enabled audio and select audio input channel 1 on the
camera 4. Therefore, DVR will record the video of camera 4 and sound that received from audio
input channel 1 together. While playback, user will hear sound that received by audio input channel
1 on camera 4.
f. Adjust the bright, contrast, hue, and saturation of the camera.
g. Click OK.
IP camera
- EH1116H-4 series only support first 4 channels (CH1~4) for IP camera.
- Up to 5 megapixels for one channel, and a total of 8 megapixels for all 4 IP camera channels in
H.264/MPEG4/MJPEG format
a. Click Setup → Camera.