Nikon, Figure 5.2, Item and release the mouse button – Nikon LS-10 Installation Guide for Windows User Manual
Page 56: Figure 5.3, At this time the, Growse, Figure 5.4, Coolscan installation guide for windows page 49, The windows program manager, The file drop-down menu
Attention! The text in this document has been recognized automatically. To view the original document, you can use the "Original mode".
Chapter 5
Software Installation
Main Menu Bar-
Program Manager
File Options Window Help
Click and drag down c
Figure 5.2
The Windows Program Manager.
The
F
ile
drop-down menu will appear, as shown in Figure 5.3. Drag the mouse
down to the
RUN
item and release the mouse button.
Main Menu Bar
File Drop-down Menu -
1=1
Program Manager
Options Window Help
Neut...
Open...
Enter
Moue...
F7
Copy...
F8
Delete
Del
Properties...
RIt+Enter
Run...
II
EKit UJindoius
Ctrl+Q
Pull Down
Figure 5.3
The FILE drop-down menu.
At this time the
RUN
dialog will be displayed, prompting you to enter the path to
the Nikon Installer. The Nikon Installer program is named
SETUP. E
xe
.
If the Nikon
distribution diskette is in the ‘A’ drive, enter
A:\S
etup
.E
xe
into the file name dialog,
then click the OK button. This is illustrated in Figure 5.4.
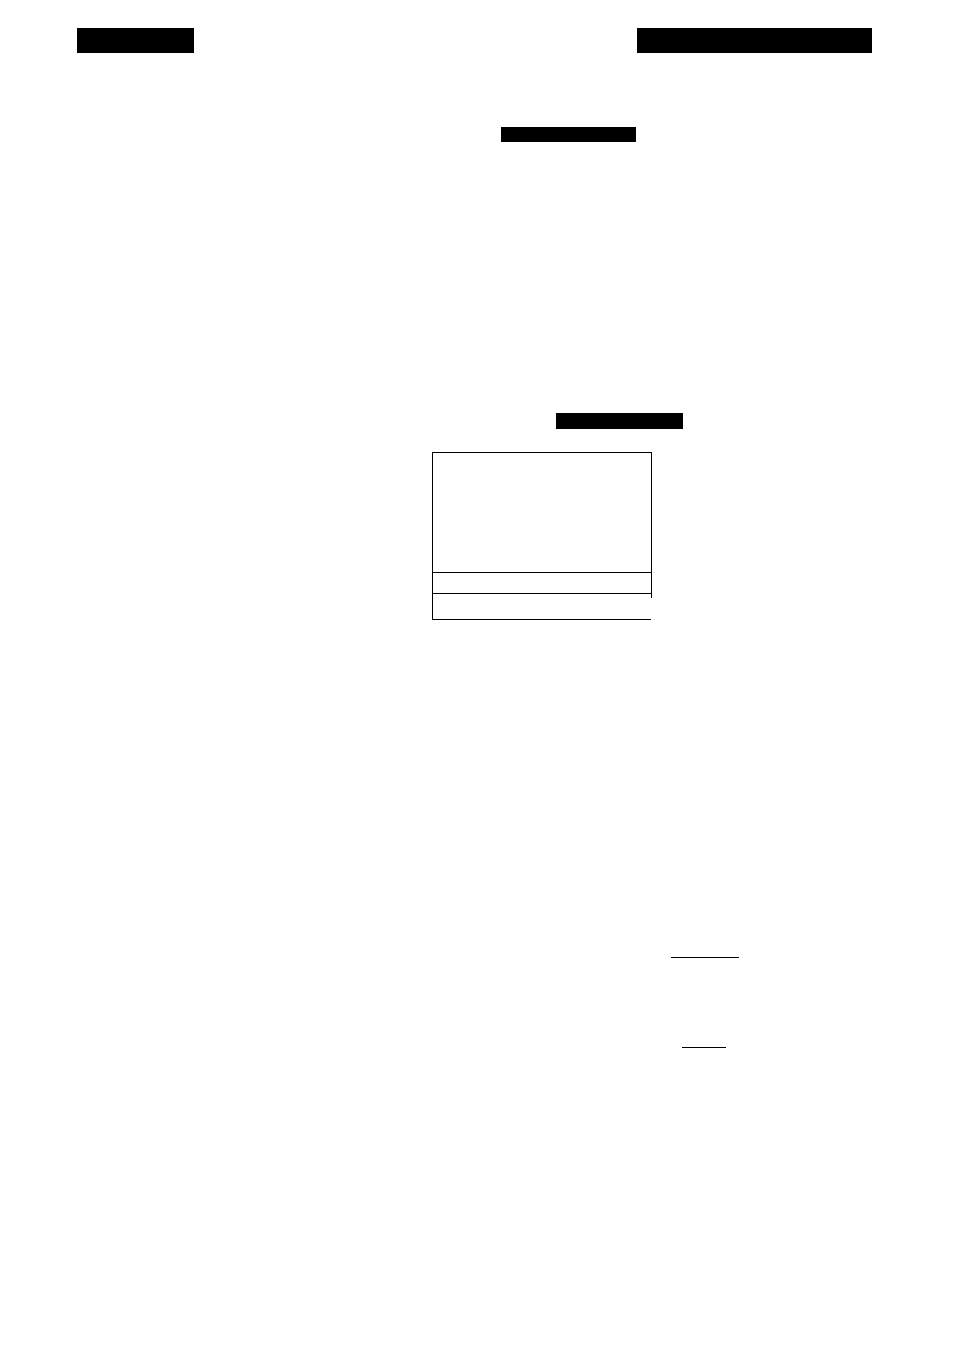
Run Dialog-
Enter location and
file name of
Nikon Setup
Command Line:
■ A:\SETUP.EXE
E] Run Minimized
Clickl
OK
Cancel I
^^growse^
Help I
Figure 5.4
Windows’ R
un
dialog.
You will be prompted to answer a series of basic questions, after which the Nikon
Installer will automatically install the designated scanning software.
You can access help at any stage of the installation by clicking on the
HELP
but-
Nikon
Coolscan Installation Guide for Windows
Page 49