Updating data on the server – Jeppesen JeppView 3 User Manual
Page 43
JeppView User's Guide
46
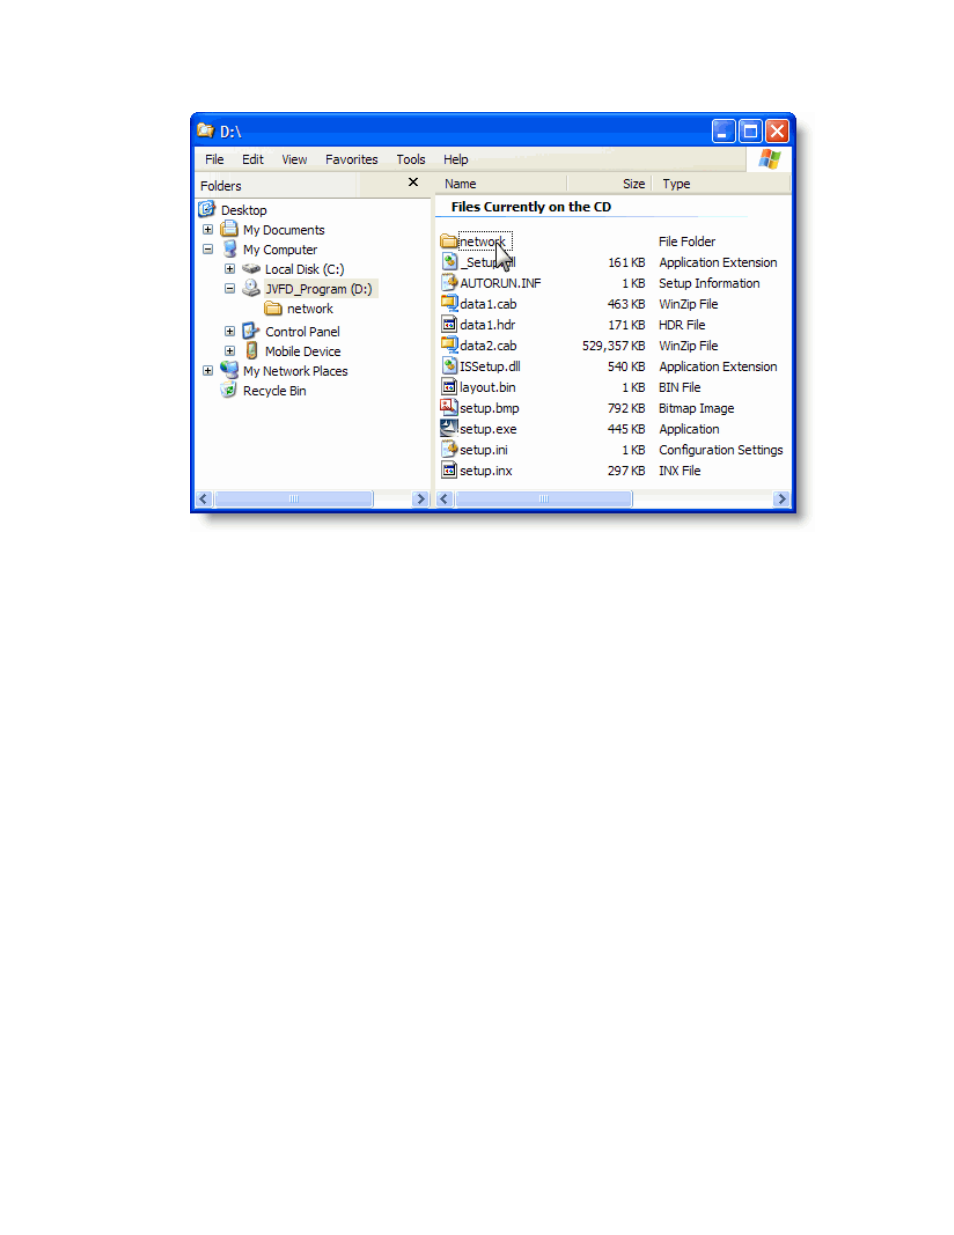
6. Double-click JeppViewNetworkSetup.exe.
7. Click Next to start the installer.
8. Read the License Agreement, and then click Yes to install.
9. Enter the same serial number that you used to install JeppView on the server.
This must be the same serial number.
10. Read the installation summary and ensure you have completed all of the
steps listed before continuing, and then click Next.
11. Click Yes or No when asked if the server is using Windows Vista. Clicking Yes
initiates the installer to look for the additional network share of terminal
charts and text data required when the server is using Windows Vista.
12. If applicable, specify the network drive that contains the server
JeppView3.exe (Z:\, where Z is the network drive). This location is on the
server and not on the local machine. Click Next to complete the installation.
13. Select the folder where chart preference files will be stored on the local
workstation (such as C:\Jeppesen). Click Next.
14. Select where the program folder will be located (the default is
...\Jeppesen\JeppView3).
15. Installation will take a few seconds. If requested, reboot the workstation at
this point.
16. Launch JeppView on the client computer using either the Start menu or the
desktop shortcut icon.
Updating Data on the Server