Bio-Rad Image Lab™ Software User Manual
Page 74
6
| Acquiring Images
74 | Gel Doc XR+ and ChemiDoc XRS+ Systems with Image Lab Software
Choose Custom to save and run an existing application with a new name or to
create and run a new application. Previously saved custom applications display
here. To create a custom application, see
Setting Up a Custom Application on
.
Tip:
For a list of applications with all required detection reagents, light
sources, and any conversion screens or filters noted, see
Note:
If you select the Stain Free option, you may select the gel activation
Appendix E, Using Bio-Rad’s Stain-Free Technology
223 for more information.
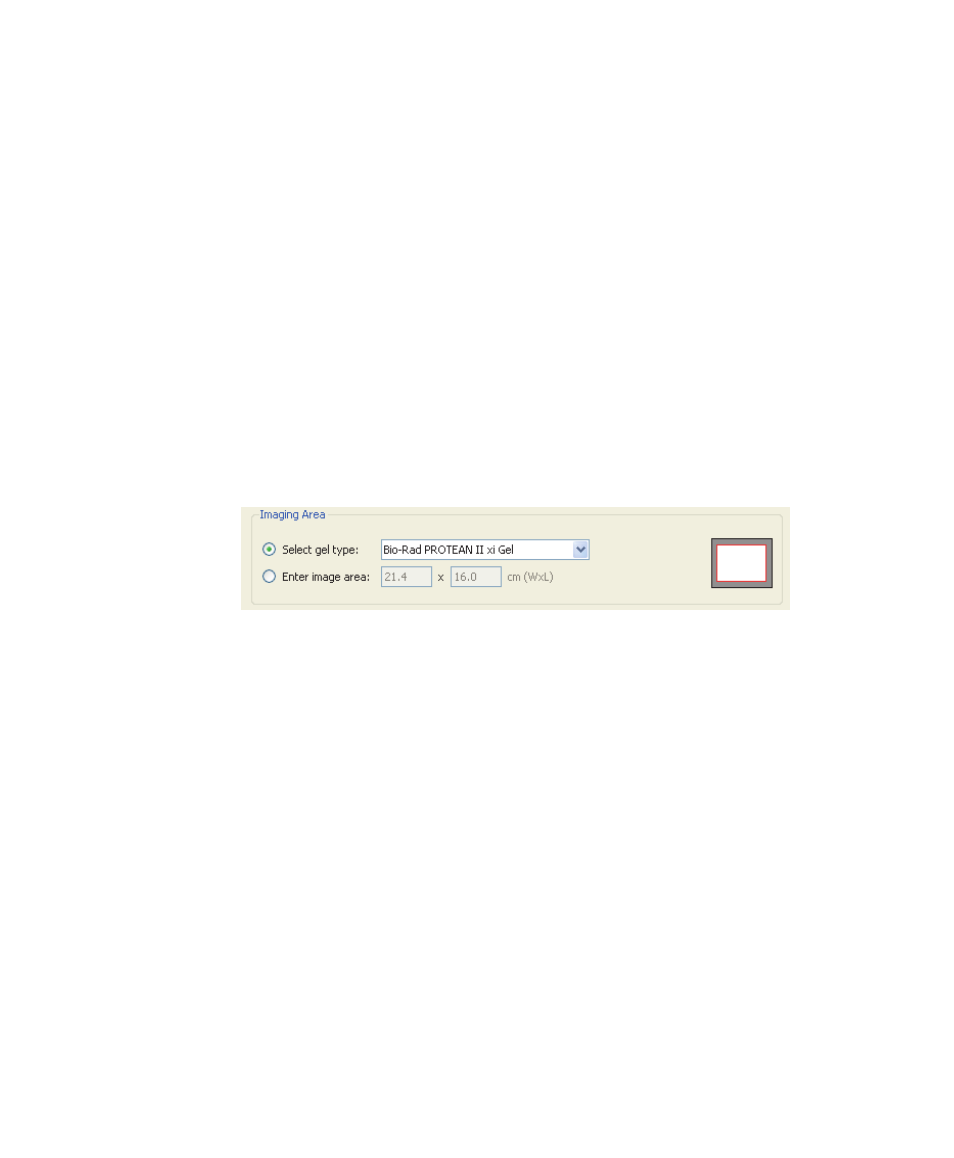
2.
In Imaging Area, select from the list of Bio-Rad gels or enter the image area
dimensions. The red box represents the imaging area for the selected gel, and
the gray rectangle represents the imager sample stage.
3.
In Image Exposure, select from one of the following options:
Auto Exposure — this setting estimates an optimal exposure time and
ensures the best use of the dynamic range. Intense Bands optimizes for all
bands and Faint Bands makes faint bands more visible but might
overexpose more prominent bands.
Intense Bands — optimizes exposure for all bands
Faint Bands — a longer exposure time is used making faint bands
more visible, but more prominent bands might be overexposed