Notifications, Set bay address, Table 15. pos4000 bay numbering – Unitec Wash Select II POS Owner’s Manual User Manual
Page 109
W A S H S E L E C T I I
Document Number:
WS21002
95
Document Title:
WSII Operations Manual
2.16.2
Notifications
You can have any notifications that are normally sent to the pager printed at the POS4000 as
well.
1.
Using the toggle switch at the top of the CPU board, place the Wash Select II in
setup mode by moving the switch toward the back of the Wash Select II case.
(The CPU board is located on the inside right wall of the Wash Select II case.)
2.
Using the (3) key to scroll forward and the (1) key to scroll back, scroll through the
main menu until the “POS4000 Link” option is displayed. Press the (*) key to
enter.
3.
Scroll through this menu until the “Notifications” option is displayed, and then
press the (*) key to enter.
4.
Enable or disable print errors by selecting Yes or No, respectively.
2.16.3
Set Bay Address
2 . 1 6 . 3 . 1
S e t P O S 4 0 0 0 B a y A d d r e s s
The POS4000 network allows for up to four entry systems to be connected to the same
“Master” POS4000. Units are denoted by the network address. Entry systems units are
assigned bay addresses 2-5. Bay number one should be configured as bay address two
(default).
Note:
The Master POS4000 will always be network address one.
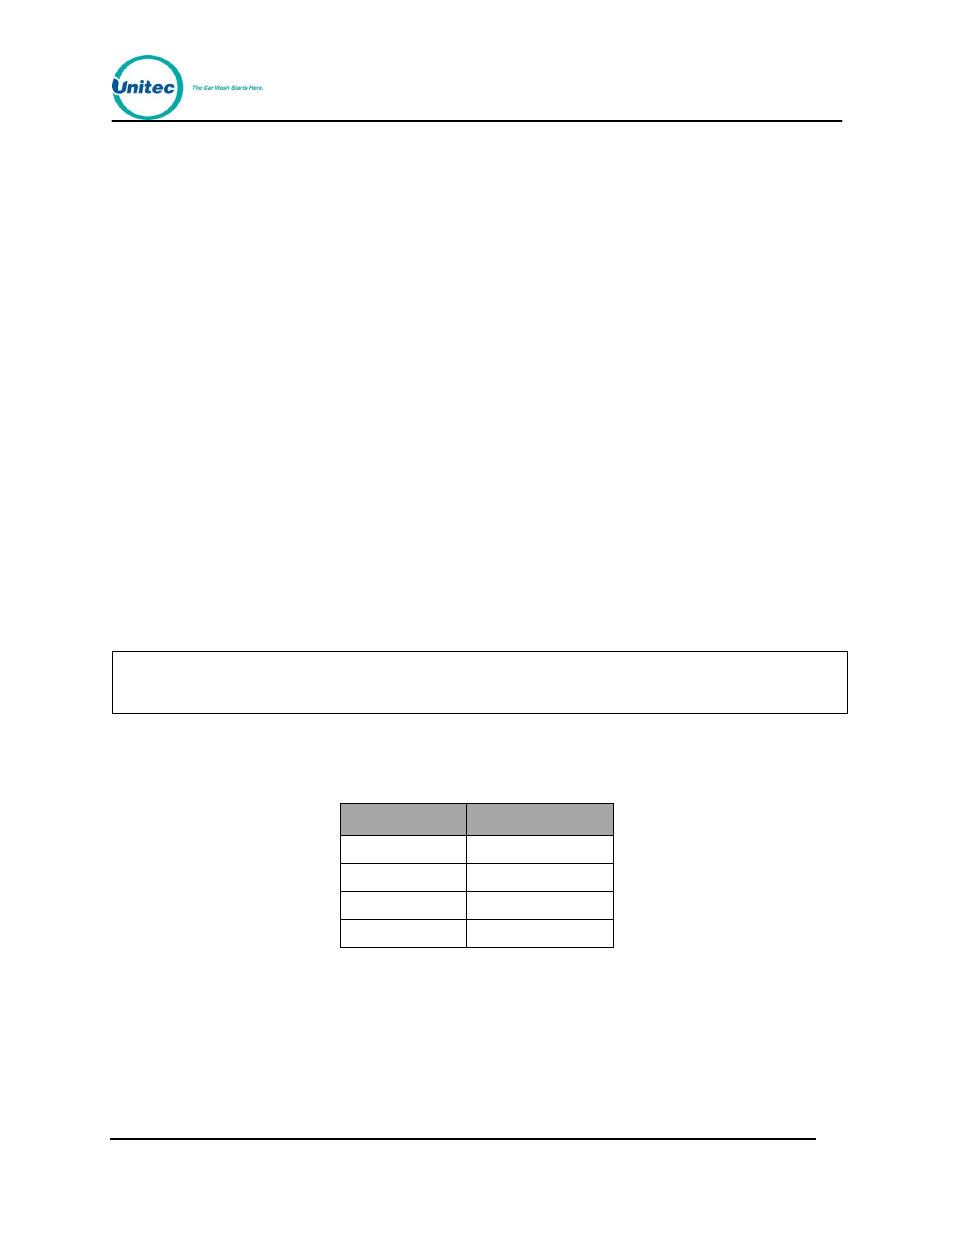
If you have a multi-bay system, you need to change the settings as follows:
Table 15. POS4000 Bay Numbering
Bay Number
Bay Address
1
2 (Default)
2
3
3
4
4
5
To set the bay address, follow the steps below.
1.
Using the toggle switch at the top of the CPU board, place the Wash Select II in
setup mode by moving the switch toward the back of the Wash Select II case.
(The CPU board is located on the inside right wall of the Wash Select II case.)