Reference standardization, interactance immersion – Metrohm NIRS XDS Process Analyzer – DirectLight/NonContact User Manual
Page 75

▪▪▪▪▪▪▪
73
These peak positions are not meant to be
traceable, as the wavelength calibration of the
instrument is done on an external standard,
traceable to NIST.
The internal wavelength materials are used to
maintain the external wavelength registration by
use of software adjustment for any external effects
on the instrument.
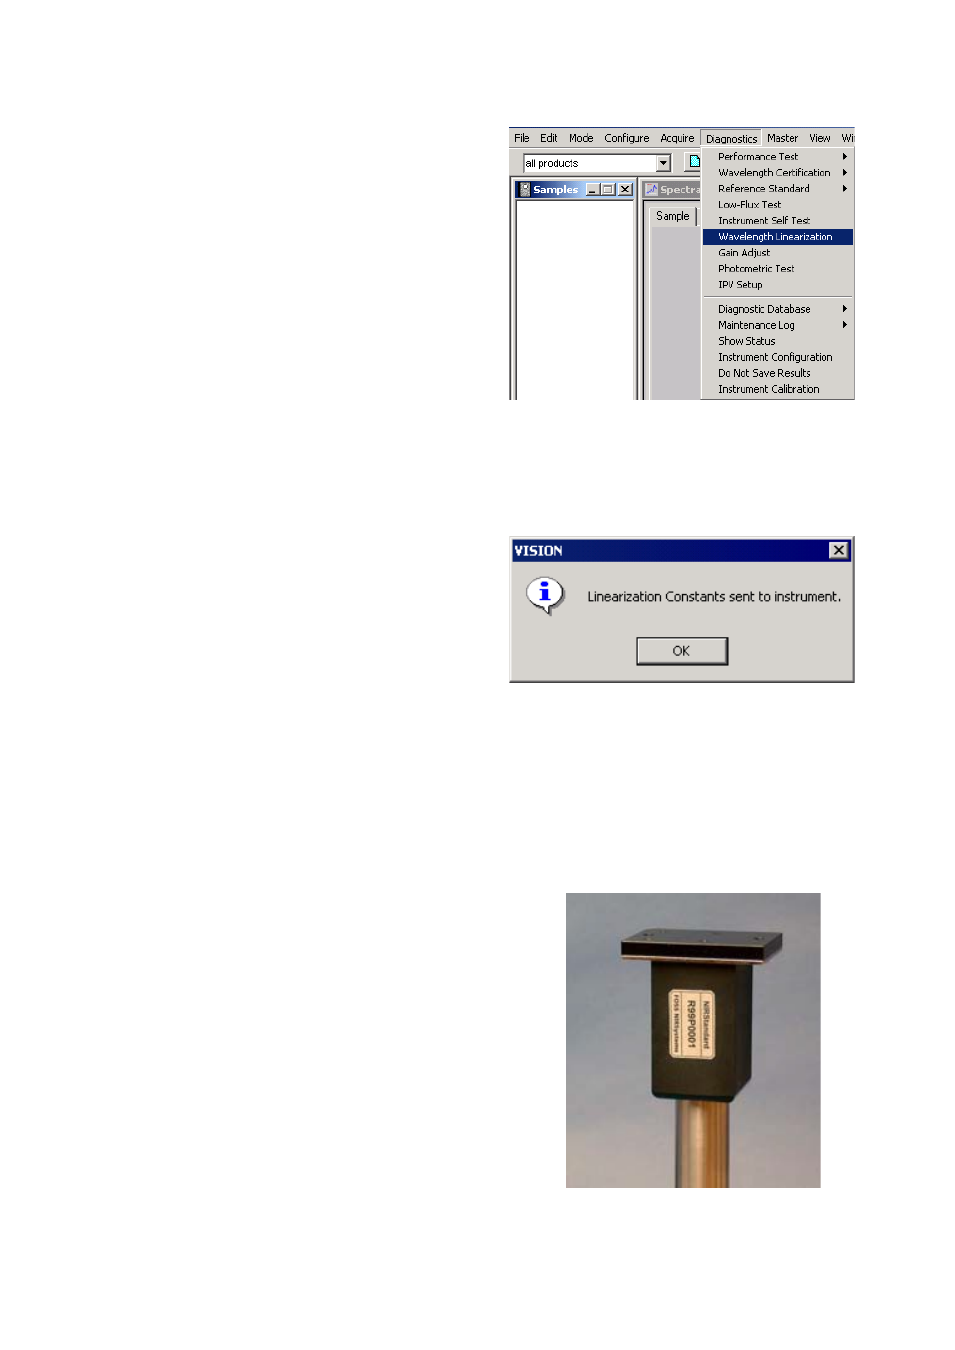
Select Wavelength Linearization from the
Diagnostics menu. The instrument will scan the
reference, which is the fiber optic that runs from
the monochromator to the detector area inside the
instrument.
The instrument operates for a minute or two, while the linearization is performed. No intervention is
required form the operator during this time.
After the linearization is successfully sent to the
instrument, this message confirms the transfer.
Click “OK” to proceed.
11.2.2
Reference Standardization, Interactance Immersion
Reference Standardization is a method to provide a virtual 100% reflectance reference at each data
point, to serve as a true spectroscopic reference with no character attributable to the physical
reference that is used. In a process environment, this will minimize differences between the sample
fiber lengths, and to the internal reference fiber. Reference Standardization is important to achieve a
high-quality spectrum on each instrument, and to enhance transferability between instruments.
When using the Interactance Immersion Probe, Reference
Standardization is performed using an Interactance
Reflectance barrel. Following all calibration steps, the
Interactance Reflectance barrel is removed, and the
Interactance Immersion barrel is installed. A final “Window
Correction” is performed, which adjusts the optical
response to the Interactance Immersion configuration.
This provides a reliable method of calibration, without
requiring that the probe barrel be removed from pressure
vessels or reactors. Window Correction is performed only
at initial set- up, and is considered a constant correction
factor thereafter.
A photometric standard of known reflectivity (as measured on an absolute reflectance scale) is
scanned on the instrument. The instrument standard is scanned. The differences of the instrument
