Rockwell Automation 1336 8A-48A Fiber Industry User Manual
Page 62
4–6
Start-Up
or
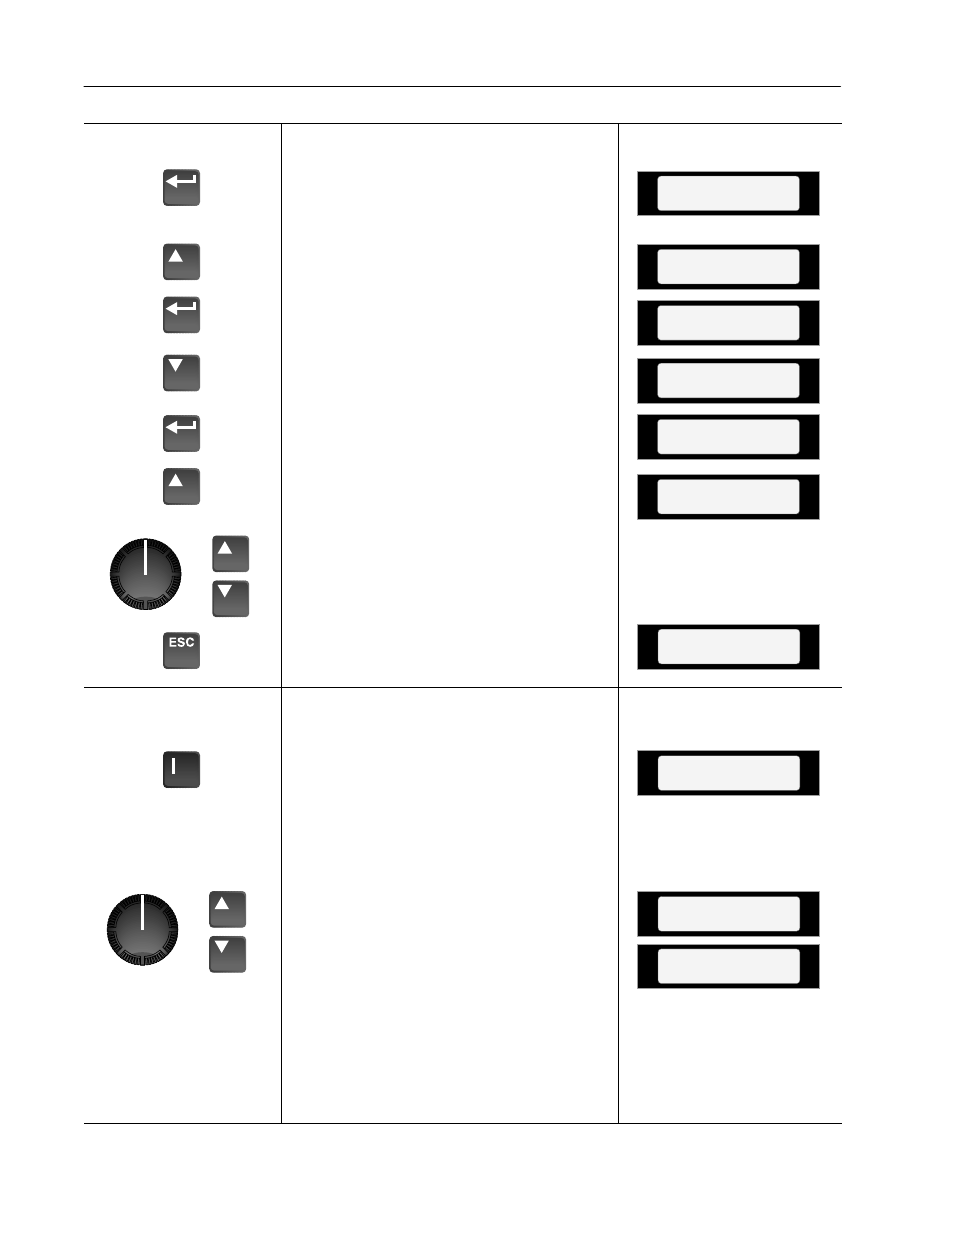
11. Setting Frequency Command.
A. From the Status Display, press the
Enter key (or any key). “Choose
Mode” will be displayed.
B. Press the Increment key until
“Display” is shown.
C. Press Enter.
D. Press the Decrement key until
“Metering” is displayed.
E. Press Enter.
F. Press the Increment key until “Freq
Command” is displayed.
G. If the frequency command is a value
other than zero, use the speed source
(digital, analog pot, etc.) to set the
command to zero.
H. After the command has been set to
zero, press the ESCape key until the
Status Display is shown.
Stopped
+0.00 Hz
Choose Mode
Program
Metering
Setup
Output Voltage
0 Vlts
Freq Command
+0.00 Hz
Choose Mode
Display
or
12. Verifying Minimum and Maximum
Frequency Settings.
A. Press the Start key. The drive should
output zero Hz. which is the factory
default value for the [Minimum Freq]
parameter. The Status Display should
indicate “At Speed” and the actual
frequency (+0.00 Hz.).
If the drive does not start, check bit 12
(Voltage Check) of the [Drive Alarm]
parameter. If the bit is “1,” the drive
terminal voltage is preventing the drive
from starting. Normally this is caused
by IGBT leakage current. To bypass
this alarm, program [Flying Start En] to
“Track Volts,” then start the drive.
B. With the drive still running, use the
speed source to command maximum
speed. The drive should ramp to
[Maximum Freq].
At Speed
+60.00 Hz
Accelerating
+29.62 Hz
At Speed
+0.00 Hz