Automatically printing with ip scanner, Automatically printing with ip scanner -42 – Konica Minolta bizhub 282 User Manual
Page 157
4
IP Scanner
4-42
362/350/282/250/222/200
IP
Scan
ne
r
Chapter 4
Automatically printing with IP Scanner
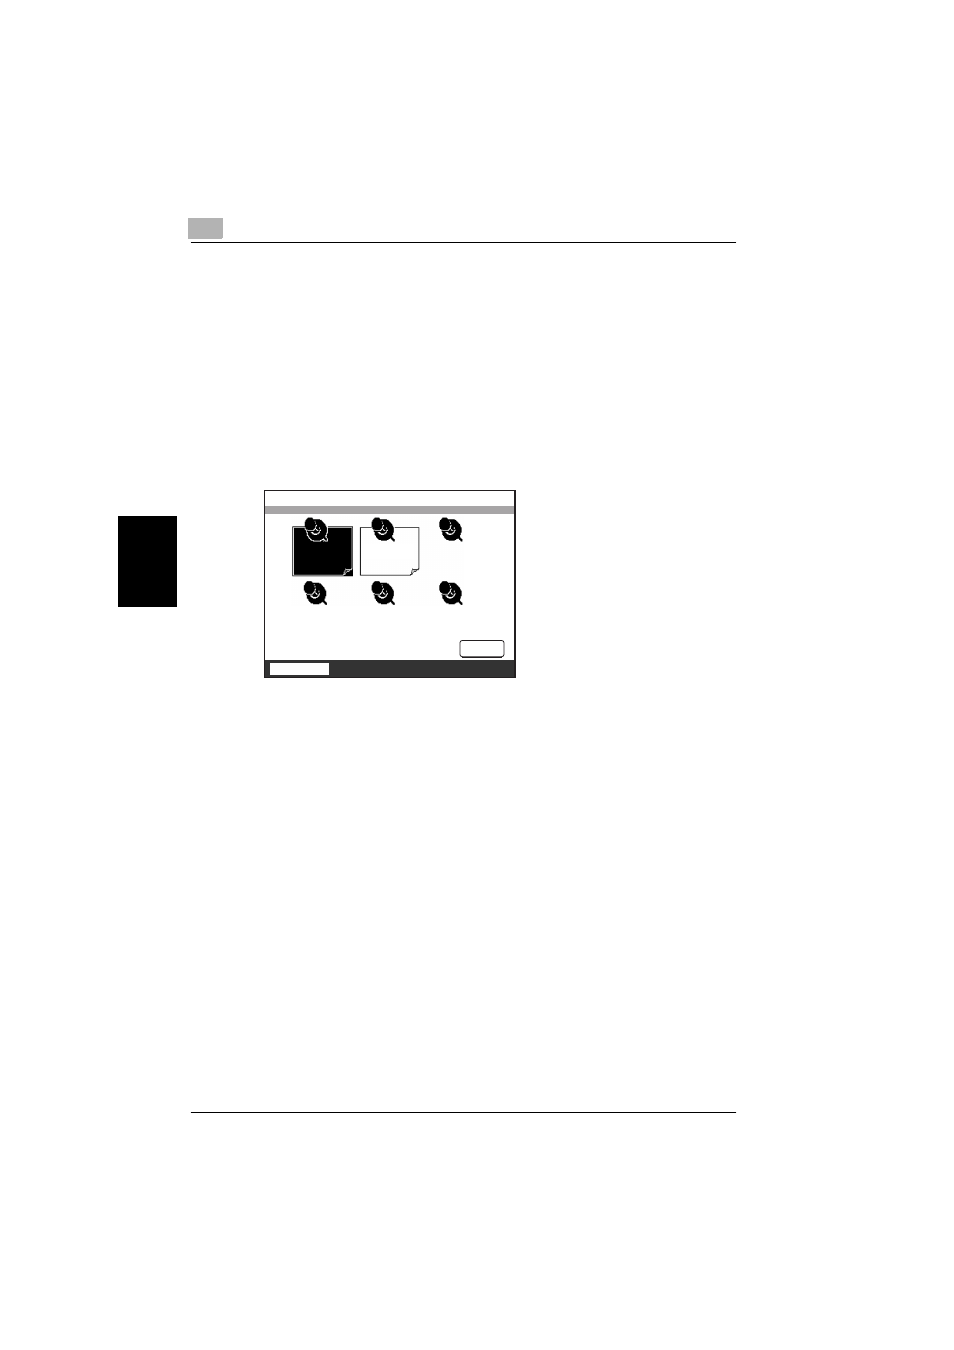
1
Position the document to be scanned.
2
Press the [Extra Scan] key.
3
Touch the scan button programmed for automatic printing.
–
Touch the button with the same name as that registered from the
computer.
–
Only one scan button can be programmed from a single computer
(same IP address).
The selected button appears highlighted.
4
Press the [Start] key.
The transmission to the computer begins, and after the computer re-
ceives the image data, it is printed according to the specified automatic
printing settings.
!
Detail
A maximum of six scan buttons can be programmed on this machine. If
the maximum number of scan buttons have been programmed, select a
button in the machine’s touch panel, and then touch [Delete] to delete it.
In this case, “Scanner Available” remains displayed in IP Scanner. If this
occurs, click [Delete Scanner Key], and then follow the instructions that
appear until [Scanner Key Registration] appears.
IP Scanner
Job List
100%
Delete
Memory
Free
Test2
Tests
can