Bath button panel configuration – Balboa Water Group Titan Bath Control User Manual
Page 39
Manufactured under one or more of these patents. U.S. Patents: 5332944, 5361215, 5550753, 5559720, 5,883,459, 6253227, 6282370, 6590188, 6976052, 6965815, 7030343, 7,417,
834 b2, Canadian Patent: 2342614, Australian patent: 2373248 other patents both foreign and domestic applied for and pending. All material copyright of Balboa Water Group.
39
42135F
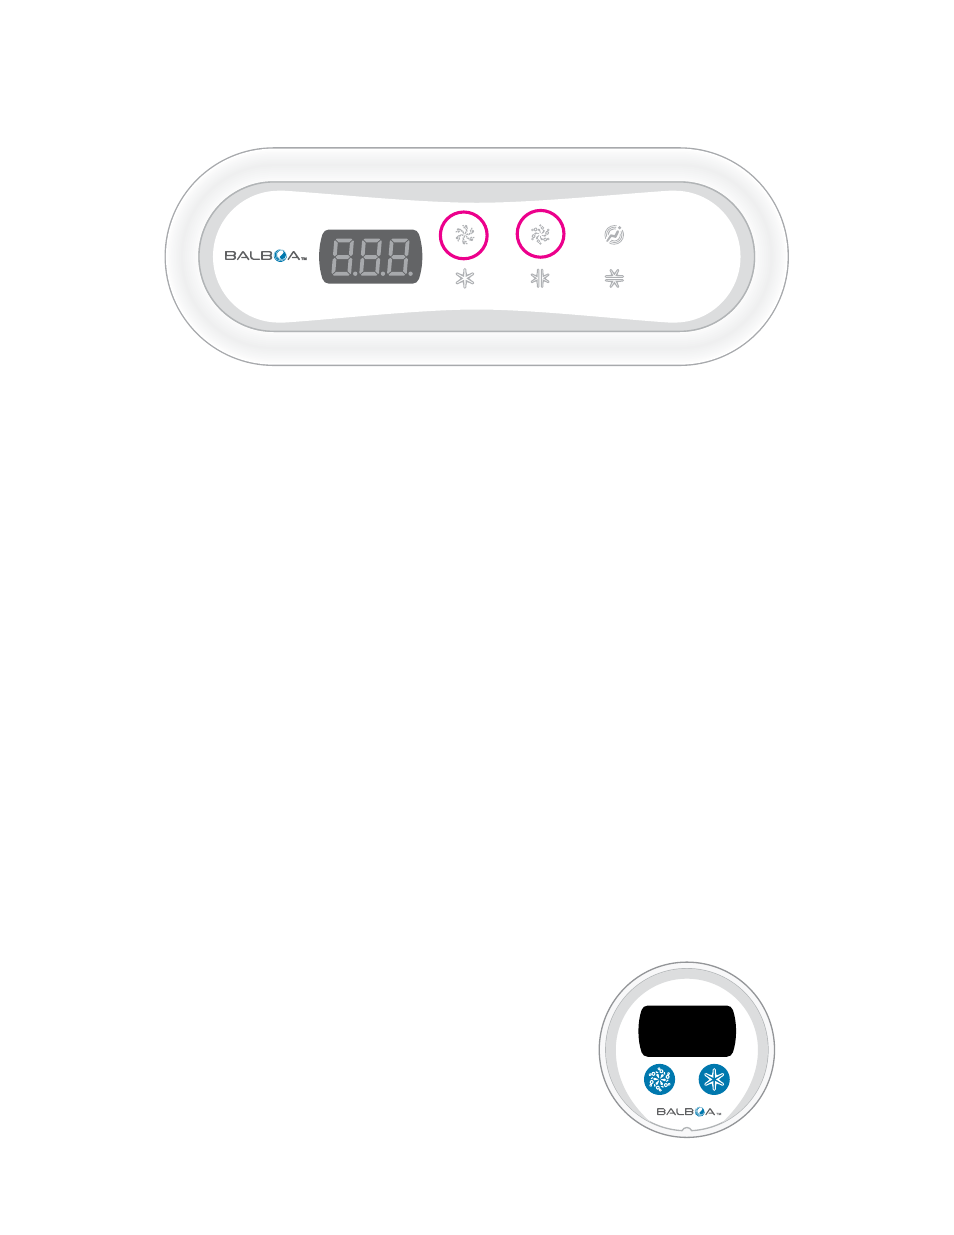
Bath Button Panel Configuration
use the first two buttons for setting up the configurations
confIGurInG the 6 Button Bath Panel
There are many configurations possible with the Titan 6 and 2
button bath panels. The panel must be programmed after all
of the equipment is installed and connected for the panel and
control boxes to interact effectively.
The process to configure either of these bath panels is the
same. Two buttons are pressed upon startup to provide access
to the Configuration Set-up menu. The 6-button panel is
accessed by using the first two buttons.
Using the 6-button panel as an example, find the set-up that you
have installed using the “Bath Control Configuration Tables” to
find the closest set-up of equipment installed, and the specific
buttons that you’ll want to dedicate to run that equipment. Then
proceed to set up, or input that configuration number into your
panel. Be sure to start from a complete power down. Note:
During the process, the panel times out after 10 seconds. If that
happens, restart the procedure.
1. Apply power.
2. All LED’s will light up. Wait until CON displays, then press
the first two buttons and hold. Keep holding until a capital
“C” is displayed followed a decimal point and two digits
indicating the currently selected configuration.
3. To increment the configuration number, press B1once.
Press repeatedly until the desired configuration number is
reached. hold B1 down to automatically cycle through the
configurations.
4. To store the configuration in to the panel’s memory,
press B2. The panel will reboot and a startup sequence
will display. If after the boot up, an
Err
(Error) displays,
it means that the configuration entered does not match
the equipment installed. Recheck the equipment and
then the table. The Panel Error Codes page should help in
diagnosing the error.
confIGurInG the 2 Button Bath Panel
The process is the same as programing the 6 button panel
above. The differences will be that you’ll use a different
configuration table, and have fewer configurations available.
The error codes are the same for 2 and 6 button panels.