Head1 - installing a switch, Installing a switch – Allied Telesis AT-PBC18 User Manual
Page 89
PowerBlade PBC18 Installation Guide
89
Installing a Switch
This section explains how to install a PowerBlade Switch in the chassis. It
is not necessary to power OFF the chassis to install the switch.
Be sure to observe the following guidelines when planning the
installation of the AT-PB200 and AT-PB202/x Series Switch.
❑ The end-node connected to the fiber optic port on an AT-PB200
or AT-PB202/x Series Switch must be able to operate at 100 Mbps.
❑ The end-node connected to the twisted pair port(s) can operate at
either 10 Mbps or 100 Mbps.
To install the switch, perform the following procedure:
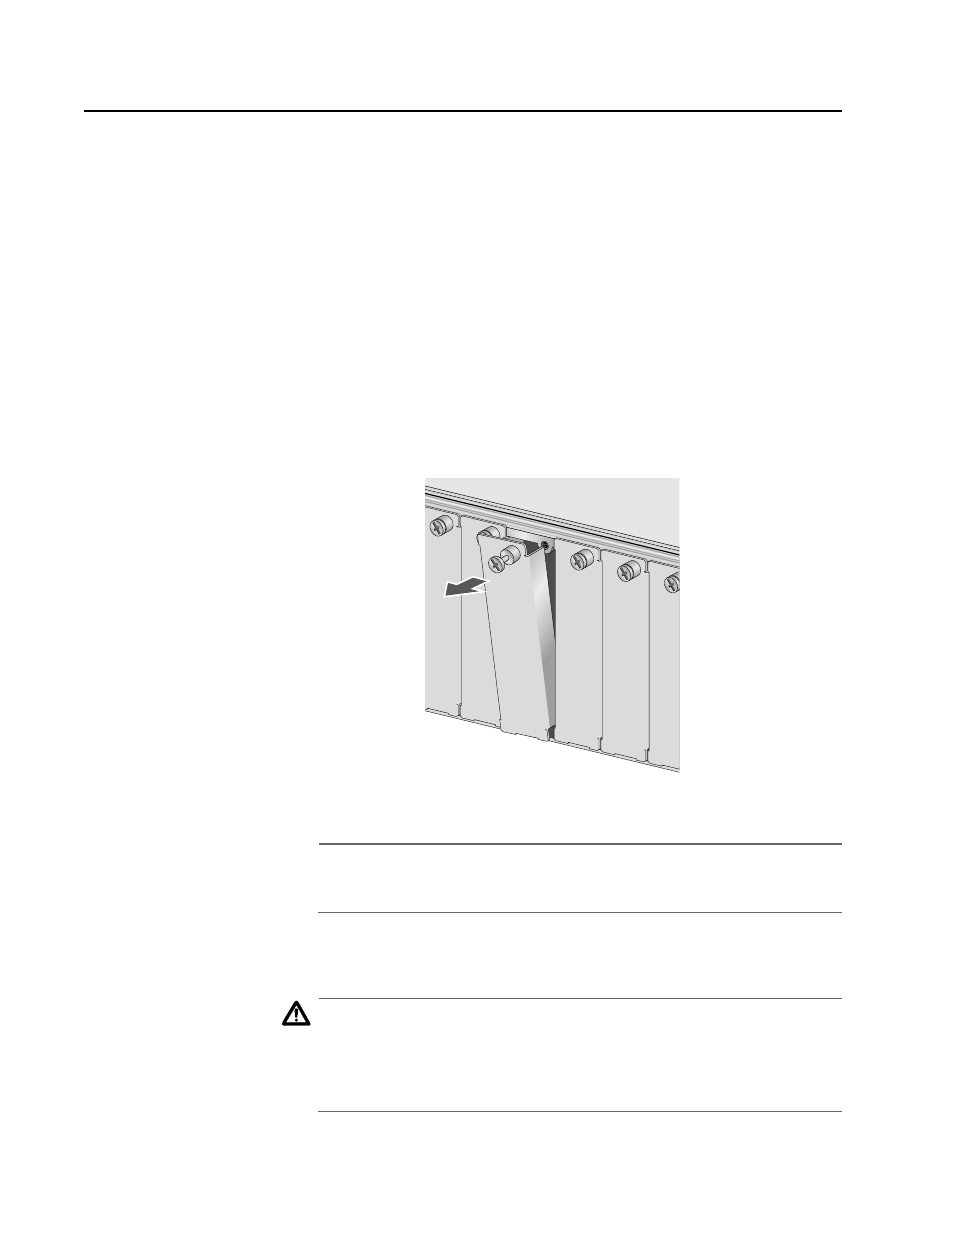
1.
Remove a blank faceplate from an empty expansion slot on the
front of the chassis. The module can be installed in any expansion
slot. See Figure 35.
Figure 35 Removing a Blank Faceplate
Note
Do not remove a blank faceplate covering an expansion slot unless
you intend to install a PowerBlade module.
2.
Remove the module from the shipping package and store the
packaging material in a safe place.
Caution
Wear a grounding device and observe electrostatic discharge
precautions when installing the PowerBlade module in the chassis.
Failure to observe this caution could result in damage to the
PowerBlade module.