Mapped area, Saving, loading, and deleting ab lines – Ag Leader EZ-Guide Plus Getting Started Guide User Manual
Page 33
EZ-Guide Plus Lightbar Guidance System Getting Started Guide
Getting Guidance 31
Mapped area
With area mapping you can:
•
map area features
•
mark out an obstacle or excluded area
•
Calculate the number of acres/hectares
•
display the area onscreen while receiving guidance
To map an area:
1.
From the main screen, select 9. The Guidance Pattern screen appears.
2.
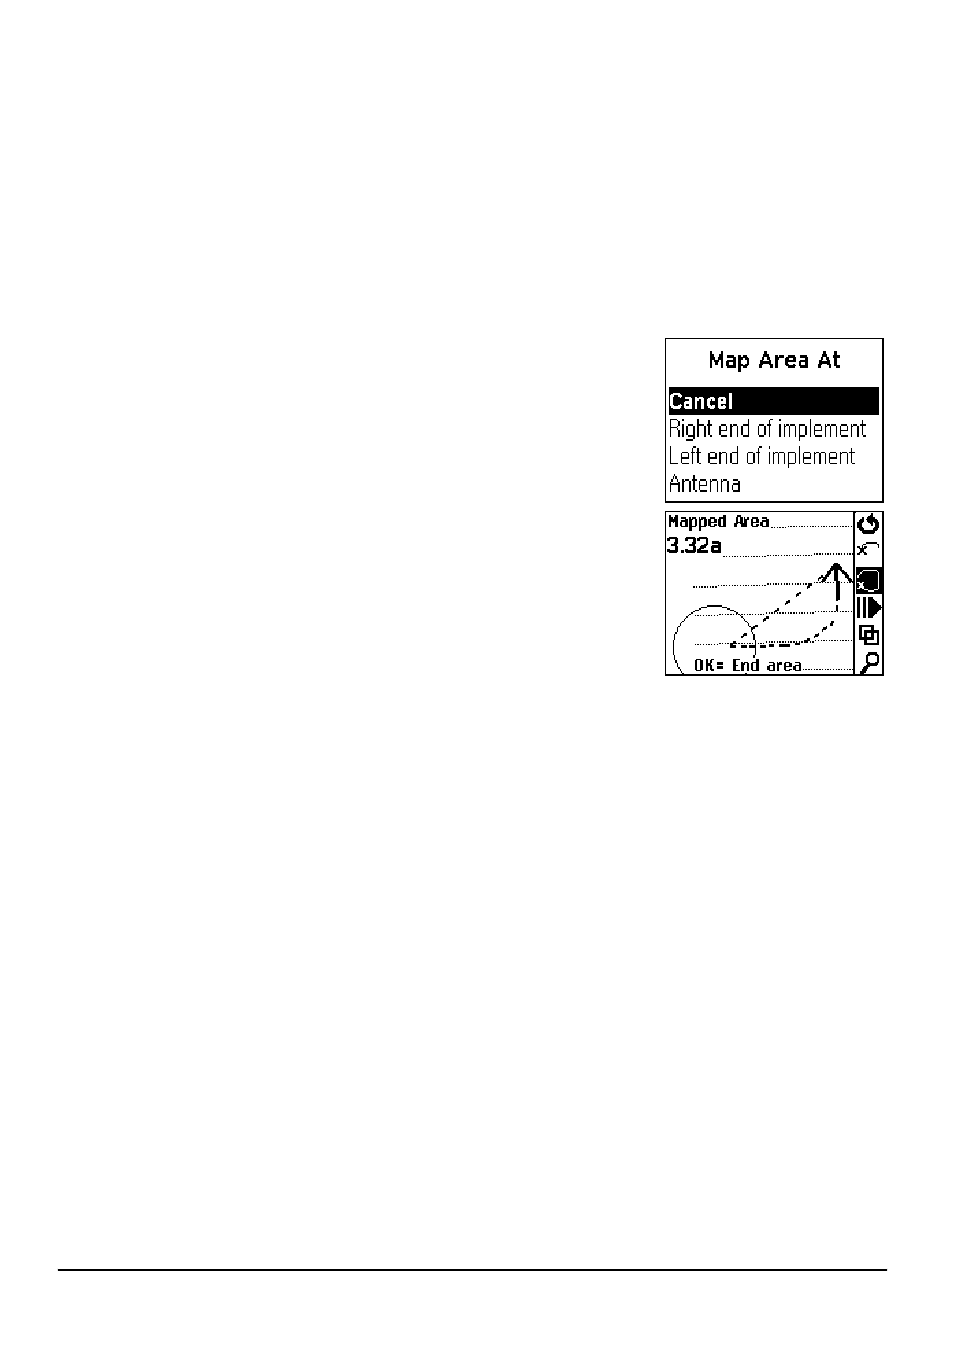
Select New Area. The Map Area At screen appears.
3.
Select the point on the vehicle from which the
measurement will be taken (right end of implement,
left end of implement, or antenna).
The main screen appears.
4.
Select 8 to begin mapping the area. The Mapped
Area value continuously updates. It appears on the
map screen as you drive around the boundary of
the area.
5.
Select D or drive back into the start/finish circle to
end area mapping.
The mapped area will remain onscreen until the
next time power is switched off. Mapped areas are not saved if the power is
switched off.
The previously selected AB Line/curve/headland is automatically reloaded after
you finish mapping the area. Only one area can be shown at a time.
The EZ-Guide Plus system does not allow guidance around the mapped area.
If necessary, you can use the pause function to pause mapping to drive around
obstacles. When you select the pause/resume icon, a straight line is drawn between
the pause and resume points.
Saving, loading, and deleting AB Lines
The EZ-Guide Plus system can save, load, and delete AB Lines.
Saving AB Lines
The EZ-Guide Plus system can save up to 96 straight swaths or pivots, and up to 3
curve or headland swaths. The system automatically saves the last AB Line. When you
have saved more than the permitted number of AB Lines, the AB Lines that have not
been used for the longest time are overwritten.