Headlands pattern, 8d a b – Ag Leader EZ-Guide Plus Getting Started Guide User Manual
Page 30
28 Getting Guidance
EZ-Guide Plus Lightbar Guidance System Getting Started Guide
Note — Make sure that you are not within one swath width of the start point. If
you are, Point B will not be set.
6.
Turn into the field. The next swath is generated off the last pass.
7.
On each pass, when you are nearly back to where you started the headland, reset
Point B to mark the end of the swath.
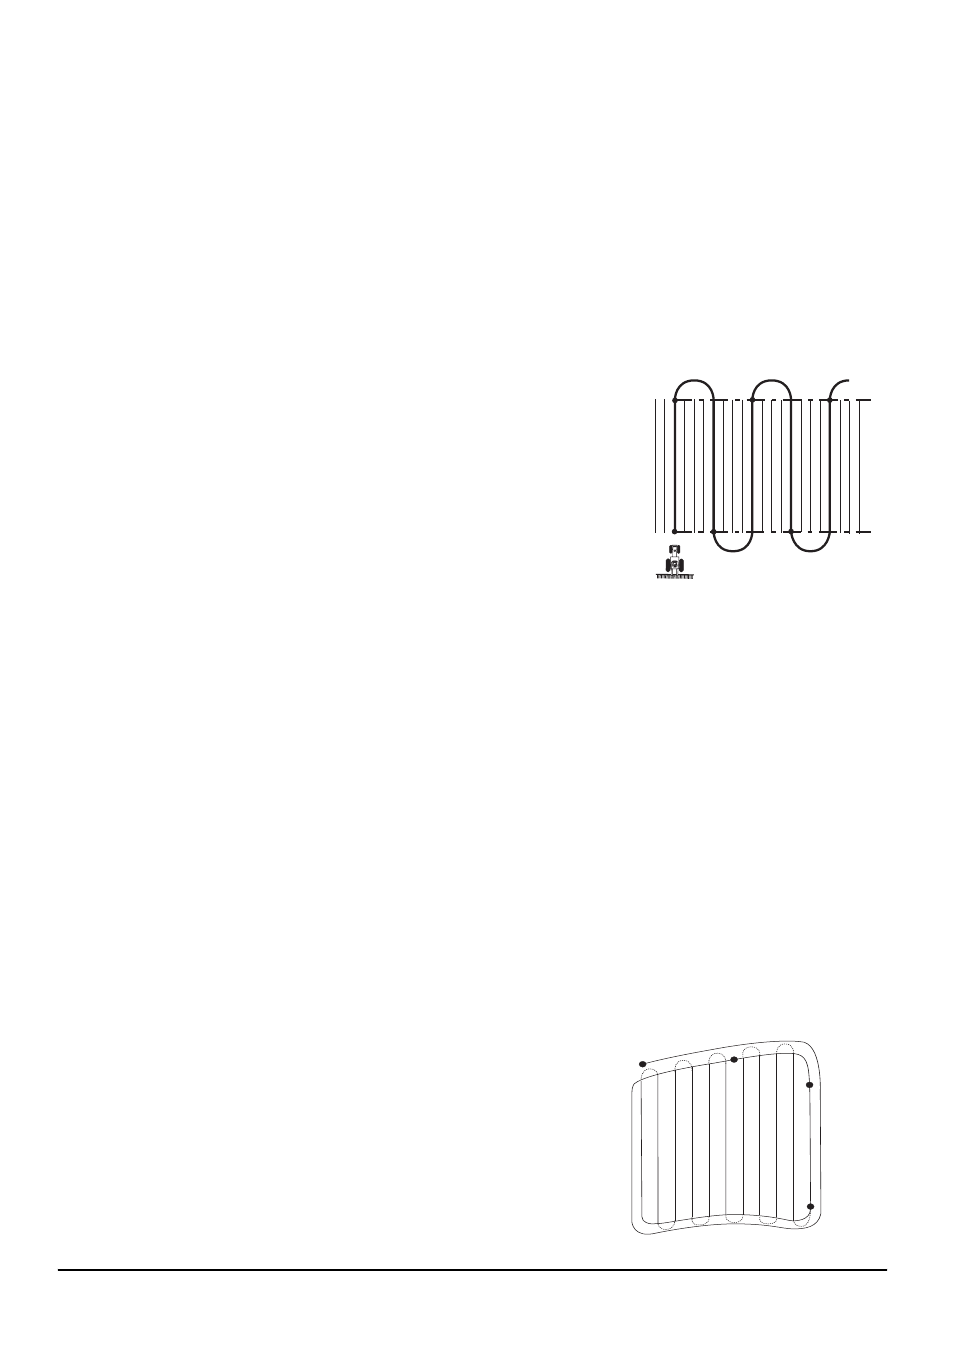
Rowfinder (using Adaptive curve pattern)
When you drive with an implement that spans several rows, you can navigate to the
next appropriate swath without having to count the rows in between yourself.
To use the Adaptive Curve pattern to count the rows that you can skip:
1.
Select Guidance / Auto-detect Turn and set
Auto-turn to Off.
2.
Reset guidance and then select the Adaptive Curve
pattern.
3.
Select the Swath Width value that matches the
width of your implement.
4.
Mark Point B at the end of the row.
5.
Find the next row to drive down by turning until you
see three green LEDs on the lightbar.
Headlands pattern
Use the Headlands pattern when:
•
you need to apply the headland area first, to give you room to turn when you apply
the straight swaths
•
you want to know the area of the field
You can do as many headland circuits as required before you change to straight
swaths. The Headlands pattern automatically increments to the next headland when
you enter the circle around the start point of the headland.
Tip — To pause, zoom, or change the headland view, click the appropriate icon.
Multiple headlands
1.
Start a headland.
2.
Drive around the field area. The headland is
recorded.
3.
When you return to the headland start point,
the next headland swath is automatically
generated.
B
B
B
B
B
A
8
D
A
B
Step 1
Step 6
Step 5
Step 4