Using the graphical user interface – HP Library and Tape Tools User Manual
Page 15
3.
Click Next. Read the program license agreement and click Yes to accept the terms of the
license agreement.
4.
Read the readme file for any last-minute changes to the documentation, then click Next. The
Select Features screen is displayed.
5.
Select the desired components to install and click Next.
6.
Select a destination location to install the program. You can accept the default location or
click Browse to install to a different location. After choosing the destination location, click
Next.
7.
Indicate the program directory in which you want the setup program to create program icons
and click Next. The program directory is created in the Programs directory of the Start menu.
8.
On the Ready to start installation process screen, click Next. If you need to review or change
installation settings, click Back.
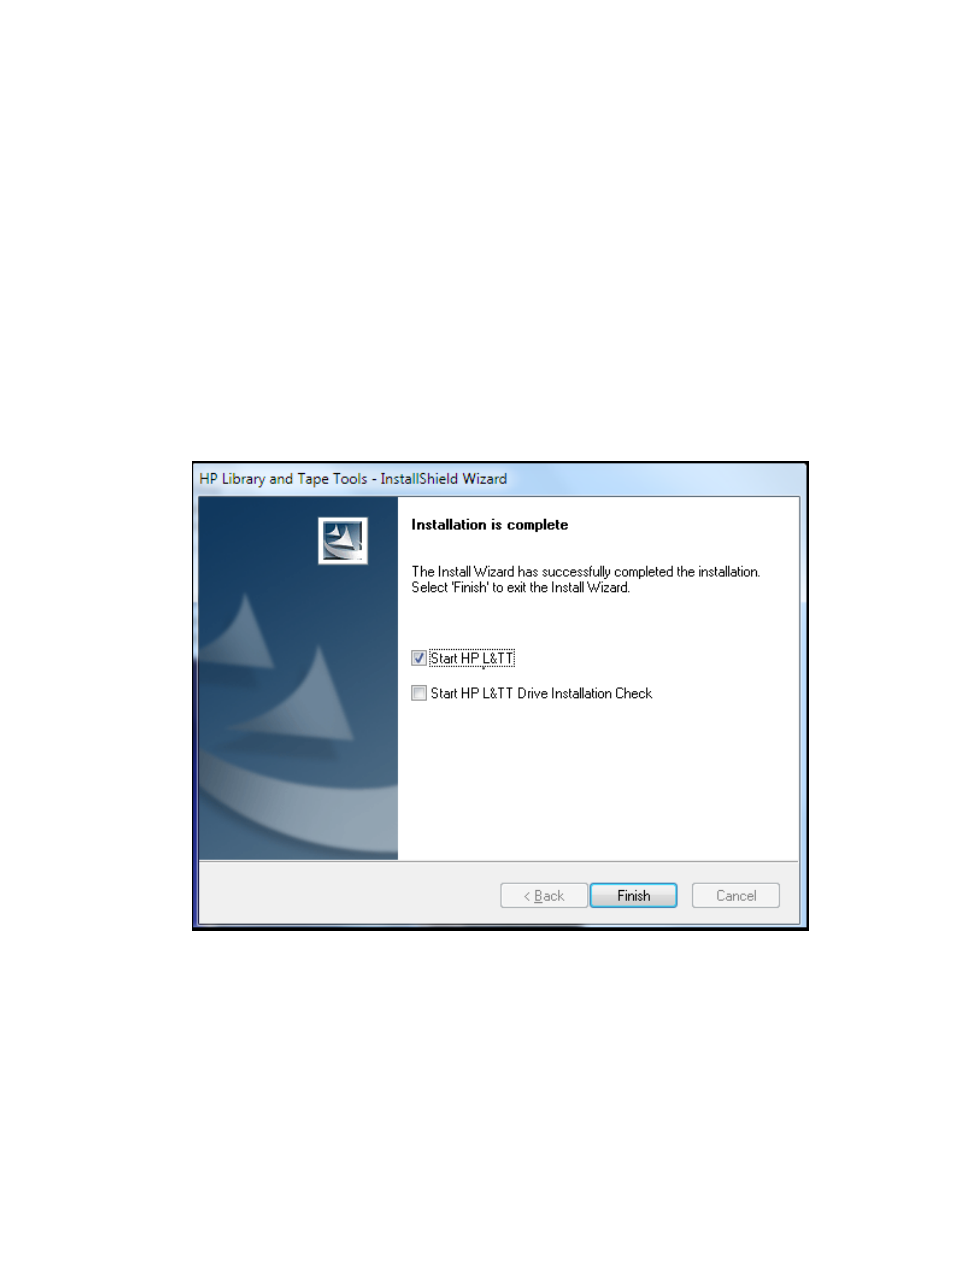
9.
When installation is complete, the InstallShield wizard appears. Select Start HP L&TT or Run
LTT InstallCheck if you would like the wizard to start L&TT. For more information on installation,
see
“Installation Check test” (page 86)
.
10.
Click Finish to close the InstallShield Wizard as shown in
Figure 1 HP Library and Tape Tools InstallShield Wizard
Using the graphical user interface
•
•
“Application window layout” (page 20)
•
“Using the Device Information screen ” (page 21)
•
“Using the firmware management screen ” (page 24)
•
“Get files from web functionality” (page 25)
Using the graphical user interface
15