Appendix additional error – Atec Agilent-16047A User Manual
Page 98

obtained. For open repeatability, measure the admittance of the test fixture’s open condition. In the
same way, determine open repeatability by measuring at least 50 times.
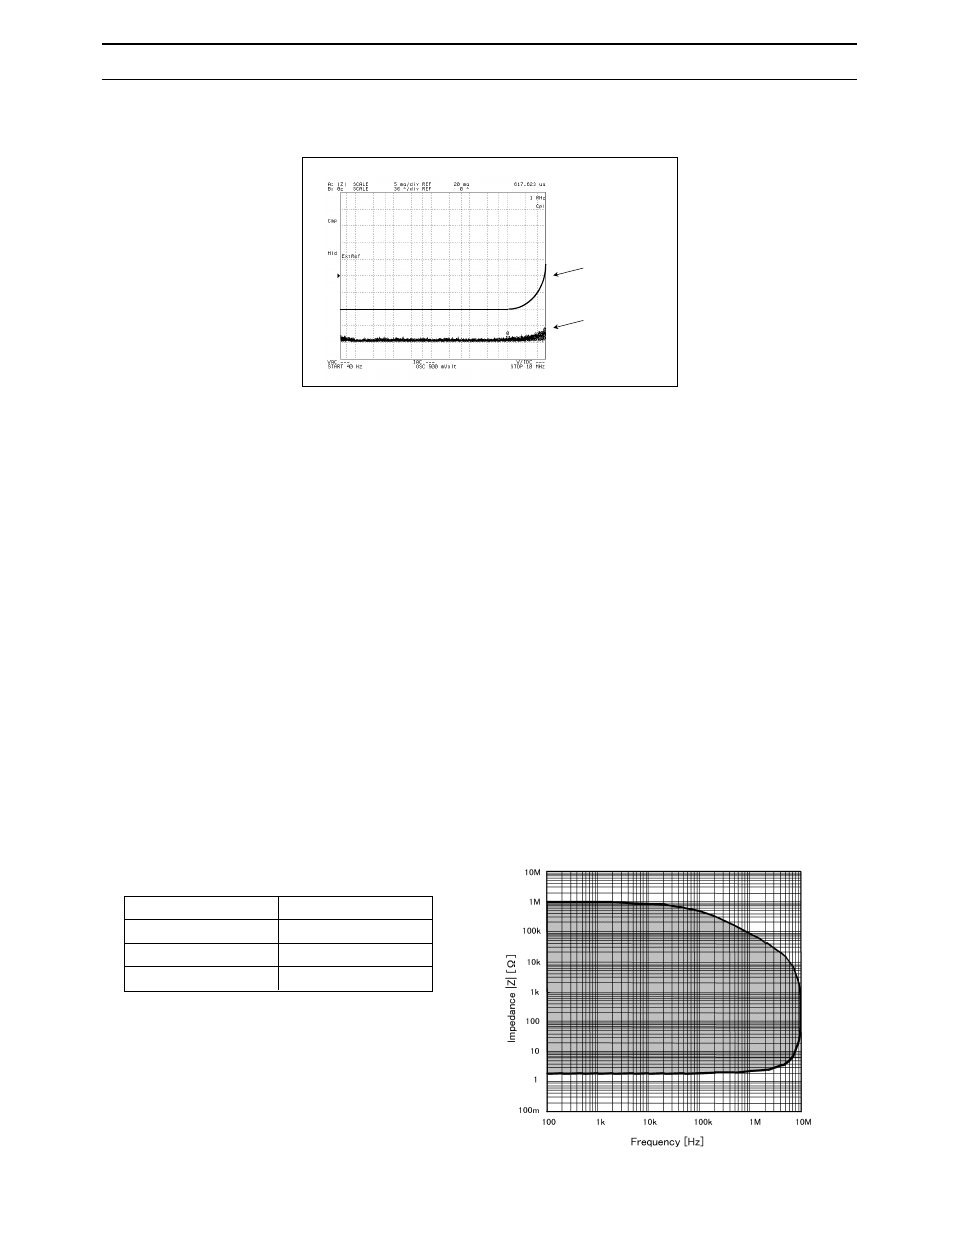
Measurement of short repeatability (16034G)
Measurement Settings
Measurement Instrument : 4294A
Measurement Frequency : 40 Hz-10 MHz
Measurement Parameter : Z-
θ
Compensation
: Performed short Compensation
Bandwidth
: 3
Measurement Method
: Inserted the shorting plate, measured the short condition, and then
removed the shorting plate. Repeated this for 50 times.
Display Method
: Overlaying traces by using the Accumulate Mode
Lastly of all, a method to visually analyze the accurate measurement range of a test fixture is intro-
duced. This method is only appropriate when all three error-terms (proportional error, open and
short repeatability) are known. The table below shows the additional error of 16034G. The whole
equation, with all three terms can be solved for measurement impedance rather than additional
error, for example when additional error is equal to 0.5%. If the obtained impedance values are plot-
ted with measurement impedance (y-axis) against frequency (x-axis), a graph similar to the one
shown down below can be obtained. The shaded area shows the range of impedance that can be mea-
sured with an additional error better than 0.5%. In the same way, other graphs can be drawn with
other additional error values to better visualize the accuracy that can be obtained for a given imped-
ance and frequency range. The operational manuals of recent test fixtures present such graphs.
Additional Error of 16034G
Specifications of
Short Repeatability
Actual Measurement
of Short Repeatability
93
Appendix
Additional Error
Additional error
≤
0.5%
Type of Error
Impedance
Proportional Error
0.5 x (f/10)
2
[%]
Open Repeatability
5 + 500 x (f/10) [nS]
Short Repeatability
10 + 13 x (f/10) [m
Ω
]
Specifications of
Short Repeatability
Actual Measurement
of Short Repeatability
