Epson 386/25 User Manual
Page 129
6.
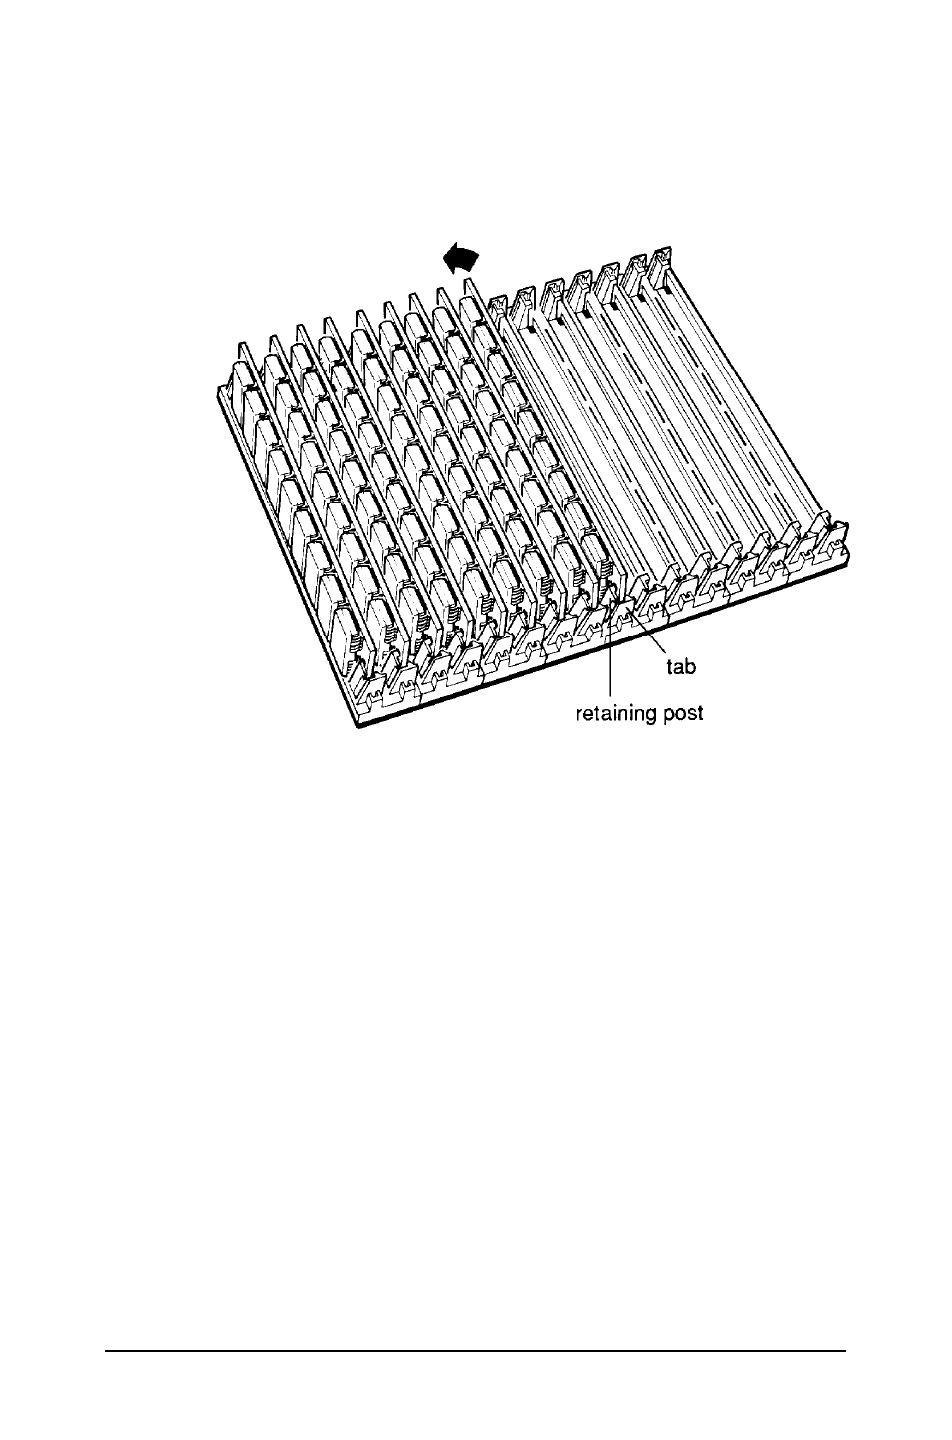
Gently push down on the SIMM and, at the same time, turn
the top of the SIMM to the left until it is vertical and snaps
into place between the tabs and the retaining posts.
If the SIMM does not go in smoothly, do not force it; pull it
all the way out and try again.
Make sure the SIMM is fully inserted into the socket and
that the pins on the retaining posts protrude through the
holes in both ends.
7.
Repeat steps 5 and 6 for each SIMM you want to install.
8.
Set the appropriate jumpers to indicate the amount of
memory you have on SIMMs. See “Changing the Jumper
Settings” on page 5-6 for instructions.
9.
Replace any option card(s) you may have removed to access
the SIMM sockets. See “Installing an Option Card” on page
5-10 for instructions.
Installing and Removing Options
5-21