How to do an autosequence, How to save and view test results (prosim 8 only) – Fluke Biomedical ProSim 6 User Manual
Page 74
ProSim 6/8
Users Manual
62
How to Do an Autosequence
To do an autosequence:
1. Push .
2. Push , , , or to highlight Autosquences.
3. Push .
4. Push or to highlight an autosequence in the list.
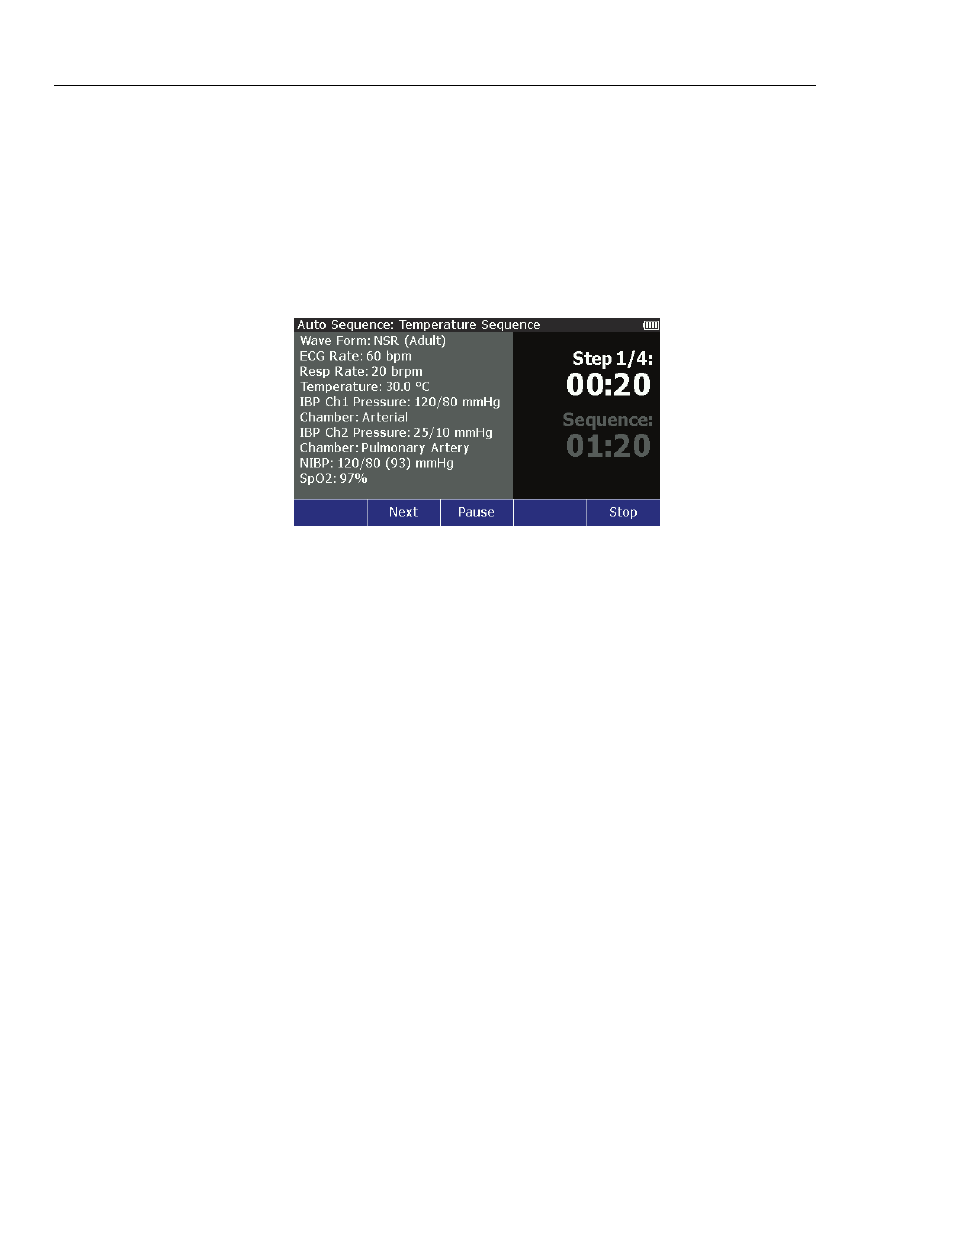
5. Push the Start softkey. The autosequence screen in Figure 51 shows in the display.
glh033.bmp
Figure 51. Autosequence Step Screen
The autosequence screen shows all the simulation parameters which are updated as the
Product steps through the sequence. The right part of the screen shows which step the
sequence is on and how much time is left to complete the step. The length of time left to
complete all steps of the autosequence is also shown in the display.
Push the Next softkey to abort the step and move to the subsequent step. When the
autosequence has moved to step two, a Previous softkey shows in the display. Push the
Pause softkey to pause the step. A Continue softkey shows in the display when the
auto sequence is paused. Push the Continue softkey to continue the step for the time left
when the step was paused.
To abort the autosequence, push the Stop softkey and go back to the Autosequence
view screen.
You can not change a pre-defined autosequence or rename it. But, you can use the Ansur
functionality to copy an autosequence, make changes, and then put it into the Product as a
new custom autosequence. You can change each step of the new autosequence and add
more steps as necessary.
How to Save and View Test Results (ProSim 8 only)
The data of test results can be saved in and recalled from the Product. Test results are
organized in memory first by operator ID, then by a test record ID, and then individual
test results. Figure 52 shows the memory organization of test results data.