Change the opacity of artwork, Create a transparency knockout group – Adobe Illustrator CS4 User Manual
Page 185

178
USING ADOBE ILLUSTRATOR CS4
Painting
Note: You can also change the artboard color to simulate what your artwork will look like if printed on colored paper.
Change the opacity of artwork
You can change the opacity of a single object, the opacity of all objects in a group or layer, or the opacity of an object’s
fill or stroke.
1
Select an object or group (or target a layer in the Layers panel).
If you want to change the opacity of a fill or stroke, select the object, and then select the fill or stroke in the Appearance
panel.
2
Set the Opacity option in the Transparency panel or Control panel.
To select all objects that use a specific opacity, select an object with that opacity, or deselect everything and enter the
opacity value in the Transparency panel. Then choose Select > Same > Opacity.
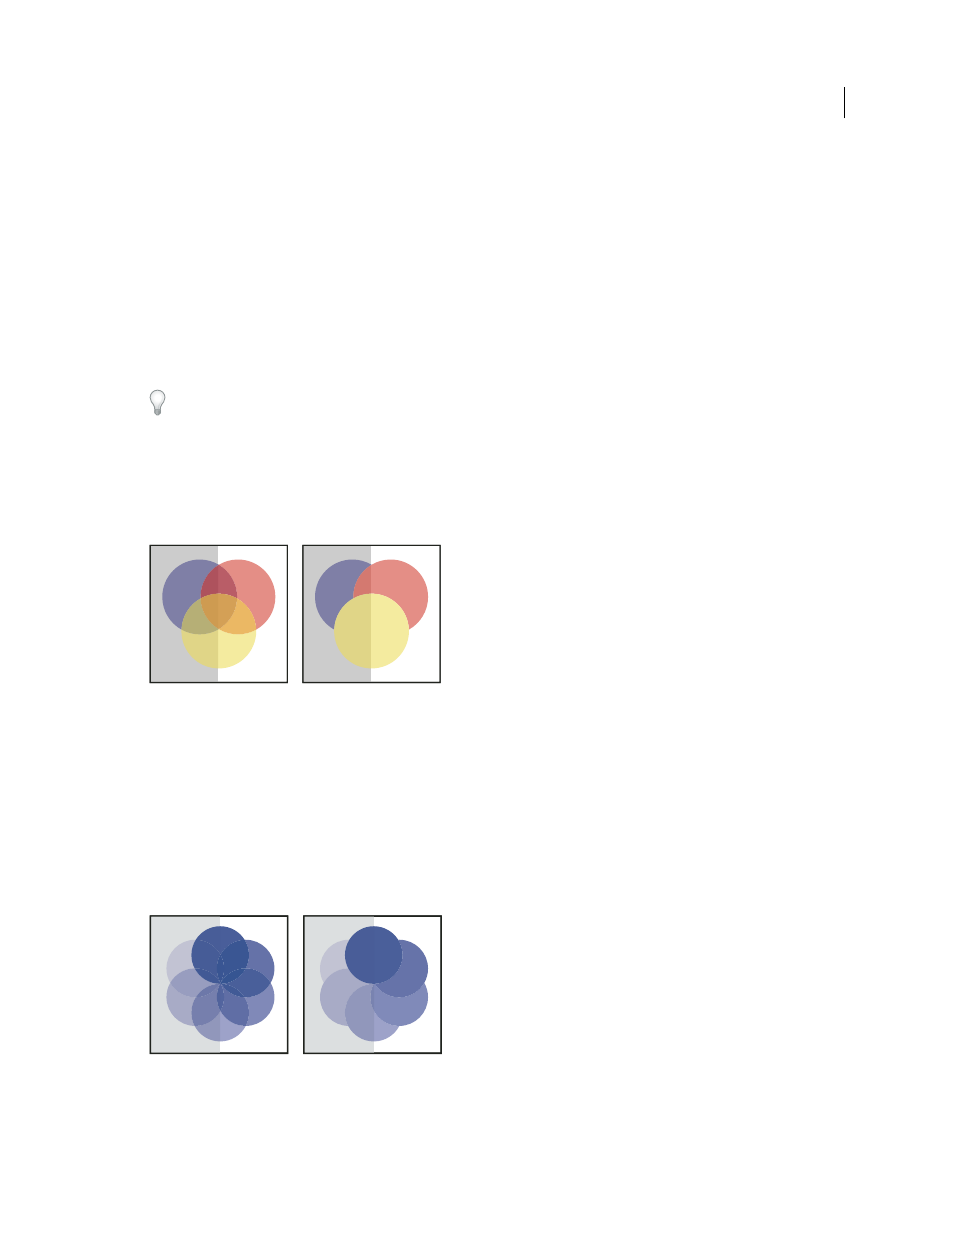
If you select multiple objects in a layer and change the opacity setting, the transparency of overlapping areas of the
selected objects will change relative to the other objects and show an accumulated opacity. In contrast, if you target a
layer or group and then change the opacity, the objects in the layer or group are treated as a single object. Only objects
outside and below the layer or group are visible through the transparent objects. If an object is moved into the layer or
group, it takes on the layer’s or group’s opacity, and if an object is moved outside, it doesn’t retain the opacity.
Individual objects selected and set to 50% opacity (left) compared to layer targeted and set to 50% opacity (right)
See also
Targeting items for appearance attributes
Printing and saving transparent artwork
Create a transparency knockout group
In a transparency knockout group, the elements of a group do not show through each other.
Group with Knockout Group option deselected (left) compared
to selected (right)
1
In the Layers panel, target the group or layer you want to turn into a knockout group.
