Configuring the camera osd settings – Interlogix NVR 50 User Manual User Manual
Page 123
13BChapter 14: Camera settings
TruVision NVR 50 User Manual
117
3. Click
Add
to add the camera to the list of devices in the NVR system.
The camera is added to the end of the list of devices.
Note: Only one camera can be manually added at a time.
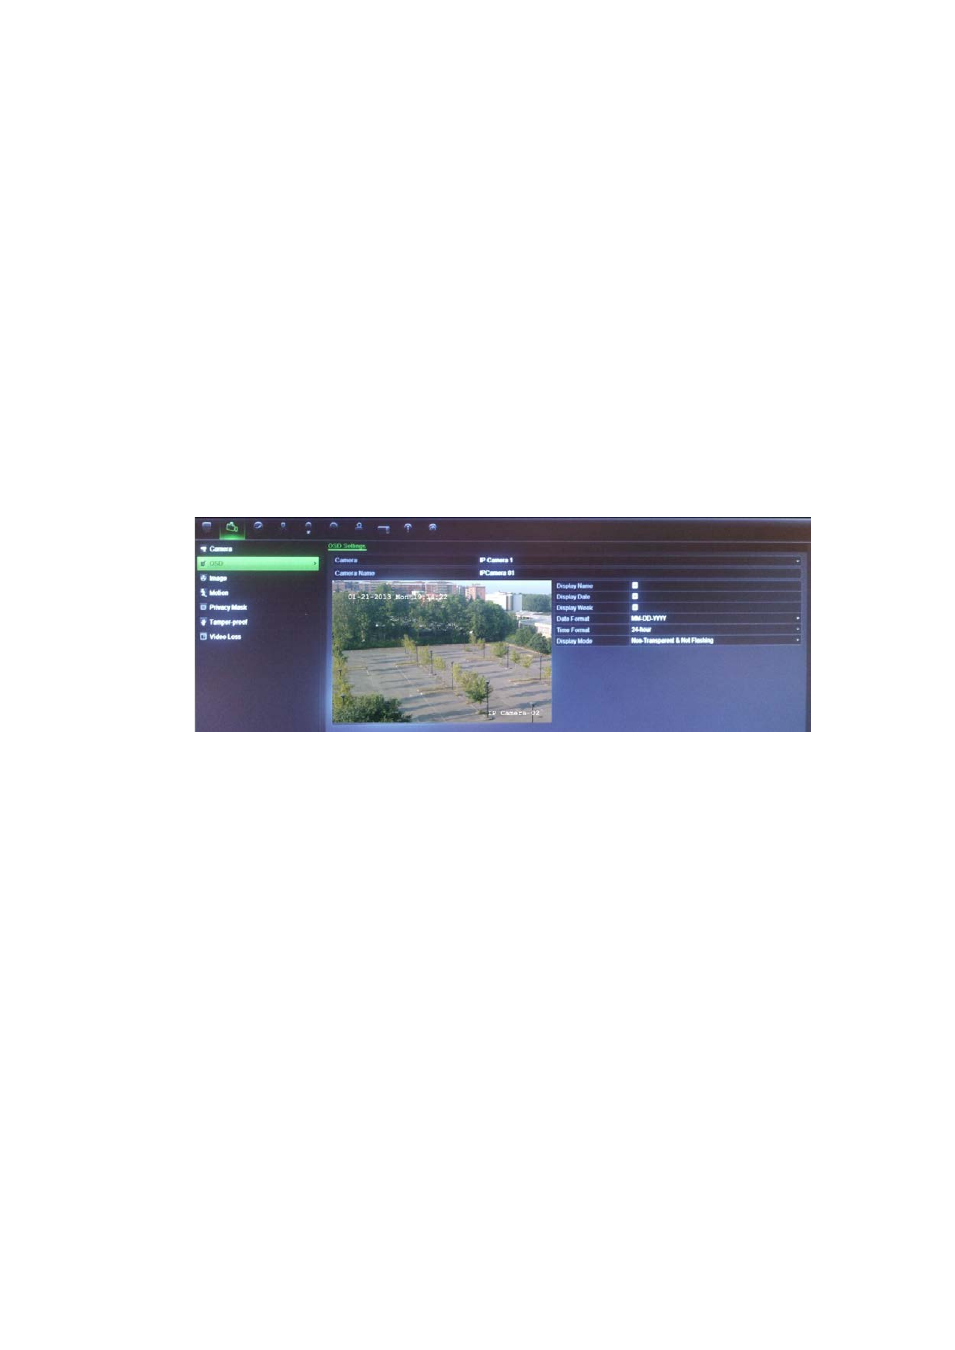
Configuring the camera OSD settings
The on-screen display (OSD) settings appear in live view mode and include the
camera name, time and date. They also are included in recordings.
You can also adjust the transparency of the OSD relative to the background so
that it is easier to read or is less prominent on screen.
To configure the OSD settings:
1. Click the
Camera Management
settings icon in the menu toolbar and select
OSD
.
2. Enter a name for the camera, if required.
3. Check the Display Name, Display Date, and Display Week boxes to display
the camera name, date, and week.
4. Select a date format and a time format.
5. Select how you want the camera information displayed.
Select one of the options from the drop-down list. Default is non-
transparent/non-flashing.
• Transparent & flashing
• Transparent & not flashing
• Non-transparent & flashing
• Non-transparent & non-flashing
6. There are two red text boxes in the camera view screen; one for the camera
name and the other for the date/time. Using the mouse, click and drag a text
box to the desired position.
7. Click
Apply
to save the settings and then
Back
to return to live view.