English – KEYENCE SL-R12EX User Manual
Page 60
Chapter 4 Wiring and setting
4-22
4
English
ENGLISH
3. Press the “SET/TEACH” button once and release it. Confirm that the “TEACHING” LED lights,
the “FLOATING” LED blinks and the “B.B.P.” LED turns OFF.
4. Perform the settings according to the steps from (5) to (8) in “4-2-1 Setting procedure” (
➮4-2).
5. The feature will activate and begin operation once power to the SL-R12EX has been turned OFF
and then back ON again.
4-6-3 Combination between the Floating blanking function and the Muting function
1. Turn OFF the power to SL-R12EX and turn ON the switch 2, 3 or 4. And then, turn ON the switch
5 for two-input muting function, or both switches 5 and 7 for four-input muting function. Two
function switches having the same number are provided on the SL-R12EX. You must turn ON
both switches. All other switches should be OFF.
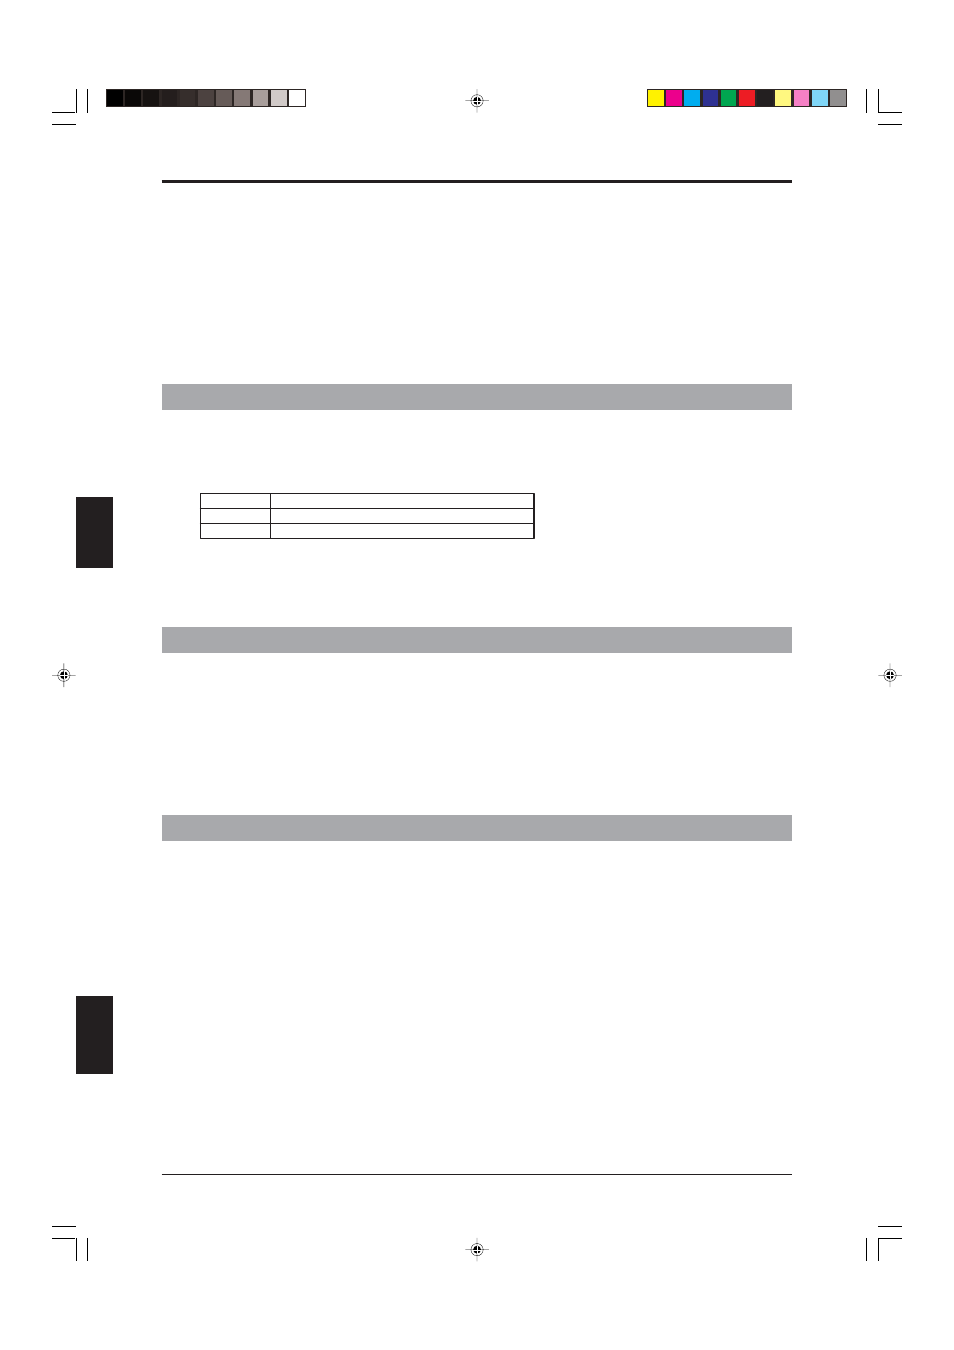
No.2 is ON
No.3 is ON
No.4 is ON
Enables the floating blanking function for 1 beam axis.
Enables the floating blanking function for 2 beam axes.
Enables the floating blanking function for 3 beam axes.
2. Perform the settings according to the steps from (2) to (9) in “4-2-1 Setting procedure” (
➮4-2).
4-6-4 Combination between the Fixed blanking function and the Muting function
1. Turn OFF the power to SL-R12EX and turn ON the switch 1. And then, turn ON the switch 5 for
two-input muting function, or both switches 5 and 7 for four-input muting function. Two func-
tion switches having the same number are provided on the SL-R12EX. You must turn ON both
switches. All other switches should be OFF.
2. Perform the settings according to the steps from (2) to (8) in “4-3-1 Setting procedure” (
➮4-3).
4-6-5 Combination between the Fixed blanking function and the Programmable muting function
1. Turn OFF the power to SL-R12EX and turn ON switch 1. Then, turn ON switch 6 for two-input
programmable muting bank function, or both switches 6 and 7 for four-input programmable
muting bank function. Two function switches having the same number are provided on the SL-
R12EX. You must turn ON both switches. All other switches should be OFF.
2. Perform the settings according to the steps from (2) to (5) in “4-3-1 Setting procedure” (
➮4-3).