Checkline TI-MINIMAX User Manual
Page 81
MINI-MAX Ultrasonic Bolt Tension Monitor
Note: Once the length is inserted in the ULTRASONIC 1 field , it also
needs to be documented or stored in our Probe Zero group. The next step
is documentation.
19) Press the
MEAS key twice to activate measurement screen. Press the
MEAS key multiple times to move right, and the ESC key multiple times
to move left until the
LOC cell is highlighted.
20) Press the
ENTER key to display the Group View Box.
21) Press the
UP, DOWN, LEFT, and RIGHT arrow keys to scroll the target
cell cursor to the desired storage location.
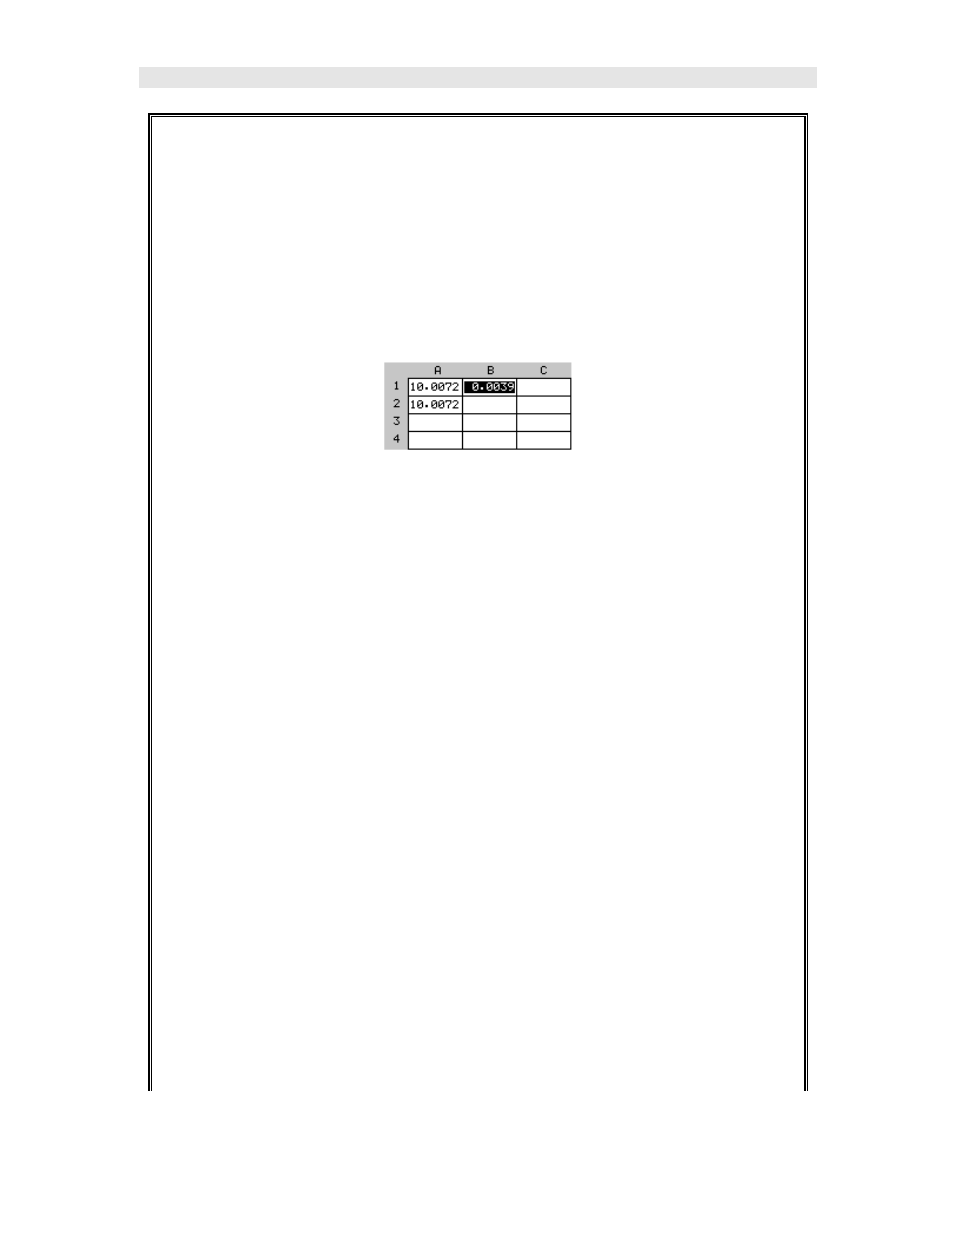
Note: Since this is the first cal bar and measurement taken, the
measurement should be stored to location
A1.
22) Press the
ENTER key to save and document the current reading in the
highlighted cell location.
23) Abort the
Group View Box by pressing the MEAS key at any time.
Note: All settings are stored with the reading for future probe zero
verifications.
24)
Repeat steps 5 – 24 for the second cal bar. Remember that any
references to
ULTRASONIC 1 are now ULTRASONIC 2, and any
references to
Probe Zero Group cell A1 are now A2. Also note that
you must be in a cell that does not contain a measurement in order to
measure. Therefore, if your
Auto Increment was set to none, you must
advance your cursor to another location in the group. Keep in mind that