Replacing the theta controller fuses – Dynojet 250i: Pit Installation Guide User Manual
Page 108
In Ground Model 200iP/250iP Motorcycle Dynamometer Installation Guide
C H A P T E R 4
Maintenance and Troubleshooting
4-10
R
EPLACING
THE
T
HETA
C
ONTROLLER
F
USES
Hazardous voltage. To avoid risk of electrical shock, disconnect the battery and
unplug the dyno.
1
Remove the Control Panel Interface (CPI) cover and set aside. Refer to “Accessing
the CPI” on page 2-31.
2
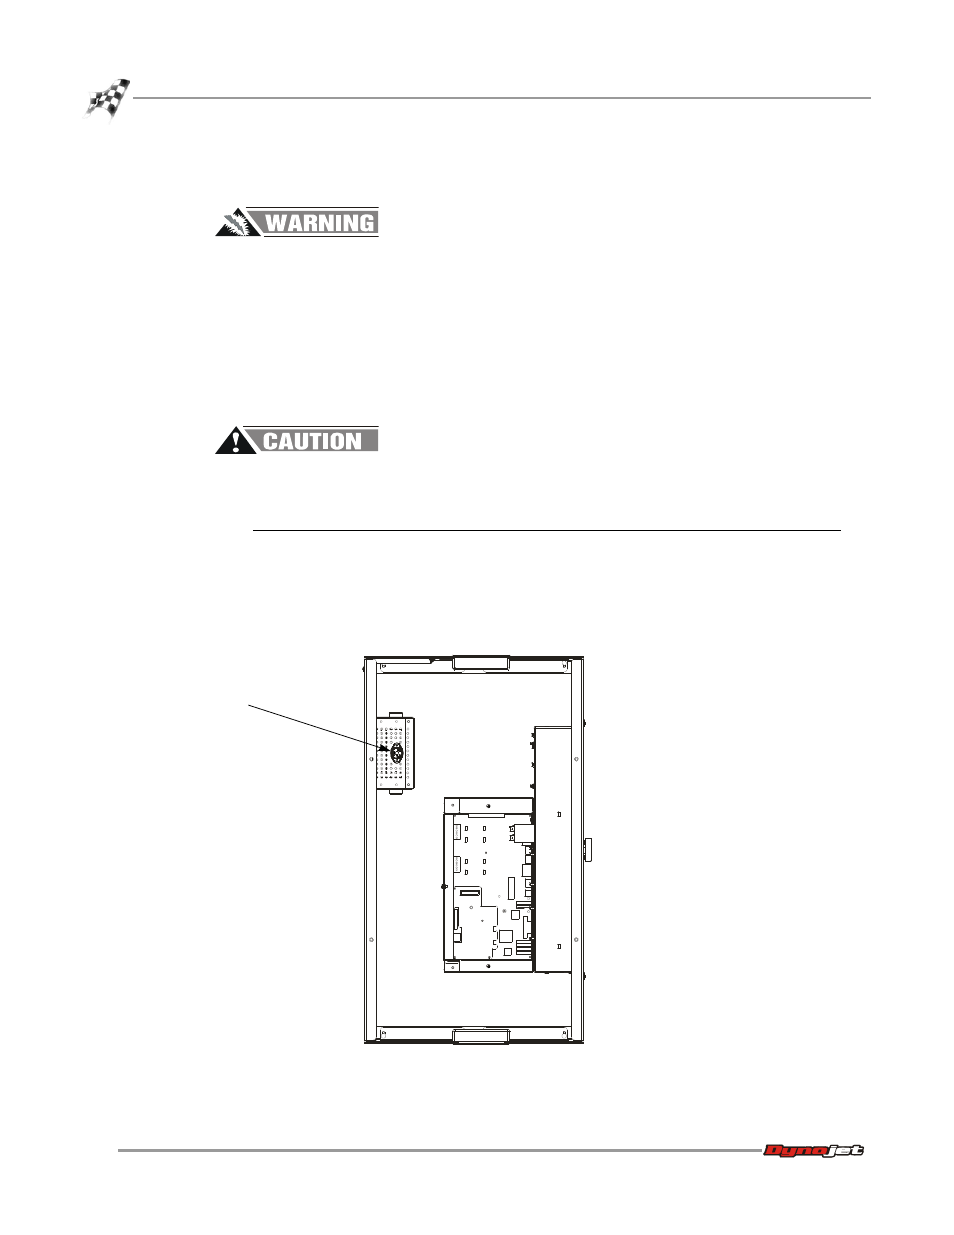
Gently push the fuse holder slightly inward and rotate counterclockwise. Remove
the fuse holder.
3
Replace the fuse with a fuse type listed below.
4
Replace the CPI cover using the eight button-head screws removed earlier.
For continued protection against risk of fire, replace only with a fuse of the
same type and having the same electrical rating.
Figure 4-3: Theta Controller Fuses
240V Theta Controller Fuses
120V Theta Controller Fuses
• Buss P/N BAF-15, 15A Fuse
• Buss P/N BAF-25, 25A Fuse
• Little Fuse, KLK 15
• Fast Blow, Dynojet P/N 54212501
• Fast Blow, Dynojet P/N 54211501
MC133
theta controller fuses