Adjusting opacity, Changing the orientation, Adjusting opacity 52 – Apple Keynote 1 User Manual
Page 53: Changing the orientation 52
52
Chapter 4
Adjusting Opacity
Object opacity can be used to create very interesting effects. When an object of low opacity is
placed on top of another object, the object beneath remains visible. Depending on how high
or low you set the opacity, the objects beneath can be highly visible, partly obscured, or
completely blocked from view (at 100% opacity). You can change opacity settings for any
visual object on the slide canvas, including drawn shapes, pictures and other image files, and
movies. Set object opacity using the Graphic Inspector.
To set object opacity:
1
Select the object whose opacity you want to change.
2
In the Graphic Inspector, drag the Opacity slider to adjust the opacity.
Note: For drawn shapes, you can set the opacity of the object’s fill color separately from the
object opacity. When you select the fill color for an object, set the color opacity with the
Opacity slider in the Colors window. This color opacity value becomes 100% object opacity.
When you reduce the object opacity in the Graphic Inspector, you are only reducing it
relative to the opacity you set in the Colors window.
Changing the Orientation
You can flip or rotate any object by using the Metrics Inspector. For instance, if you have a
nice image of an arrow that you want to use in your slideshow, but you need it to point in
different directions, you can reverse its direction vertically or horizontally, or point it at any
angle.
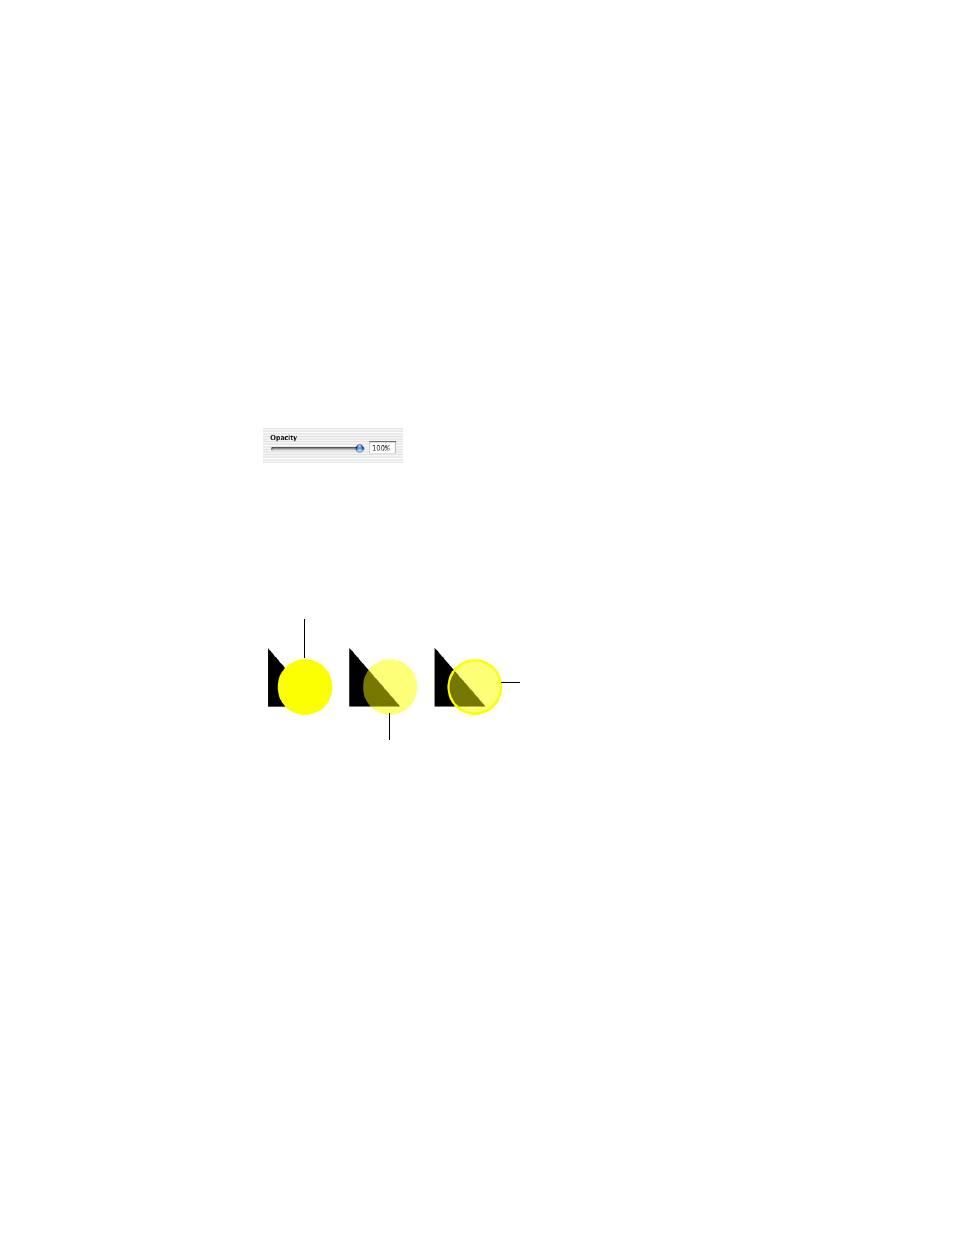
This circle is set to 100% opacity.
The fill color was set to 50%
opacity in the Colors window. The
circle’s outline was set to 100%
opacity in the Colors window.
This circle is set to
100% opacity.
This circle is set to
50% opacity.