8 set k-net ids, Set k-net ids, Figure 127: configuration mismatch warning – Kramer Electronics WP-501 User Manual
Page 66: Figure 128: the k-net id connect window, Figure 129: setting k-net id, On 8
Set K-NET IDs
59
8
Set K-NET IDs
In a room setup, the auxiliary devices connected to the Master RC are daisy chained via K-NET and
need to be assigned a K-NET ID by K-Config
To set the K-NET ID to an auxiliary device:
1. Right click the required auxiliary device in the Control room area and select Set K-NET ID.
The following window appears:
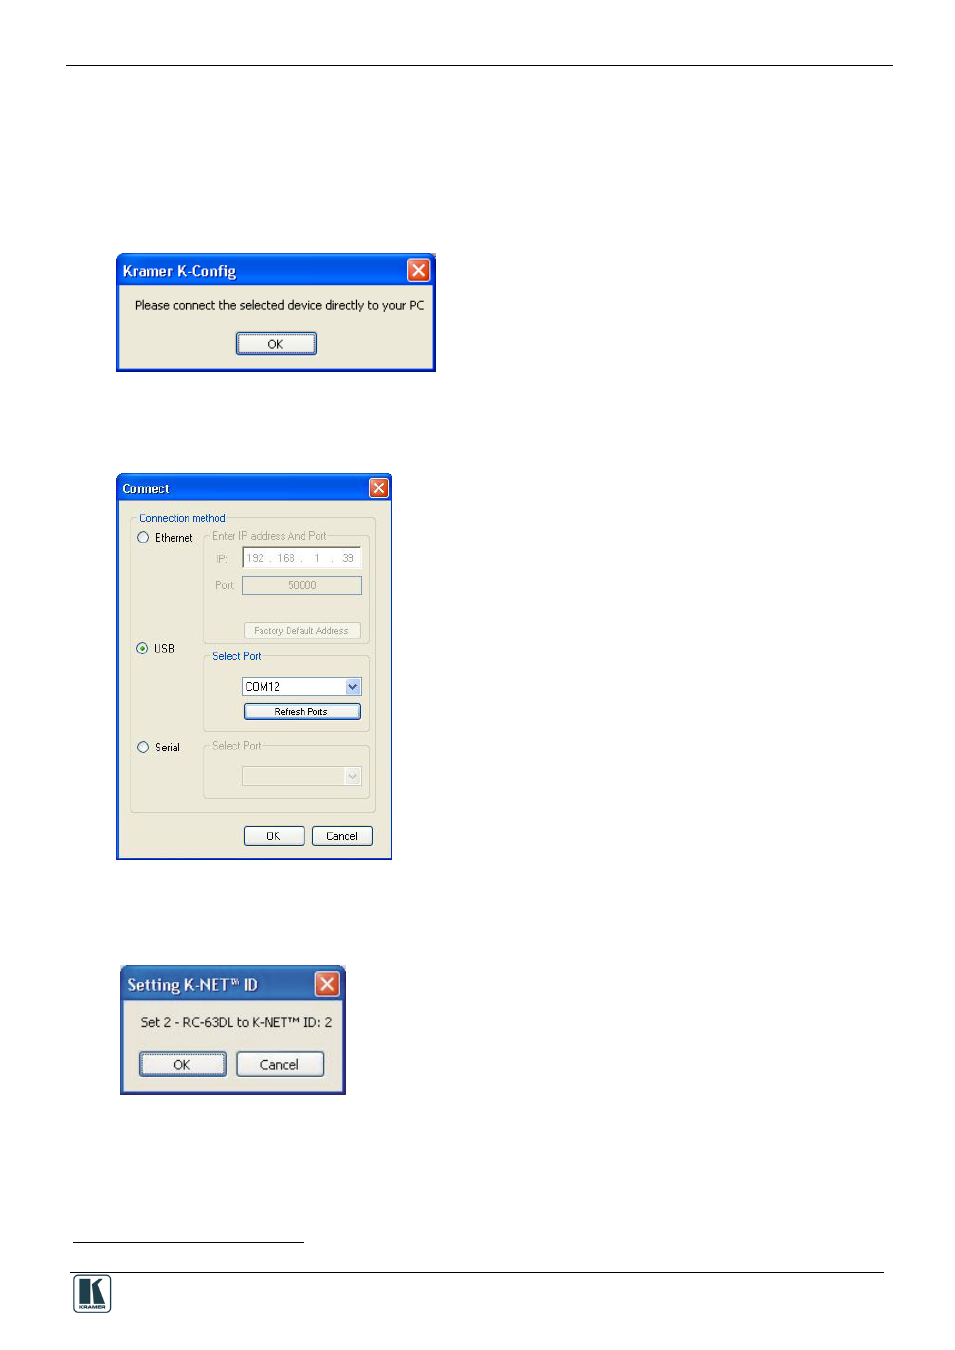
Figure 127: Configuration Mismatch Warning
2. Connect the auxiliary device directly to the PC (via USB) and then click OK.
The Connect window appears:
Figure 128: The K-NET ID Connect Window
3. Click OK to connect.
The setting K-NET ID window appears.
Figure 129: Setting K-NET ID
4. Click OK to set the ID number.
1
The ID number of the Master RC is always 1 and the ID numbers allocated to the Virtual devices are 11 and 12