P. 4-37 – Canon VB-C60 User Manual
Page 117
4-37
Set Normal Schedule
R
e
gi
ste
r C
a
m
e
ra
Se
rv
er
and
Set
R
e
co
rdi
ng
Sche
du
le
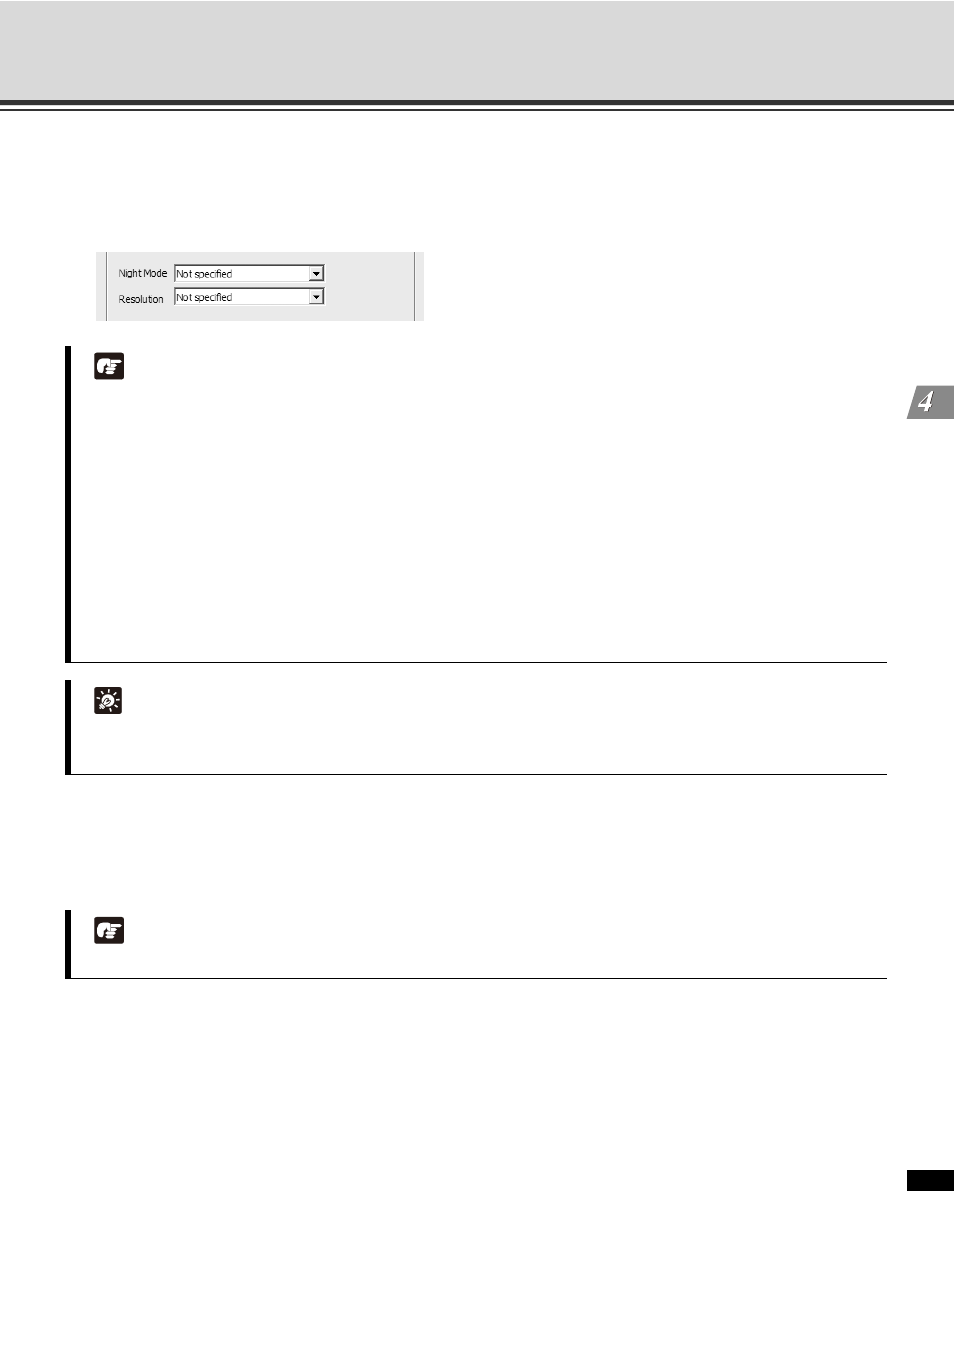
Set the Night Mode and Resolution (VB-C500VD, VB-C500D, VB-C60, VB-C300,
VB-C50i/VB-C50iR, VB-C50FSi, VB-C50Fi and VB150)
1. Select the [Night Mode] from the drop-down menu. You can select from [Not specified], [Disabled], [Enable],
and [Auto].
2. Select a [Resolution] for recording from the drop-down menu. You can select from [JPEG Small], [JPEG
Medium], [JPEG Large], [MPEG-4] or [Not specified].
If you select [Not specified], the Storage Server does not attempt to change the setting, rather it accepts
whatever [Night Mode] setting and resolution the Camera Server offers.
Note
z If you select [Enabled], the [Night Mode] status will be back to [Disabled] after the configured recording
schedule finishes.
z A higher resolution results in larger disk usage. Make sure you have enough disk space.
z If you set [Night Mode] to [Auto], please make sure that [Exposure] mode is set to [Auto] on the [Camera
Control] Panel.
z The Auto setting for Night Mode can only be set with the VB-C500VD, VB-C500D, VB-C60, and VB-C300.
z The [Night Mode], [Day Mode], and [Not specified] options for the Night Mode function can only be set
with VB-C500VD, VB-C500D, VB-C60, VB-C300, VB-C50i series, and VB150.
z Video turns to monochrome in the [Night Mode].
z If you specify [Auto], you cannot control the [Night Mode] using the [Camera Control] Panel.
z You cannot use the built-in infrared lamp if you are using the optional dome housing.
Tip
z In the [Night Mode], set to [Enable]. After the schedule expires, the [Night Mode] will be disabled.
z In the [Auto] mode, the mode automatically switches according to the brightness.
Note
[MPEG-4] can be selected for VB-C500VD, VB-C500D and VB-C60.