Mounting, Caution – West Control Solutions Pro-16 User Manual
Page 6
Mounting
9499-040-93811 / 59537-1
Page 6 of 88
Pro-16
1. Mounting
CAUTION
Make sure that the inside of the mounting plate corresponds to the instrument
operating temperature and that sufficient ventilation to prevent overheating is
provided.
Please, DON’T remove the safety device/sealing of the mounting plate, in
order to avoid jamming of the instrument in the mounting plate.
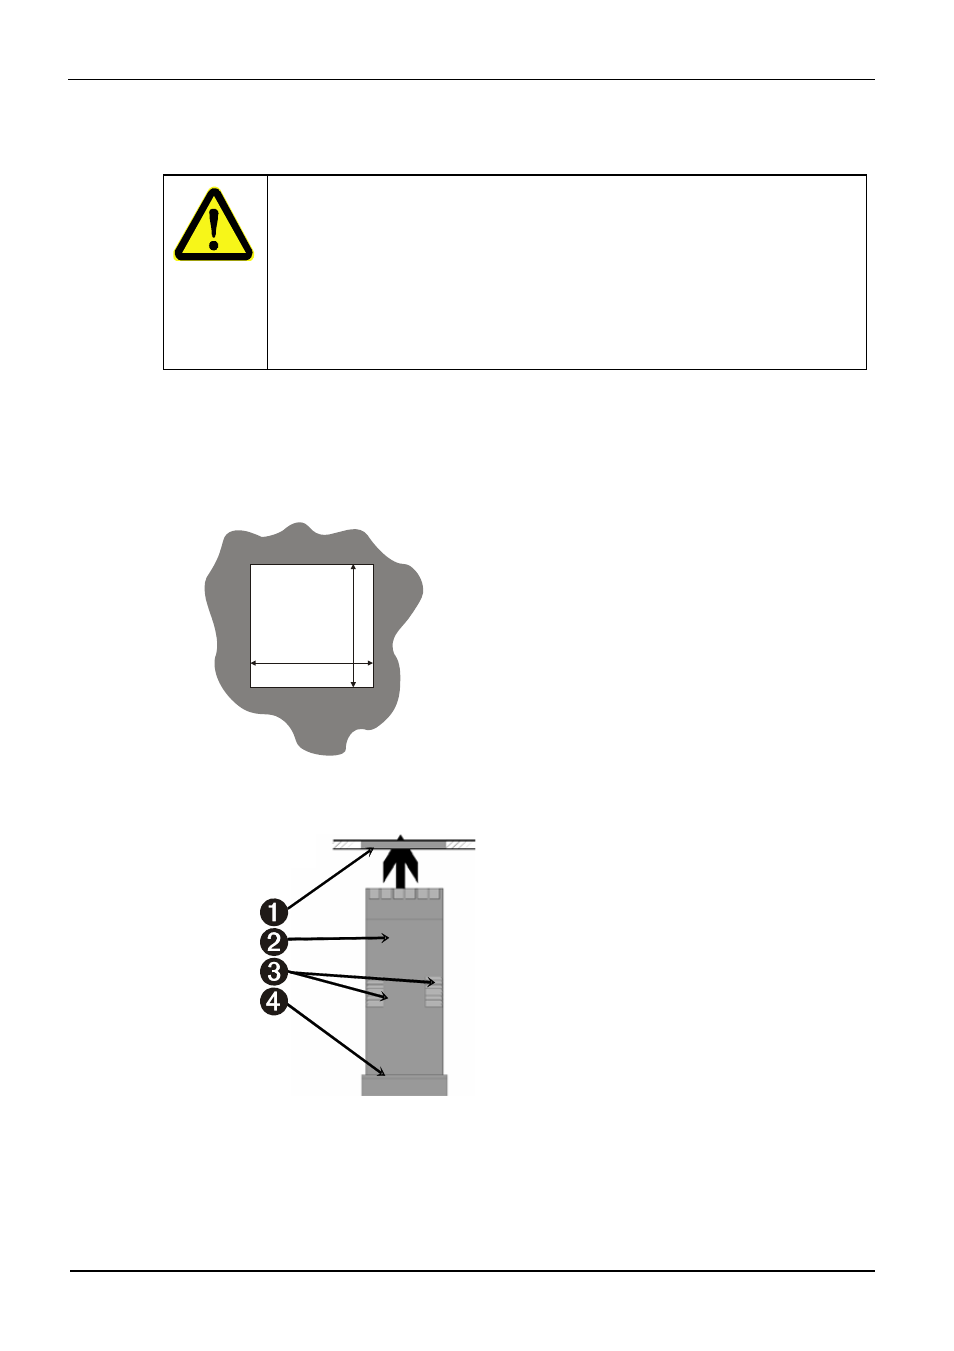
The mounting plate must be solid and up to 6.0 mm thick. The required cut-out is shown
below. Several instruments with the following dimensions can be installed side by side:
Instruments: (48n - 4) mm or (1.89n — 0.16) inches.
Fig. 1: Mounting dimensions
Mounting dimensions
The mounting depth with terminals plugged
in is 110mm.
1. Insert instrument into the panel cut-out.
2. Hold front bezel firmly (without pressing
on display area), and re-fit mounting
clamp. Push clamp forward, using a tool if
necessary, until gasket is compressedand
instrument held firmly in position.
Fig. 2 : Orientation
Mounting plate
Housing
Latching groove
Seal
45mm
+0,5 - 0,0
45mm
+0,5 - 0,0