Techne PrimeQ User Manual
Page 64
64
• Heated Lid: Default 105°C. Set a temperature (possible temperature range from 100°C to
115°C).
• Wait For…: Set a ‘wait for’ time (i.e. the time to wait while the lid heats up before the block
thermal program begins, hrs:min:sec). Or click the button to wait until heated, the program
will then start as soon as the lid reaches the set temperature.
• Read Whole Plate: Default ON. Click to Read only filled wells. This can be useful to
reduce the time taken to read the plate if only a partially filled plate is in use. Note: a plate
layout
must be defined in order to read only the filled wells.
• Instrument Buttons: Default enabled. Click to disable (prevents against accidental
stoppage of the instrument using the instrument buttons, so that the program can only be
controlled from within the software).
• Plate Type: Default Clear. Scroll down to select a different plate colour.
• Sample Volume: Default 20µl. Change as appropriate (max 50µl, min 15µl).
• Final Hold: Default OFF. Activate by clicking. Set time and temperature as appropriate.
3.4.3.4
Program
A program is set up in a logical fashion whereby temperatures and hold times are defined for each
stage, as would be done on a typical thermal cycler. The major difference is that the user will tell
the instrument when to take a fluorescent reading and which filter cartridge(s) should be used.
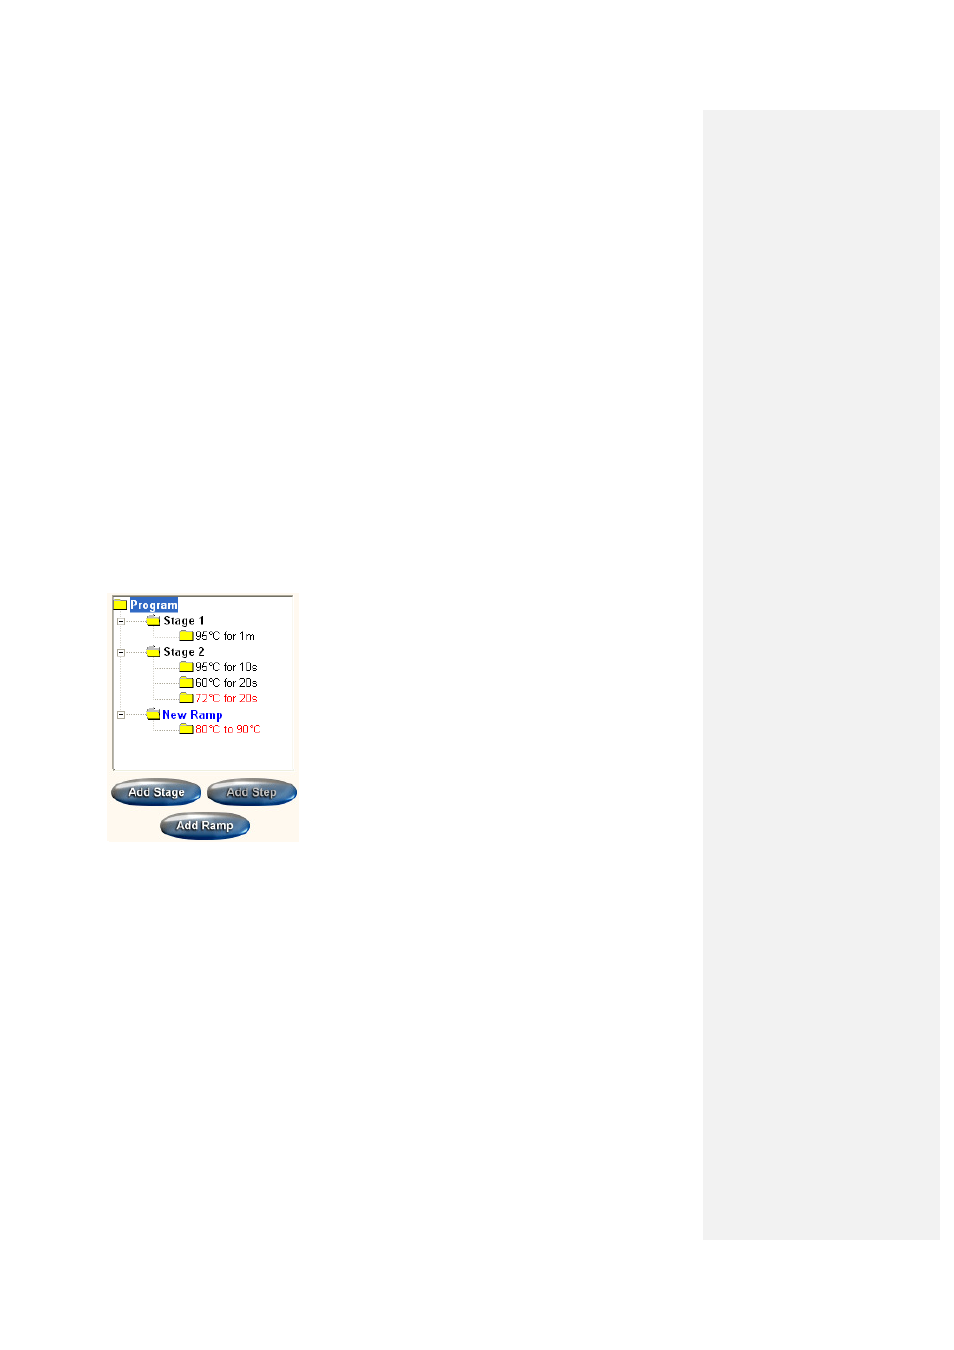
Each stage of the Program is made up of temperature steps
cycled x number of times.
• Click Add Stage to open a new stage and label it
accordingly.
• Click Add Step to add the relevant temperature steps to
each stage.
• Click Add Ramp to add a ramp read (melt stage, see
section 3.4.3.6).
Steps with a dye read are highlighted in red; a ramp read is
highlighted in blue.
Level 1: Program
• Name the program if desired (the default is New Program) and set the instrument settings.
Level 2: Stage
• Click Add Stage. On doing so, a new stage folder will appear in the file view: