Finish projector drop ceiling mount installation, Finish projector drop ceiling mount, Installation – Extron Electronics PoleVault Digital Switcher Systems PVS 405D User Manual
Page 29
6. Finish Projector Drop Ceiling Mount
Installation.
a. Detach the projector bracket and projector
from the adjuster plate. DO NOT remove the
projector bracket from the projector.
b. Unscrew the adjuster plate from the mounting
pole.
c. Loosen the pipe adapter set screws on the
PCM 340 and the pipe location screw and
remove the mounting pole, then loosen the
T-frame securing screws and remove the PCM
340 from its marked location.
d. Replace the cut ceiling tile, checking the
orientation to align the hole with the
PCM 340.
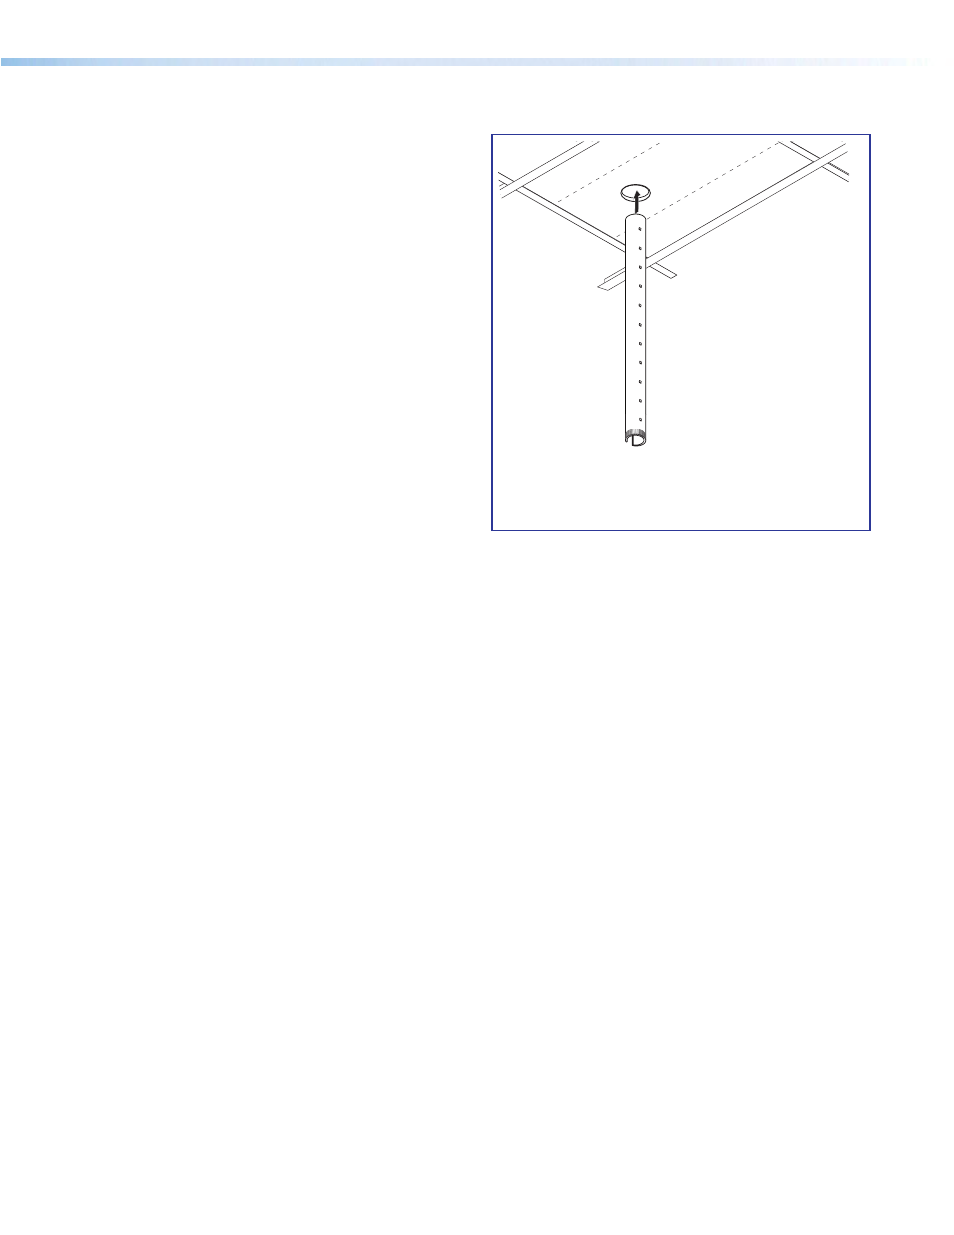
e. Replace the PCM 340 over the ceiling tile, slide
the slotted pipe up through the tile and into
the adapter plate. Realign the location holes
with the pipe holes, insert and tighten down the
location screw. Tighten the set screws.
f. Tighten the four T-frame securing screws on the
PCM 340. The T-frame securing screws can be
used on either side of the frame.
J
Slide the pipe up through the ceiling tile and
into the pipe adapter plate. Shown as viewed
from below.
PoleVault Digital Systems • Installation — Stage 1 (Screen and Projector)
23