Extron Electronics PoleVault Digital Switcher Systems PVS 405D User Manual
Polevault system
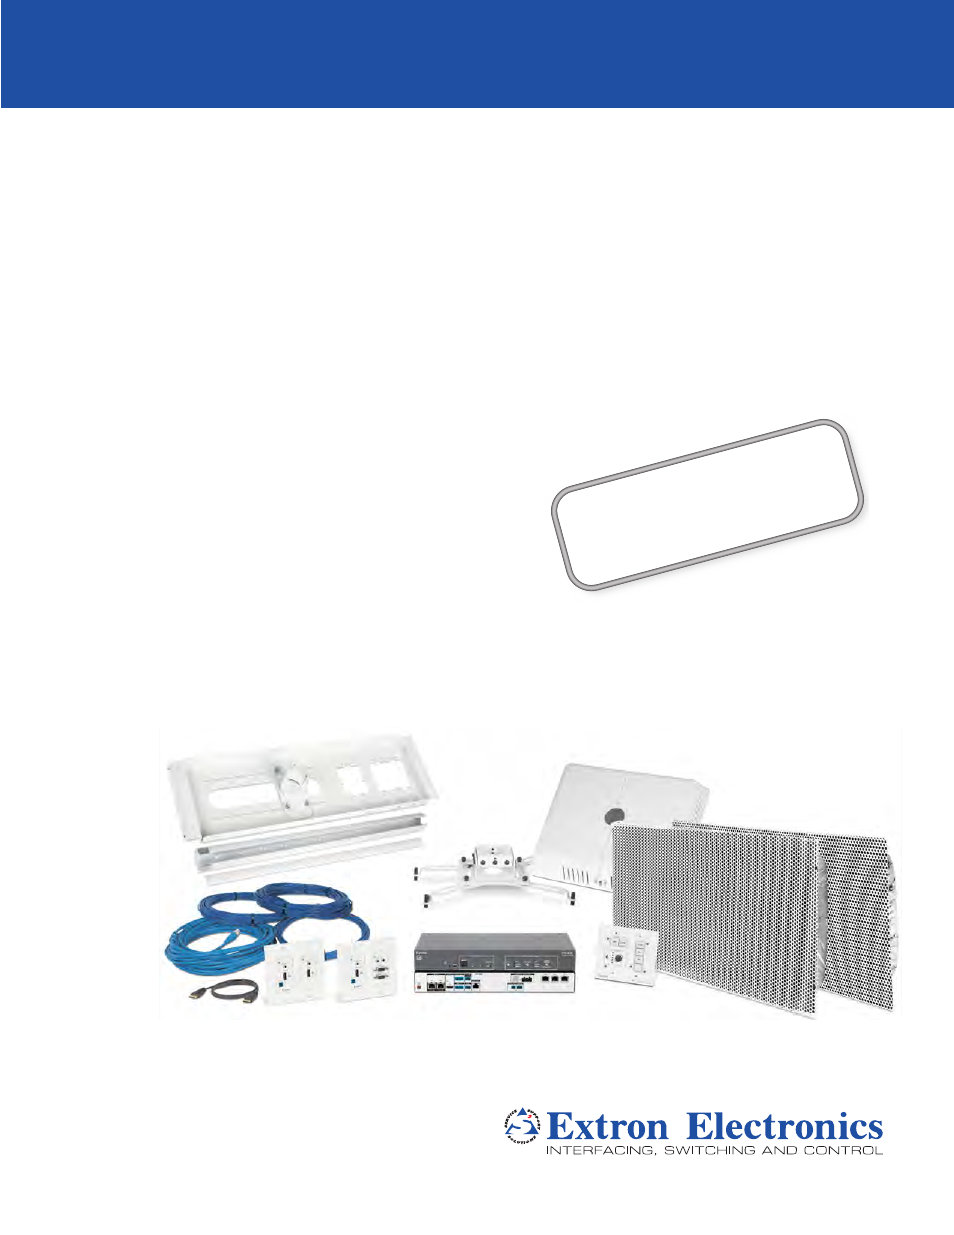
Table of contents
Document Outline
- PoleVault Digital Switcher Systems
- Contents
- Introduction
- Overview
- The Digital PoleVault, WallVault, and PlenumVault Systems
- Installation
- Overview
- Outline of Installation Steps for PoleVault Digital Systems
- Stage 1:Installing the Screen and Projector
- 1. Mark Screen Location
- 2. Install Projector to Verify Location
- 3. Verify the Image Location
- 4. Cut the Ceiling Tile
- 5. Preliminary Safety Hardware Installation
- 6. Finish Projector Drop Ceiling Mount Installation
- 7. Secure the Projector Drop Ceiling Mount to the Ceiling
- 8. Install the Electrical Box (if required)
- 9. Install the Screen
- 1. Mark Screen Location
- Stage 2:Mounting the PVT Wallplate and the MediaLink Controller
- Stage 3:Installing the FF 120 Ceiling Speakers
- Stage 4:Installing the Switcher Mounting System and the PVS 405D
- A. PoleVault System (PMK 560 Pole Mount Kit)
- B. WallVault System (WMK 160 Wall Mount Kit)
- C. WallVault System (USFM 100 Short Throw Wall Mount Kit)
- D. PlenumVault System (PVM 220 PlenumVault Mount Kit)
- D1. Remove the device mounting plate from the access door
- D2. Remove ceiling tile and install suspension cables.
- D3. Suspend the main PVM 220 enclosure from the ceiling.
- D4. Run AC power wiring to the AC module in the PVM 220
- D5. Run signal and control cables to thePVM 220.
- D6. Install devices onto the device mounting plate.
- D7. Cut and install the ceiling tile in the access door.
- D8. Install the device mounting plate onto the access door.
- D9. Cable the switcher
- D10. Verify and configure the setup.
- D11. Attach the door tether to the door.
- D12. Secure the door latches.
- D1. Remove the device mounting plate from the access door
- Stage 5:Configuring the PVS 405D Switcher
- Optional Accessory Installation — VoiceLift System
- Optional Accessory Installation — Priority Page Sensor (PPS 35)
- Optional Accessory Installation — Priority Page Sensor Kit (PPS 25)
- Installation Outlines
- Extron Warranty