Select a part and sound to record, Recording standby, Recording – Roland RS-70 User Manual
Page 75
75
Using the sequencer to create patterns (Pattern mode)
Pattern Mode
Recording notes one at a time
(Step Recording)
Step recording is the method in which individual notes are input one
by one. Use this method when you need to input notes at a precise
timing, as when entering percussion or bass parts.
*
You cannot record data other than note messages, such as knob
movements or other control changes.
1. Select a part and sound to record
1.
Press [PART SELECT] so it is lit.
2.
Use [0]–[9] to select the part that you want to record.
To select the parts 11–16, hold down [SHIFT] and press [1]–[6]
(p. 54).
3.
Use VALUE [-]/[+] to select a patch.
“Selecting a patch”
(p. 24)
You can only select patches from the category that is assigned to
the part you are recording. If you want to use a patch from
another category, you must assign that category to the part to be
recorded. For details, refer to
“Assigning patches of the same
category to multiple buttons”
(p. 68).
2. Recording standby
1.
If the pattern is playing, stop the pattern.
2.
While holding down [SHIFT], press [
].
[
] will blink, and you will be in the
recording standby
state.
3.
Use PAGE/CURSOR [
]/[
] to move the cursor, and use
VALUE [-]/[+] to specify the value.
fig.r06-07_40
Values
A:
Specify the measure location at which recording is to begin.
B/C:
Specify the time signature of the pattern. You can set
the time signature of a pattern only when the pattern
length is 0.
D:
Specify the number of measures that you want to
record. It can be set longer than the number of measures
in the pattern, but cannot be set to a shorter number.
“Deleting unwanted measures (PTN DELETE)”
(p. 84)
3. Recording
1.
Press [
] to begin recording.
2.
Use VALUE [+]/[-] to set “Step.”
Step (Step Time)
Specify the length of the note.
Value:
, , , , , , , ,
3.
Press [PARAM].
Make other settings for step recording.
4.
Use PAGE/CURSOR [
]/[
] to select “Gate Time Ratio,”
or “Velocity.”
Use VALUE [-]/[+] to set their value.
fig.r06-35_40
Gate (Gate Time Ratio)
Specify the proportion of the gate time relative to the step time.
Specify a lower value if you want the notes to be played staccato,
or a higher value if you want the notes to be played tenuto, or as
a slur. Normally, you will set this to about “80%.”
Value:
1–100%
Velocity
Specify the strength with which the note will be played. If you
want this to be the strength with which you actually pressed the
key, select “REAL.” Otherwise, use settings of p (piano)=60, mf
(mezzo forte)=90, or f (forte)=120 as general guidelines.
Value:
REAL, 1–127
5.
Press a key on the keyboard.
When you release the key, the note you input will be finalized,
and you will be ready to input the next note.
The position will advance by the length of the step time.
fig.r06-34_40
If you input a note or a rest by mistake, press [ERASE/UNDO]
to delete it. When you delete a note, the deleted note will sound
by way of confirmation.
6.
Continue inputting notes.
The Gate Time Ratio and Velocity values of the previously input
note will be maintained. If you are satisfied with the existing
settings for the next note you wish to input, it is not necessary to
change them.
The position cannot go beyond the length of the pattern. When
you reach the end of the pattern, the display will indicate “END.”
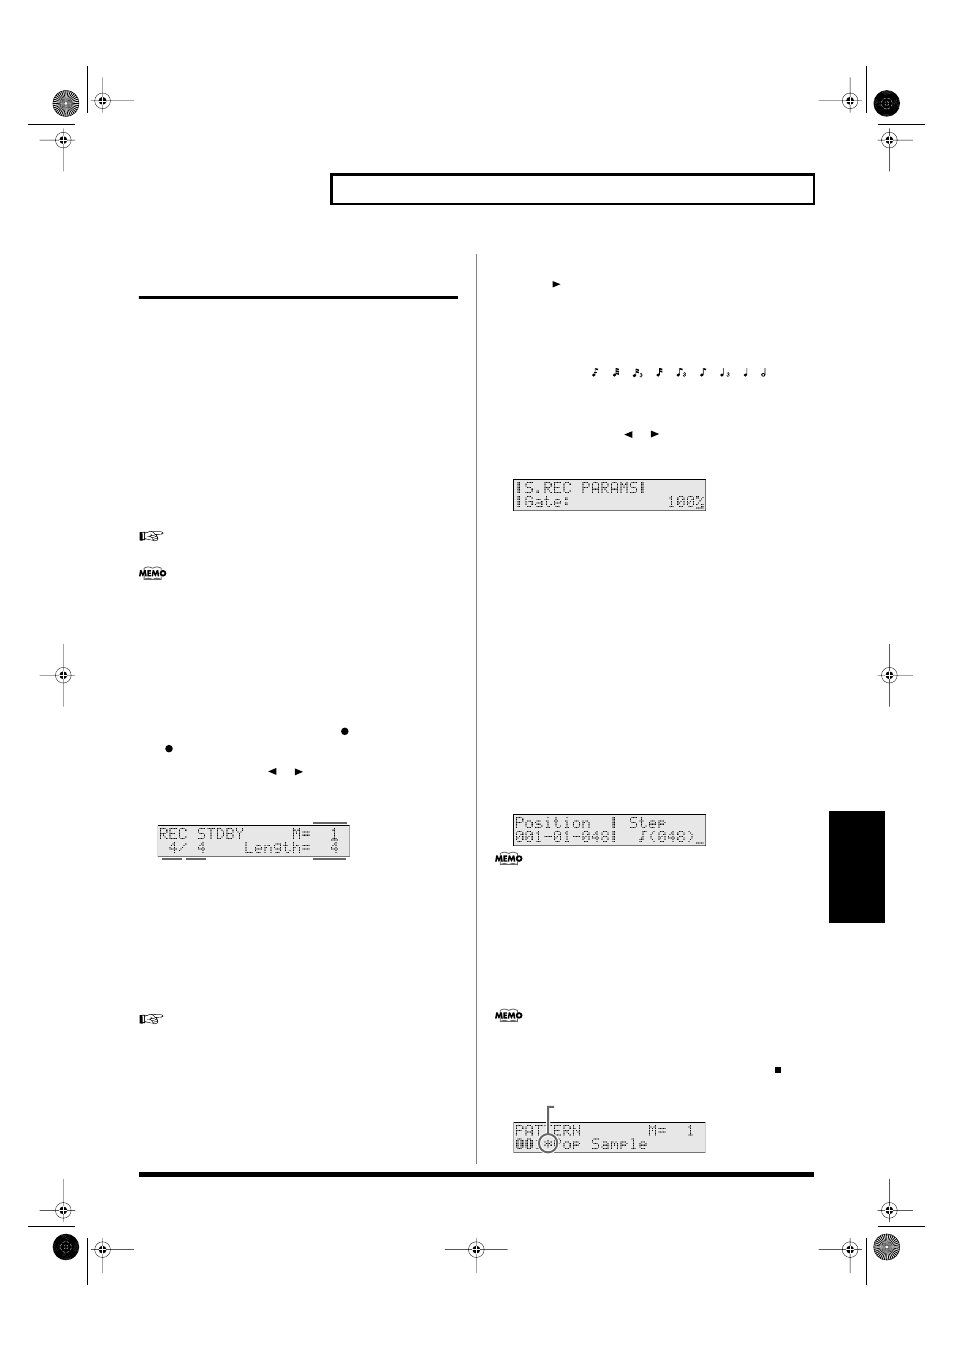
7.
Once you’ve entered all the notes you need, press [
] to
end the recording.
fig.r06-33.e
(A)
(C)
(D)
(B)
This means you are changing the pattern settings.
RS-70_e3.book 75 ページ 2003年6月18日 水曜日 午後12時54分