Making v-link settings (v-link setup), 137 performing with an external midi device, V-link setup parameters – Roland RS-70 User Manual
Page 137
137
Performing with an external MIDI device
Performing with an
external MIDI device
V-LINK functions that the RS-70 can control and MIDI messages
With the factory settings, the RS-70 assigns the following functions to each controller, allowing you to control V-LINK compatible video
equipment. For some controllers, you can change the function assignments.
* VFX2, 3, and 4 are not supported on the DV-7.
Making V-LINK settings
(V-LINK Setup)
1.
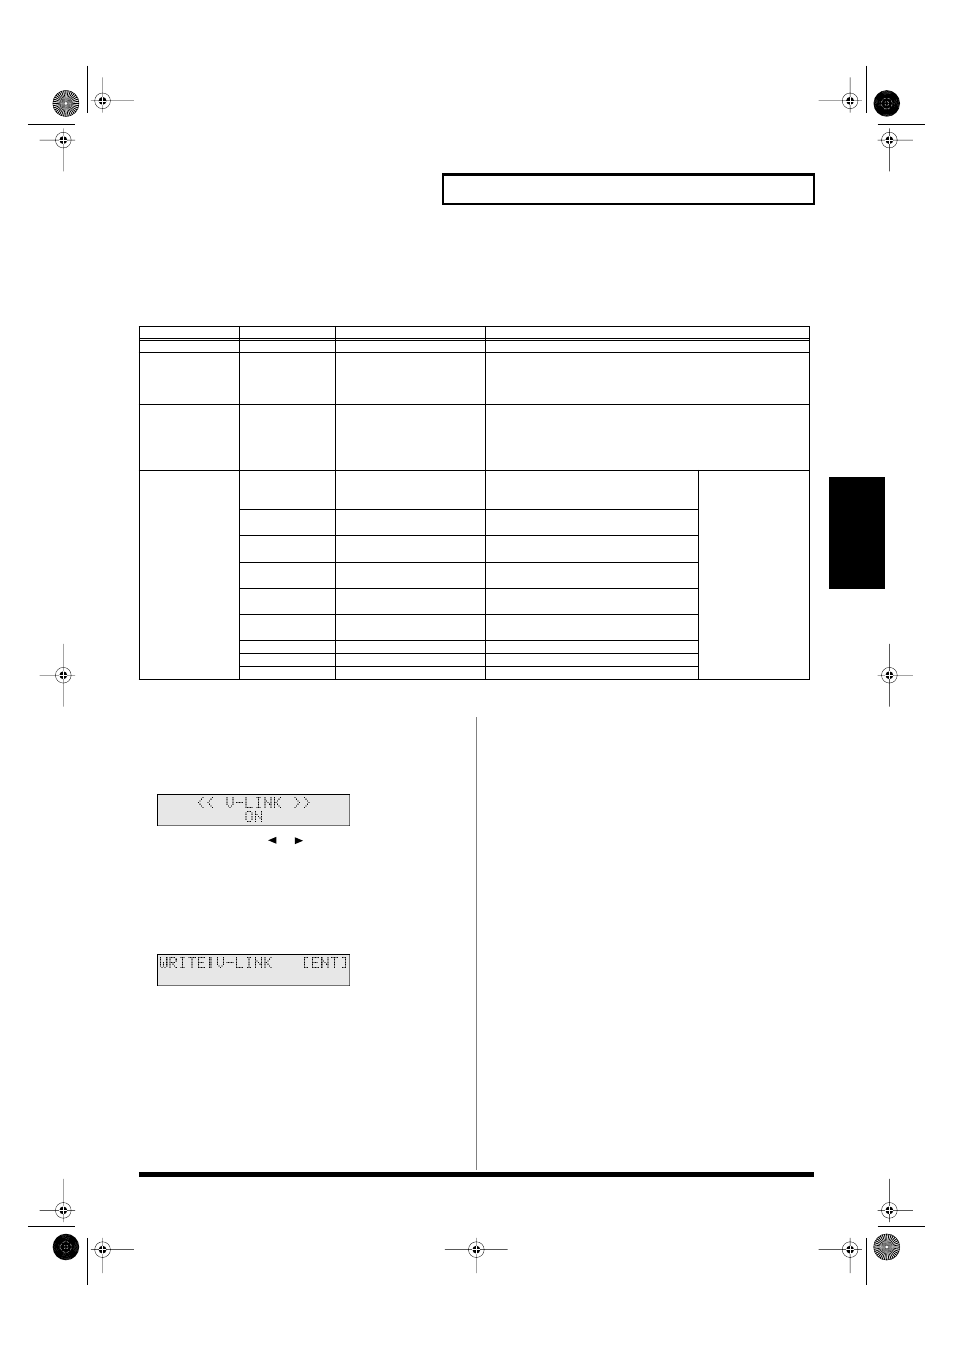
With the V-LINK screen displayed, press [PARAM].
fig.r10-31_40
2.
Use PAGE/CURSOR [
]/[
] to select the V-LINK
parameter.
For details on each parameter and its values, refer to the section
that follows.
3.
Use VALUE [-]/[+] to modify the value.
4.
Press [WRITE] to save the settings.
fig.r10-33_40
Press [EXIT] to cancel the settings.
5.
Press [ENTER].
When the settings have been saved, the display will indicate
“COMPLETED.” This completes the procedure.
V-LINK setup parameters
Local Sw (V-LINK Local Switch)
Specifies whether messages will be transmitted to the RS-70’s sound
generator or sequencer when you operate the keyboard or knobs
(ON), or not (OFF). If this is turned “OFF,” there will be no sound
when you play the RS-70.
Value:
OFF, ON
Clip Tx Ch (V-LINK Clip Transmit Channel)
When you play notes on the keyboard to switch clips, this setting
specifies the channel whose notes you can play to switch clips. If you
select “CURRENT,” the channel setting will change according to the
Current Part setting.
Value:
CURRENT, 1–16
Clip1 Note
You can play notes on the RS-70’s keyboard to switch between 32
clips. This parameter specifies the region of notes that will be used.
The region will be the 32 notes toward the right starting at the note
you specify for Clip 1.
Value:
21 (A 0)– 108 (C 8)
Controllers
V-LINK function
Transmitted MIDI message
Explanation
Keyboard
Clip 1–32
Program Change: 00H–1FH
Press keys to switch clips.
[1]–[0]
Palette 1–10
CC 0 (Bank Select): 00H–09H
While the
V-LINK screen
is displayed, press buttons [1]–[0] to
switch palettes 1–10. Even if the V-LINK function is on, the [1]–[0]
buttons will operate according to the mode of the RS-70 when the
V-LINK screen
is not displayed.
Pitch Bend Lever
Playback Speed
Pitch Bend
Operate the pitch bend lever to control the speed of image play-
back. Moving the lever toward the right will speed up the playback,
and moving it toward the left will slow down the playback. At the
center position, playback speed will be normal. You can adjust the
width over which the speed will change (p. 138).
[C1]
[C2]
[C3]
[CUTOFF]
[RESONANCE]
Modulation Lever
Dissolve Time
CC 73 (Attack)
Use [C1] (with the initial setting) to control
Dissolve Time (the speed of the transition
between images).
You can change this
function assign-
ment (p. 138).
Color Cb
CC 11 (Expression)
Use [C2] (with the initial setting) to control
Color Cb (the color-difference signal).
Color Cr
CC 72 (Release)
Use [C3] (with the initial setting) to control
Color Cr (the color-difference signal).
Brightness
CC 74 (Cutoff)
Use [CUTOFF] (with the initial setting) to
control brightness.
VFX1
CC 71 (Resonance)
Use [RESONANCE] (with the initial set-
ting) to control the Visual Effects 1.
VFX2
CC 1 (Modulation)
Use Modulation Lever to control (with the
initial setting) the Visual Effects 2.
VFX3
CC 91 (Reverb)
Controls the Visual Effects 3.
VFX4
CC 93 (Chorus)
Controls the Visual Effects 4.
Output Fade
CC 10 (Pan)
Controls the Output Fade.
RS-70_e3.book 137 ページ 2003年6月18日 水曜日 午後12時54分