Playback, Rotating pictures (rotate), Watching movies – Olympus OM-D E-M1 Mark III Mirrorless Camera User Manual
Page 130
130
EN
Playback
3
Rotating Pictures
(Rotate)
Choose whether to rotate photographs.
1
Play the photograph back and press the
Q
button.
2
Select [Rotate] and press the
Q
button.
3
Press
F
to rotate the image counterclockwise,
G
to rotate it clockwise; the
image rotates each time the button is pressed.
• Press the
Q
button to save settings and exit.
• The rotated image is saved in its current orientation.
• Movies and protected images cannot be rotated.
%
• The camera can be con
fi
gured to automatically rotate portrait-orientation pictures during
playback.
g
q
Playback Menu > [
R
] (P. 170)
[Rotate] is not available when [Off] is selected for [
R
].
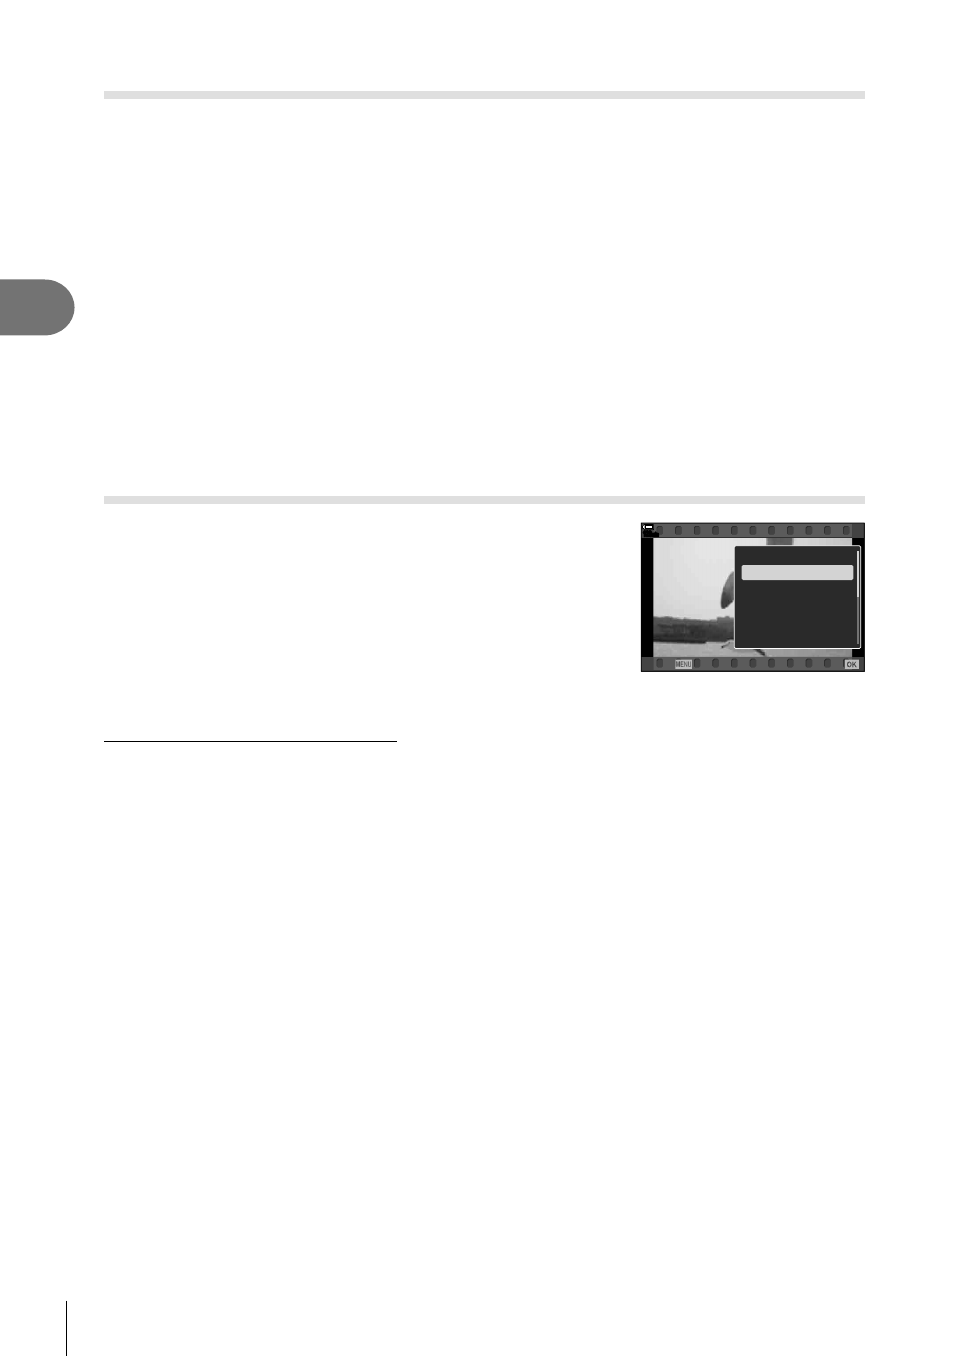
Watching movies
Select a movie and press the
Q
button to display the
playback menu. Select [Play Movie] and press the
Q
button to begin playback. Fast-forward and rewind using
H
/
I
. Press the
Q
button again to pause playback. While
playback is paused, use
F
to view the
fi
rst frame and
G
to view the last frame. Use
HI
or the front dial to view
previous or next frame. Press the
MENU
button to end
playback.
123
min
Movie
Play from Beginning
Play Movie
Movie Edit
Share Order
0
Copy
Back
Set
Viewing Movies over 4 GB in Size
Long movies may exceed 4 GB in size. Movies over 4 GB in size are recorded over multiple
fi
les. The
fi
les can be played back as a single movie.
1
Press the
q
button.
• The most recent picture will be displayed.
2
Display a long movie you want to view and press the
Q
button.
• The following options will be displayed.
[Play from Beginning]: Plays back a split movie all the way through
[Play Movie]:
Plays back
fi
les separately
[Delete entire
n
]:
Deletes all parts of a split movie
[Erase]:
Deletes
fi
les separately
• We recommend using the latest version of Olympus Workspace to play back movies on a
computer (P. 274). Before launching the software for the
fi
rst time, connect the camera to
the computer.