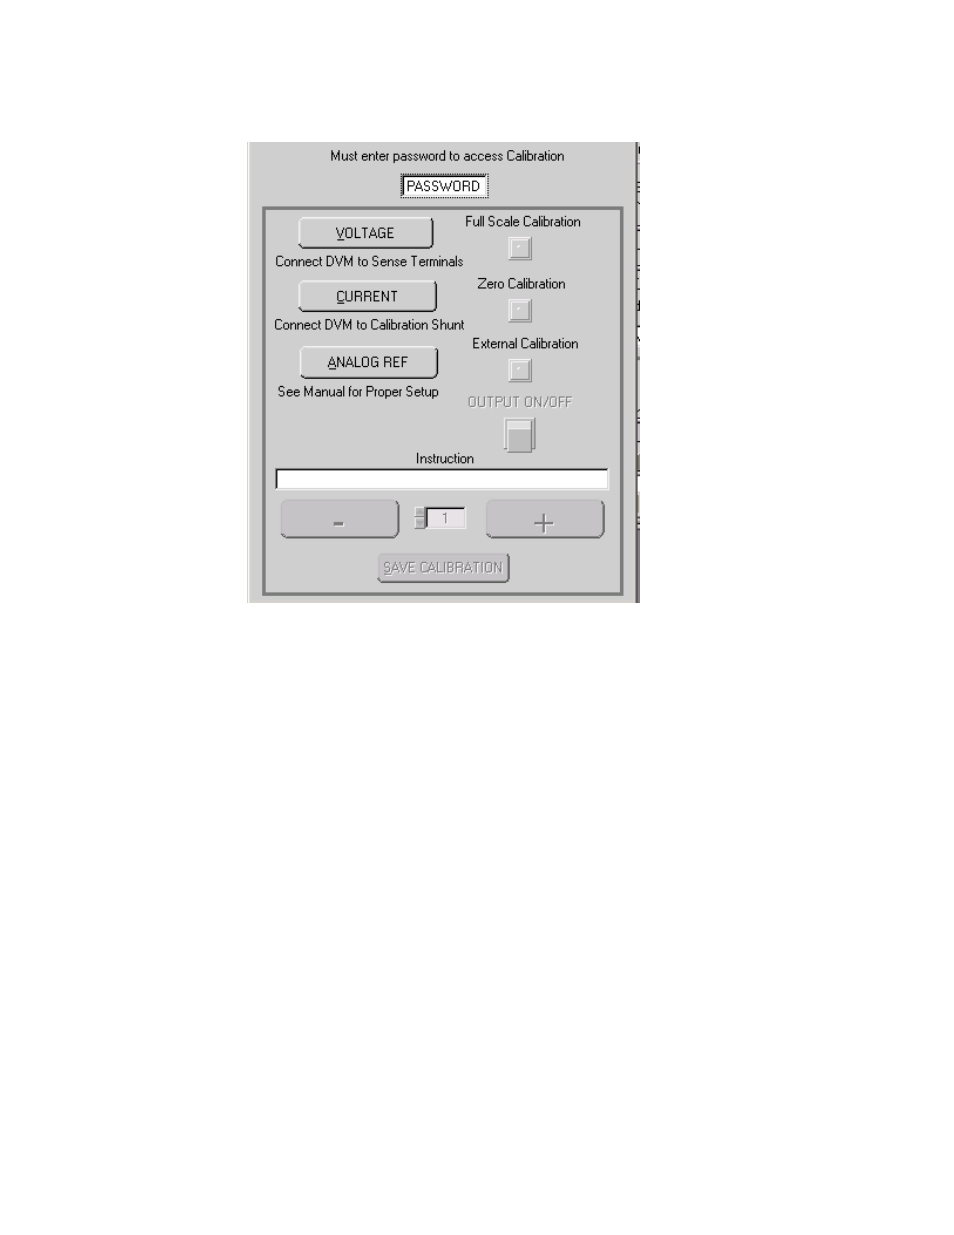
Figure 4-2. calibration window, 1 voltage calibration (vxi plug&play driver demo), Voltage calibration (vxi plug&play driver demo) -6 – KEPCO KLP Series User Manual, Rev 4 User Manual
Page 86: Calibration window -6, E 4-2

4-6
KLP 091313
FIGURE 4-2. CALIBRATION WINDOW
8. Use the computer keyboard to enter the password in the text box displaying the word PASS-
WORD, then press the ENTER key.
9. If password is correct, the status display on the VXI main panel reads CAL and the buttons
on Calibration Screen (Figure 4-1) are enabled (highlighted). If the password is incorrect, the
password text box displays “WRONG #”. Repeat step 7 to enter the correct password, or
click the Calibrate Close button on the VXI main panel to exit calibration.
NOTE: Calibrations may be done in any order.
10.Proceed to PAR. 4.4.1 for voltage calibration, PAR 4.4.2 for current calibration., PAR. 4.4.3
for external calibration or PAR. 4.4.4 to exit calibration
4.4.1
VOLTAGE CALIBRATION (VXI plug&play DRIVER DEMO)
During voltage calibration, the voltage, voltage readback and remote analog voltage readback
are calibrated.
1. Click the VOLTAGE button on the Calibration window to start voltage calibration: the Voltage
Calibration Window (Figure 4-3) appears. Minimum voltage is first; the status display on both
the UUT and the VXI main panel) reads V_0. Monitor DVM and click the “+” button to
increase and the “–“to decrease the output voltage until the DVM reads as close as possible
to minimum rated POSITIVE voltage or zero.
