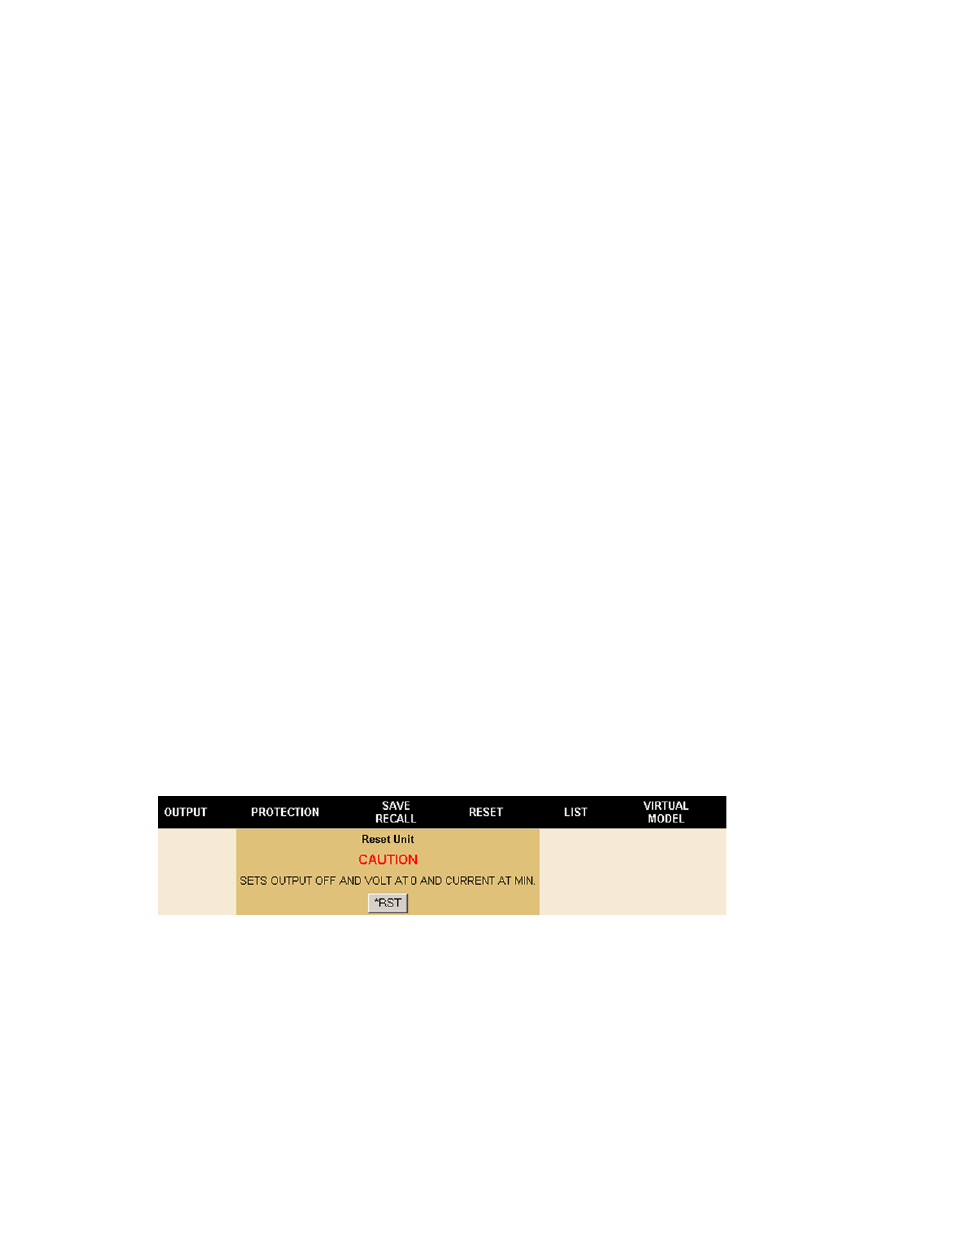
4 resetting the unit (*rst) [e-series models only, Figure 3-10. reset dialog box, 10 reset dialog box -32 – KEPCO KLP Series User Manual, Rev 4 User Manual
Page 74

3-32
KLP091313
NOTE: When the SAVE/RECALL tab is initially selected, parameters for all locations appear
as empty even when there are values stored from previous sessions. Click the Pre-
view button first to avoid overwriting existing data.
• To view currently stored settings: Enter a location (1 to 40) in the box between Save @
and Preview buttons, then click Preview button.
• To change currently stored settings: Enter a location (1 to 40) in the box between Save @
and Preview buttons, then click Preview button. Modify the settings and click Save @ button
to save the modified settings.
• To save the active settings: Enter the desired location (1 to 40) in the LOCATION box and
click Save State button to save the active settings. Only the parameters shown in Figure 3-7
can be saved.
• To save user-determined settings: Enter location (1 to 40) in the box between Save @ and
Preview buttons. Click on the Voltage or Current field and enter the new value. Pressing
Enter or Tab key on computer keyboard advances the cursor to the next field while automati-
cally filling in the corresponding Overvoltage or Overcurrent field with the larger of either the
minimum value or 120% of the entered value. Using the mouse to move the cursor to the next
field prevents the Overvoltage or Overcurrent field from filling in automatically, and allows the
user to set custom values for Overvoltage or Overcurrent. Once the desired values for Volt-
age, Current, Overvoltage Protection and Overcurrent protection are entered, select whether
the output is to be on or off, then click Save @ button to save the settings
• To Recall settings: Enter the desired location in the LOCATION field and click Recall State
to set previously stored settings as the active settings.
If a virtual model setting is changed, and a stored setting is outside the range established by the
new virtual model, the data set is not loaded; although there is no indication on the web page,
the Status Display of the power supply will flash E221, “Settings conflict”.
3.3.6.6.4 RESETTING THE UNIT (*RST) [E-SERIES MODELS ONLY]
Click RESET to open the Reset dialog box, then click *RST button to reset power supply to the
power on default state: setpoints to zero Volts and minimum Amperes (see NOTE, PAR. 3.2.1,
step 3, and Table 1-3), and output set to OFF. *RST also clears all LIST entries.
FIGURE 3-10. RESET DIALOG BOX
3.3.6.6.5 USING A LIST (USER-PROGRAMMED SEQUENCES) [E-SERIES MODELS ONLY]
Using the LIST feature, up to 100 locations are available for programming the KLP output.
These locations enable the user to program the output using sequential steps which may be ini-
tiated by a single command. The repeatable user-determined sequences are stored in volatile
memory and are retained until reprogrammed, the power supply is turned off, a calibration is
performed, or a LIST:CLEar command is received. If a virtual model setting is changed, and a
programmed value is outside the range established by the new virtual model, that step is exe-
cuted as the default minimum (zero V, minimum A) although the location contents are not
changed.
