Epson PhotoPC 650 User Manual
Page 97
Working with Photos and Collections
6-17
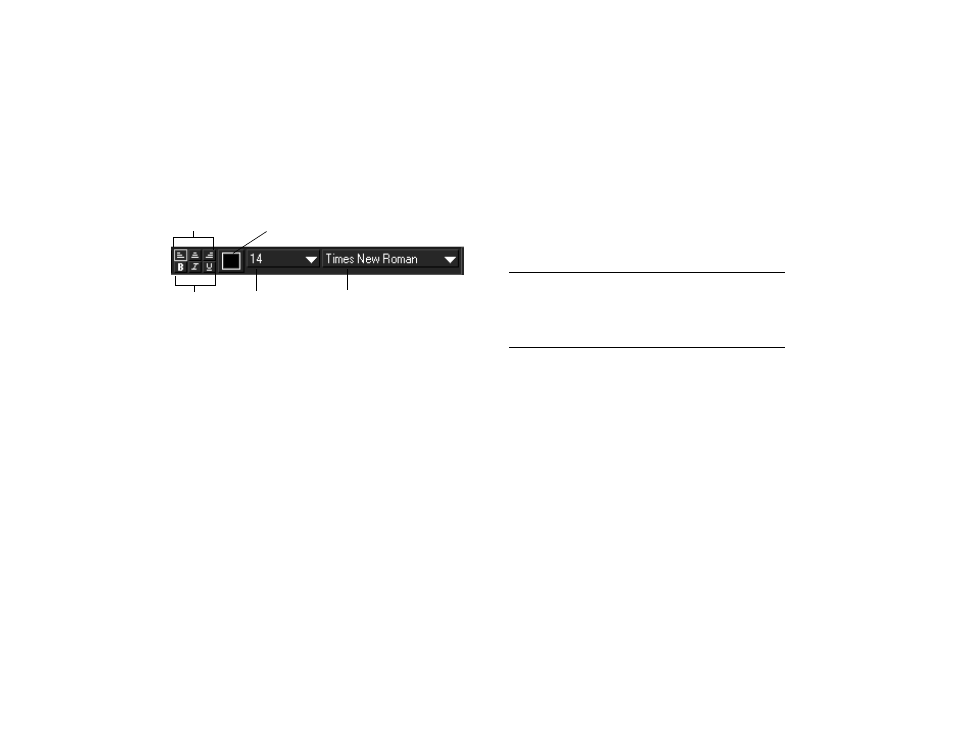
A
B
6
To format all the text in the box, click any of the text
options you want to use in the taskbar:
7
If you need to delete a text box, select it and press the
Delete
key on your keyboard (Windows) or select
Clear
from the Edit menu (Macintosh).
8
Once your Photo Page looks how you want it to, you
can save it or print it, as described on page 6-18.
Saving a Photo Page
You can save a Photo Page in one of a variety of file formats,
such as .JPG, .BMP, or .TIF. However, you may want to
save it in the default Photo Page format (.SSD) so you can
edit the Photo Page later, if you need to.
Follow these steps to save a Photo Page:
1
Select
Save As
from the File menu. You see the Save As
dialog box.
2
Select the location where you want to store your Photo
Page, then select the file type in the
Save as type
list.
NOTE
If you select a file type other than the Photo Page format
(.SSD), the picture, text, and template will be “fused” to
create a single image. You won’t be able to modify it as a
Photo Page in the future.
3
Type a name for your Photo Page file and click
Save
.
To open a saved Photo Page, select
Open Picture
from the
file menu, locate the Photo Page (.SSD) file, and click
Open
.
bold, italic,
and underline
left, center, and
right align
text color
point size
font