Epson PhotoPC 650 User Manual
Page 58
4-6
Getting Photos Into Your Computer
The card is identified as the next available drive letter on
your system and described as a
Removable Disk
. For
example, if your hard disk is drive C and your
CD-ROM is drive D, the USB CompactFlash card is
assigned as drive E.
Click the
+
next to the drive letter to open its contents.
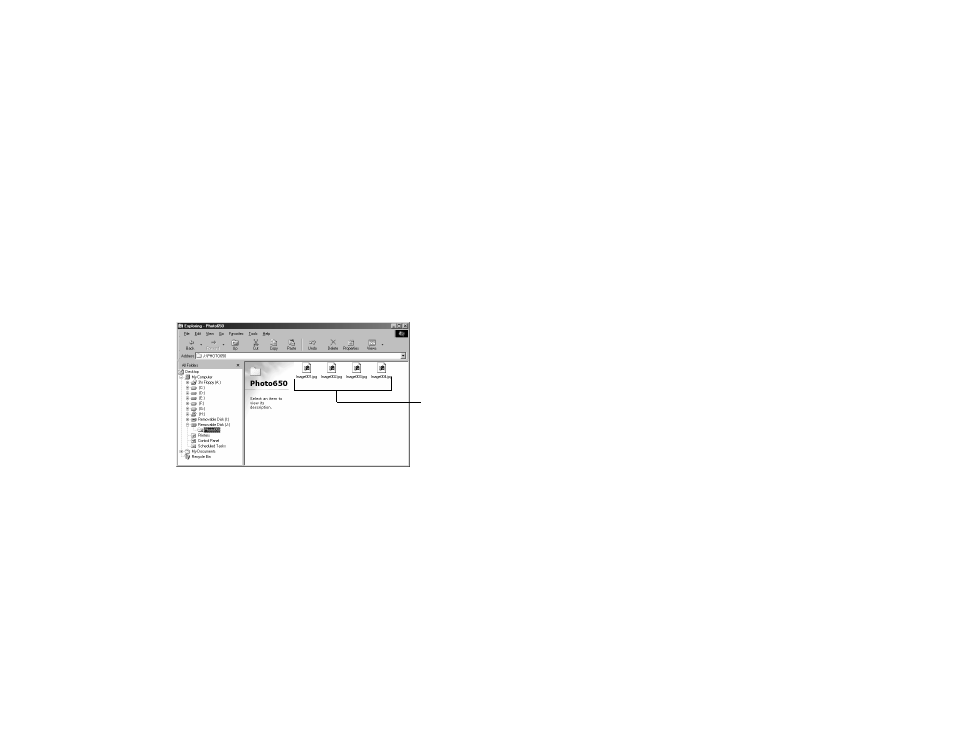
3
You see the
Photo650
folder on the card. Click the
Photo650
folder icon. You see a list of your pictures:
4
Now locate the folder on your computer’s hard disk you
want to copy the pictures to. For example, if your hard
disk is drive C and you have a folder called
Pictures
,
locate that folder in the Exploring window.
5
Adjust the window as necessary until you can see both
the
Photo650
folder on the card and the folder you
want to copy the pictures to on your hard disk.
6
To copy all the pictures in the camera at once, click the
Photo650
folder, hold down the mouse button, and
drag it to the picture folder on your hard disk. Release
the mouse button.
To copy individual pictures, click the
Photo650
folder
to open it. Then click the picture in the folder. To copy
multiple pictures, press either the
Shift
or
Ctrl
key as
you click the pictures you want. Then hold down the
mouse button, drag the pictures to the picture folder on
your hard disk, and release the mouse button.
As it accesses data on the card, the light on the USB cable
flashes. (If your computer enters a power-saving sleep mode,
the cable light turns off.)
Properly Ejecting the Card
When you’ve finished transferring pictures, close the
Photo650
folder and exit any open applications. In
Windows Explorer, right-click the card drive letter (such
as E:) and click
Eject
. Then pull the CompactFlash card out
of the USB cable slot and install it back in your camera.
your
pictures