Using macro mode to take close-ups – Epson PhotoPC 650 User Manual
Page 34
2-10
Taking Pictures
Using Macro Mode to Take Close-ups
You can use the camera’s macro mode to take pictures as
close as 6 inches (15 cm). Follow these steps:
1
Turn the camera on and slide the monitor switch to the
VIEW
position. You see a live preview on the LCD
monitor.
2
Press the
/
macro button on top of the camera
once. The macro icon appears on the status display
panel.
3
Press the shutter button halfway down to focus, then
press it all the way down to capture the image.
4
Hold the camera still until it beeps and the status light
starts flashing red. The flashing red light indicates that
the camera has captured the image and is processing it.
CAUTION
If you set the camera down while the light is still flashing,
make sure you handle it carefully. The camera may lose your
image if you set it down too hard.
5
The Quick Review image appears on the LCD monitor.
(If you don’t see the image, Quick Review mode may be
turned off; see page 3-14 to turn it on.) This lets you see
how your picture will turn out and lets you delete the
picture, if necessary, before your camera saves it. (You
can still delete the picture after it’s saved.)
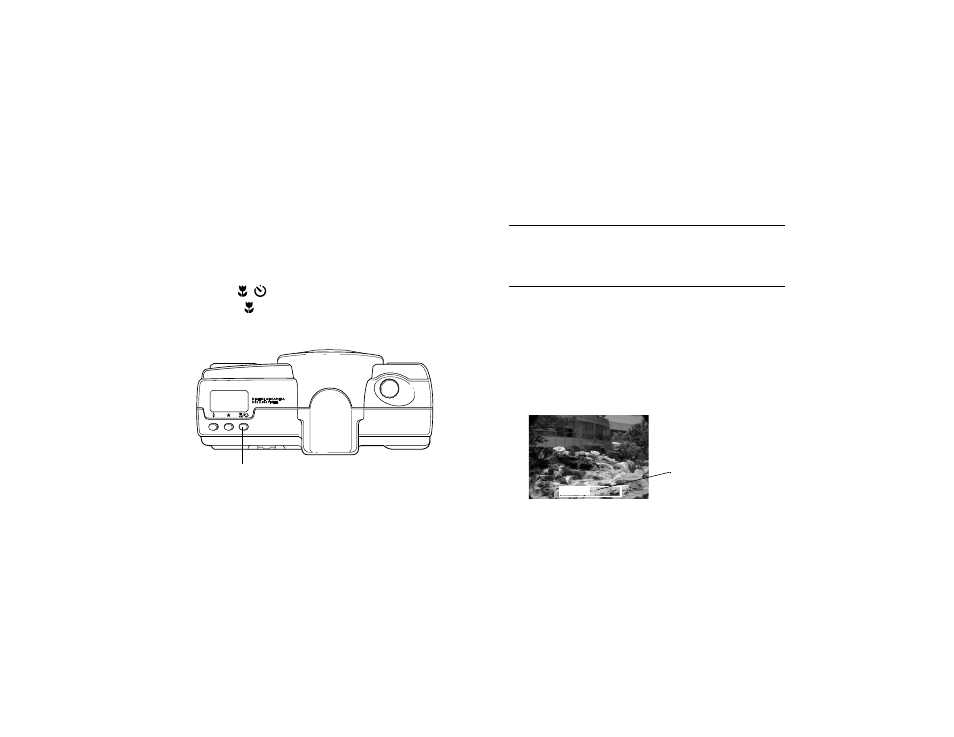
The Quick Review image remains on the monitor for
around 5 seconds. A gauge on the image shows you the
time you have left to delete the picture before it’s saved.
EPSON
macro button
Quick Review gauge