Epson PhotoPC 650 User Manual
Page 109
Editing Images
7-9
A
B
3
Click
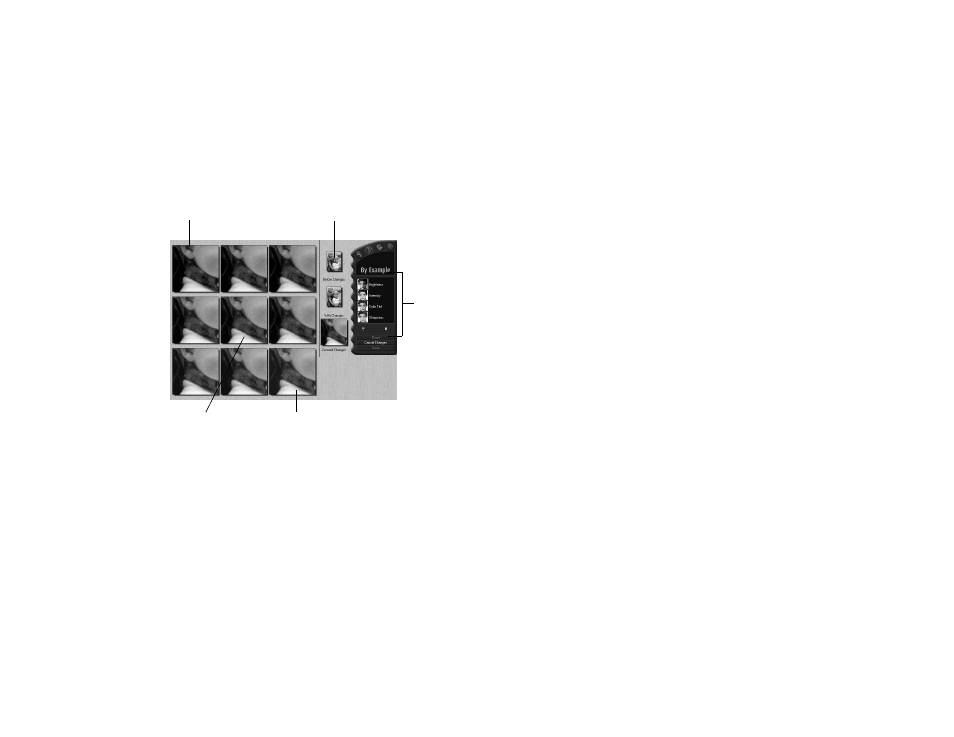
Fix By Example
. You see the By Example
editing window:
4
If the portion of the picture shown in the example areas
is too small or you want to see a different example area,
click and drag the example area selector to choose a new
area. Drag the edges of the selector to enlarge the area;
drag the middle of the selector to reposition it.
5
Click the characteristic you want to correct:
Brightness
,
Intensity
,
Color Tint
, or
Sharpness
.
The key example in the center represents the original
image. The surrounding eight examples indicate varying
corrections of the characteristic, with the least correction
of it in the upper left and the most correction of it in the
lower right.
To adjust the amount of variation shown in the
examples, slide the variation slider in the remote control
to the right or left.
6
Click the example that looks best to you; that example
moves to the center and the surrounding examples
adjust to reflect less or more correction proportionately.
Click an example as many times as you wish to get the
results you want. (To undo the change you made, click
Reset
on the remote control.)
7
To adjust a different image characteristic, repeat steps 5
and 6 to further correct the image.
8
Once the With Changes and Zoomed Changes images
look the way you want them to, click
Done
to save your
changes and exit to the HotShots main window. (To
undo the changes you made, click
Cancel Changes
.)
(If you change your mind about the edit, select
Undo
from the Edit menu.)
example with least correction
example area selector
charac-
teristic
buttons and
variation
slider
example with most correction
key example in center