Epson PhotoPC 650 User Manual
Page 123
Editing Images
7-23
A
B
To delete any changes you make with these tools, select
Undo
from the Edit menu. You can repeatedly select
Undo
to reverse multiple edits (Windows only), or select
Redo
to
replace the changes you undid. To delete all the changes
made since you last saved the picture, select
Revert
from the
File menu.
Red Eye Reduction
Follow these steps to replace the red in your subject’s eyes
with black:
1
Click the
Zoom tool and enlarge your image view
until you can clearly see the pixels in the area you need
to fix.
2
Click the
Red Eye Reduction tool.
3
Choose the line weight and solidity of the red eye
correction line with the line attribute options. Select the
weight of line from either the diffused line or solid line
row.
4
Move the cursor to the area in your picture you want to
correct; the cursor is a paintbrush with an eye over it.
Click and release the mouse button on each affected
pixel to change it from red to black.
NOTE
If the red eye effect encompasses a large area of the eye, you
may want to use the Paint Brush tool to replace the original eye
color instead of correcting it to black with the Red Eye Reduction
tool. See page 7-17 for instructions on using the Paint Brush tool.
Dust Removal
To subtly erase blemishes in your picture, click the
Dust
Removal tool. Then follow these steps:
1
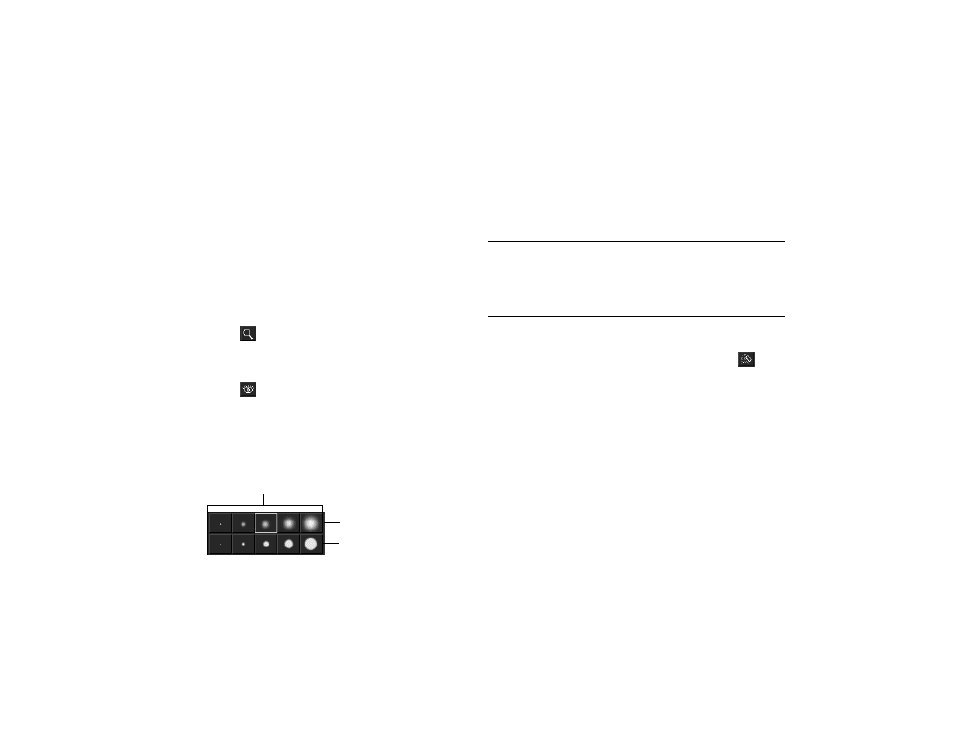
Choose the line weight and solidity of the dust removal
line with the line attribute options, shown to the left.
Select the weight of line from either the diffused line or
solid line row.
2
Move the cursor to the area in your picture you want to
correct; the cursor is an eraser (Windows) or a paint
brush (Macintosh). To erase any blemishes, repeatedly
click the mouse, or click and drag it, over the blemished
area.
diffused line
solid line
line weight