Taking pictures with the viewfinder – Epson PhotoPC 650 User Manual
Page 28
2-4
Taking Pictures
Taking Pictures with the Viewfinder
You can capture an image with the PhotoPC 650 as you
would with any point-and-shoot auto-focus camera: look
through the viewfinder and snap the two-step shutter.
However, you can also use the LCD monitor to preview your
picture as you take it; see page 2-6 for instructions.
Follow these steps to take a picture with the viewfinder:
1
Make sure you are at least 12 inches (0.3 m) away from
your subject. (If you want to get closer, use macro mode
as described on page 2-10.)
2
Turn the camera on and wait until the status light turns
green and stays on.
3
Look straight through the viewfinder and center your
subject within it.
NOTE
For best results, use the LCD monitor to take macro mode
pictures; see page 2-10 for instructions. If you use the
viewfinder for macro or close-up pictures, you’ll need to
allow space around the image to compensate for any
parallax shift (the difference between what you see in the
viewfinder and the captured image).
4
Hold the shutter button halfway down to lock the auto
focus. You hear a click and the status light changes from
green to orange. While holding the shutter button
down, you can reframe your picture and move your
subject off-center if you want.
5
Press the shutter button the rest of the way down to take
the picture.
6
Hold the camera still until it beeps and the status light
starts flashing red. The flashing red light indicates that
the camera has captured the image and is processing it.
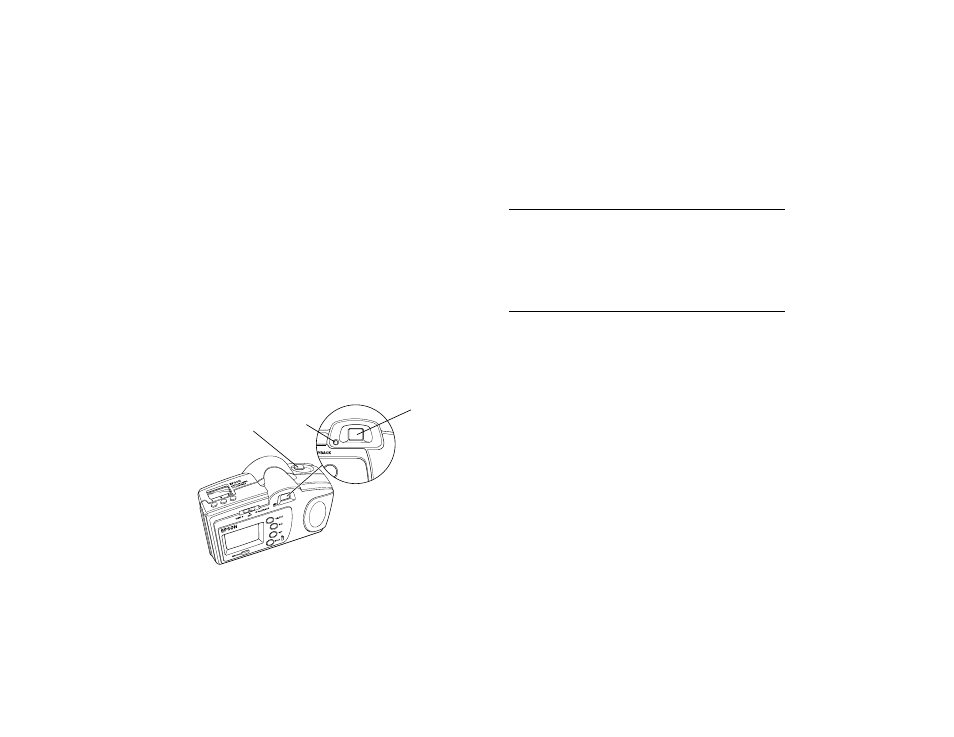
shutter
button
status
light
viewfinder