Taking pictures with the timer – Epson PhotoPC 650 User Manual
Page 36
2-12
Taking Pictures
Taking Pictures with the Timer
Setting the timer creates a 10-second delay between the time
you press the shutter button and the actual image capture.
This allows you to take a picture of yourself.
Follow these steps to take a picture with the timer:
1
Place the camera on a flat surface or install it on a tripod.
(See page A-3 for tripod instructions.)
2
Turn on the camera and wait until the status light turns
green.
3
Press the
/
timer button twice. The
timer icon
appears on the status display panel. If you’re taking a
timed, macro mode picture, press the
/
timer
button three times. The
timer and macro icon
appear on the status display panel.
4
Press the shutter button. The red timer light on the
front of the camera comes on and the
timer icon on
the status display panel begins flashing. About 2 seconds
before the camera takes the picture, the red timer light
flashes.
The camera beeps when the image is captured and the
status light flashes red.
5
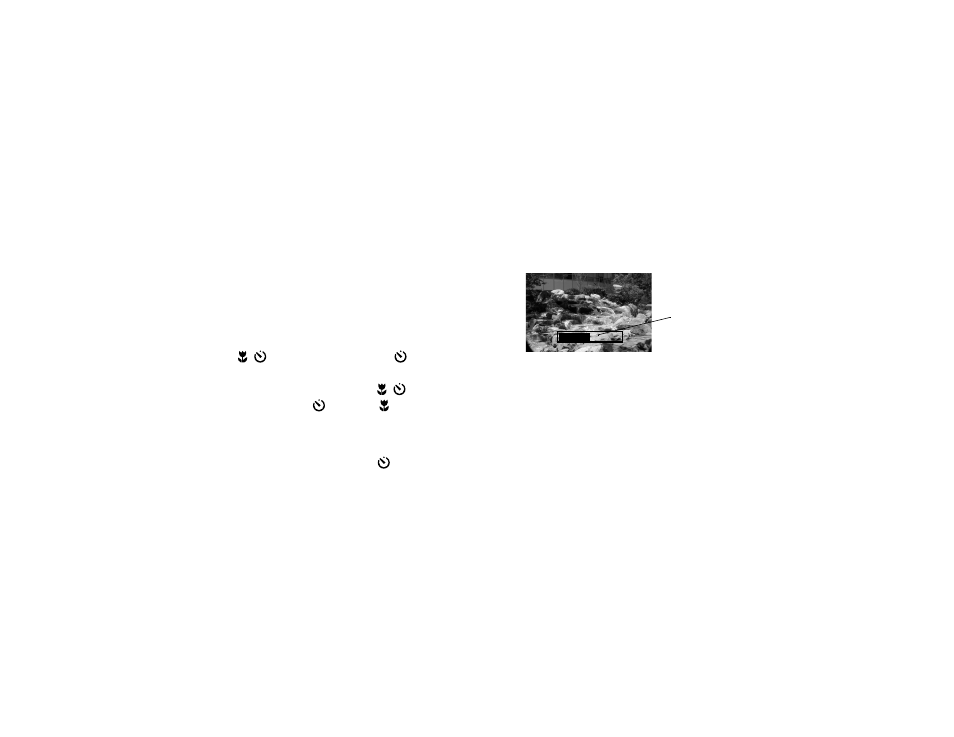
The Quick Review image appears on the LCD monitor
on the back of the camera to let you see how your
picture will turn out and let you delete the picture, if
necessary, before your camera saves it. (If you don’t see
the image, Quick Review mode may be turned off; see
page 3-14 to turn it on.)
The Quick Review image remains on the monitor for
around 5 seconds. A gauge on the image shows you the
time you have left to delete the picture before it’s saved.
To delete the picture, hold down the
FUNCTION
button and press the
BACK
button.
If you didn’t delete the image before the Quick Review
gauge disappeared, the image is saved when the status
light stops flashing and turns green.
6
Once you’ve taken a timed picture, the camera turns off
the timer automatically. To take another picture with
the timer, repeat steps 3 through 5.
Quick Review gauge