Printing a picture with smart print – Epson PhotoPC 650 User Manual
Page 91
Working with Photos and Collections
6-11
A
B
Printing a Picture with Smart Print
The HotShots Smart Print feature lets you quickly adjust the
sharpness and brightness of your picture before you print it.
The Smart Print setting you select is then applied to any
other pictures you print until you change the setting.
You use Smart Print by printing a test strip of an area of your
picture using nine different sharpness and brightness
settings. Then you select the example you want to use to set
the image quality and print your adjusted picture.
Follow these steps to print with Smart Print:
1
Open the picture you want to print; see page 6-2 for
instructions.
2
Click
Share
on the remote control to open the Share
menu. Then select
Print Pictures
from the menu.
3
Select
Smart Print
from the bottom of the Share menu
on the remote control. (You can also select
Smart Print
from the File menu.)
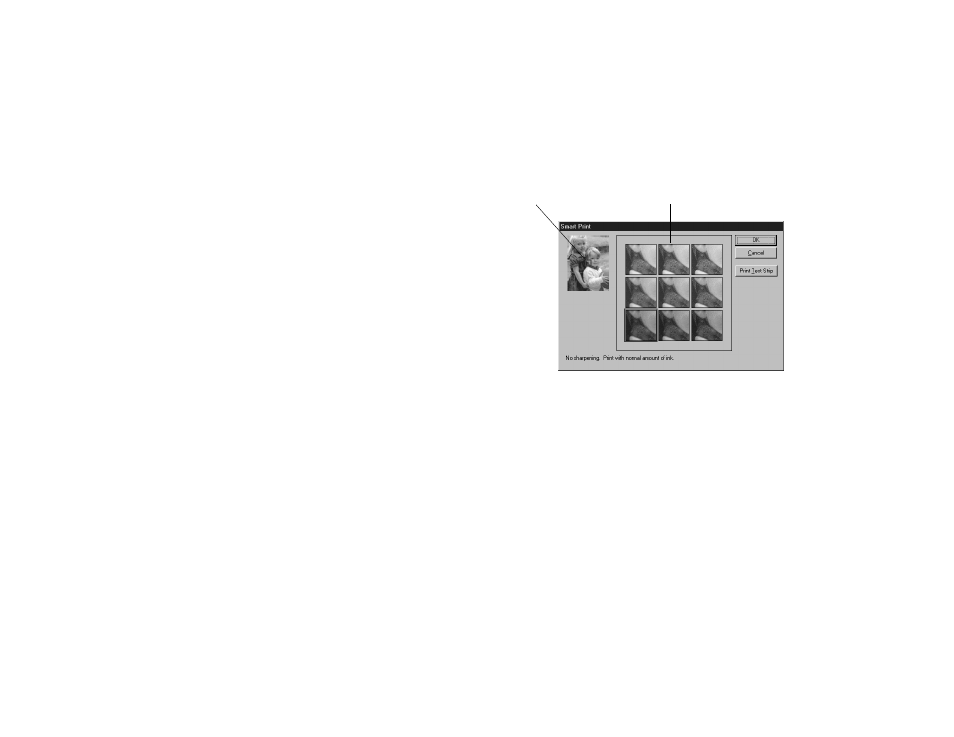
You see the Smart Print dialog box:
Nine Smart Print setting examples using different
sharpness and brightness levels are shown in the middle
of the dialog box, with the currently selected setting
outlined and described beneath.
The image area used in the examples is in the middle of
your picture by default, but you can select a new area.
Smart Print setting examples
image area marker