Printing a collection – Epson PhotoPC 650 User Manual
Page 92
6-12
Working with Photos and Collections
4
To select new area, click the image area marker and drag
it to a new location; then release the mouse button. The
new image area appears in the nine Smart Print setting
examples.
5
You can print a page containing all the examples so you
can select the one you want to use. Click
Print Test
Strip
. You see the Print dialog box. Click
OK
to print.
6
Examine the printed test strip to determine which
example looks the best. Click that example in the Smart
Print dialog box; the new example is outlined.
7
Click
OK
when you’re finished.
8
Now follow the steps in either “Printing an Individual
Picture” on page 6-8 or “Sizing and Printing Multiple
Copies of an Individual Picture” on page 6-9 to print
your picture using the new Smart Print setting.
The Smart Print setting you choose applies to any
subsequent pictures you print. To change the setting, repeat
the steps in this section.
NOTE
The results you get with Smart Print depend on your current
printer driver settings; see your printer manual for details.
Printing a Collection
Follow these steps to print an entire collection of pictures
using the currently selected collection view:
1
Open the collection you want to print; see page 6-2 for
instructions.
2
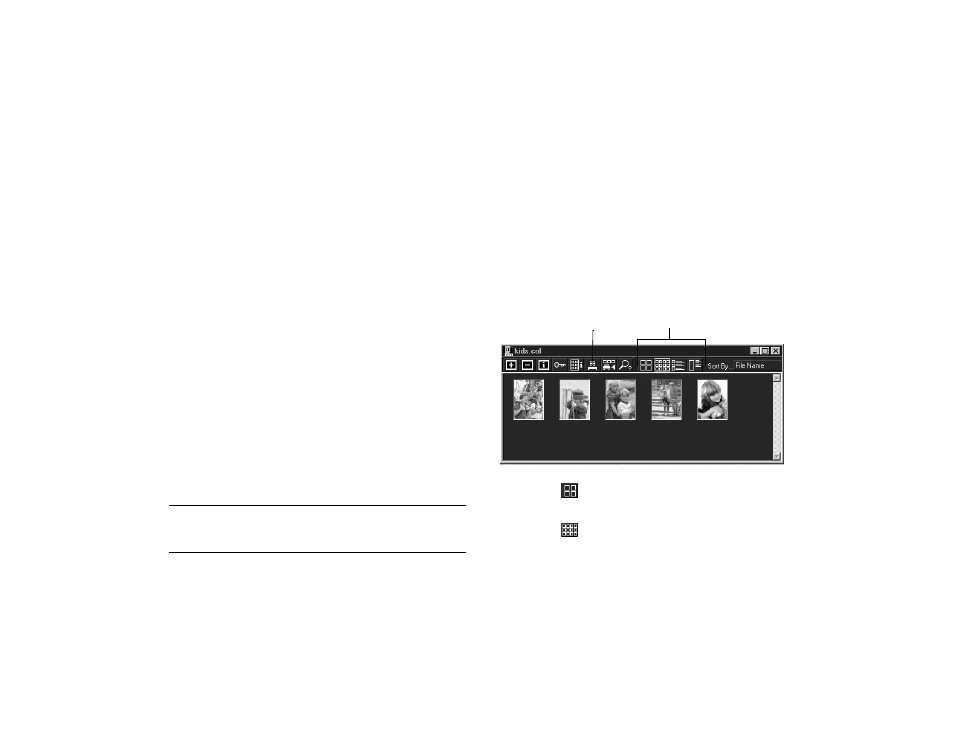
Select the format in which you want your collection
printed by choosing a view in the collection window:
◗
Click
Large Icon View for a slide-size format
with file names beneath each picture.
◗
Click
Small Icon View for a small thumbnail of
each picture.
view selection buttons
print icon