Front left margin alignment, Front paper load position – Compuprint 4247-Z03 User Manual
Page 137

5.
Press ENTER to display the current value.
6.
Press SCROLL/MICRO or SCROLL/MICRO until the desired value for
Front Tear Position is displayed.
7.
Press ENTER.
An asterisk (*) will be displayed in front of the selected value.
8.
Press START or RETURN to exit the Menu. See “Exiting the configuration
menu” on page 39.
Front Left Margin Alignment
This parameter adjusts the distance of the first print position to the left margin
from 0 to 60 units (where each unit is 0.706 mm [1/36 in.]). The default is 0 units.
The total range of adjustment is 42.36 mm (1.66 in.).
To change or check the Front Left Margin Align:
1.
Press MENU.
2.
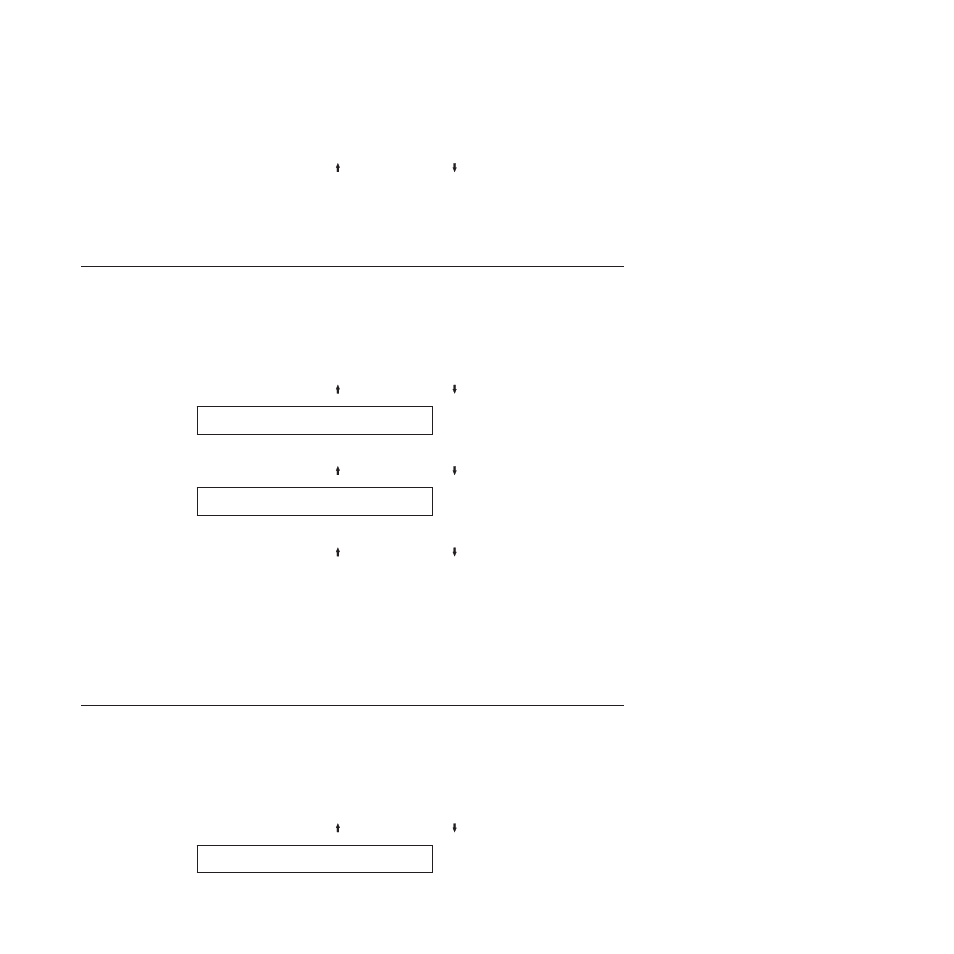
Press SCROLL/MICRO or SCROLL/MICRO until the printer displays
CONFIGURATION MENU
Printer Adjustments
3.
Press ENTER.
4.
Press SCROLL/MICRO or SCROLL/MICRO until the printer displays
Printer Adjustments
Front Left Margin Align
5.
Press ENTER to display the current value.
6.
Press SCROLL/MICRO or SCROLL/MICRO until the desired value for
Front Left Margin Align is displayed.
7.
Press ENTER.
An asterisk (*) will be displayed in front of the selected value.
8.
Press START or RETURN to exit the Menu. See “Exiting the configuration
menu” on page 39.
Note:
If the left margin alignment is too large for the current print line, a 005
MARGIN ERROR ADJUST MARGIN/LINE LENGTH
will occur. For more information
on the message, see Chapter 19, “Problem Solving,” on page 155.
Front Paper Load Position
This parameter adjusts the distance of the first printable line to the top of the
paper from −30 to +360 units (2 in.) (where each unit is 0.176 mm [1/144 in.]). The
default value is 0.
To change or check the Front Paper Load Position:
1.
Press MENU.
2.
Press SCROLL/MICRO or SCROLL/MICRO until the printer displays
CONFIGURATION MENU
Printer Adjustments
Chapter 9. Printer Adjustments
121
