Publishing with brightsign network, Publishing with brightsign, Network – BrightSign BrightAuthor User Guide v.4.1.1 User Manual
Page 123
115
Chapter 8 – Publishing Presentations
Publishing with BrightSign Network
Publishing wit
enables you to distribute your presentation to your BrightSign players using an
Internet connection.
BrightSign Network requires a subscription, so you must first contact BrightSign to obtain an account name, user name,
and password. Once your BrightSign players are
set up with BrightSign Network
, you can upload your presentations to
the BrightSign Network server, publish schedules, and manage content. Your players will update their content
automatically whenever they connect to the server.
Publishing with BrightSign Network sends presentations and schedules to groups instead
of players. Groups can contain any number of players, and you can move BrightSign
players from one group to another at any point. See
To publish with BrightSign Network, complete the following steps:
1. Sign into BrightSign Network by clicking
Tools > Sign in to BrightSign Network.
2. Open the presentation you wish to publish by selecting
File > Open presentation.
3. Click
Upload to network (in the upper-right portion of the screen) to upload the
presentation to the server.
4. Specify to which group you want to publish:
a. Click the
Publish tab in the upper-left portion of the screen.
b. Click
BrightSign Network (above the calendar).
c. Choose whether you want to publish
Presentations or
d. Under
Selected Group to Schedule, use the dropdown list to specify the
group to which you want to publish.
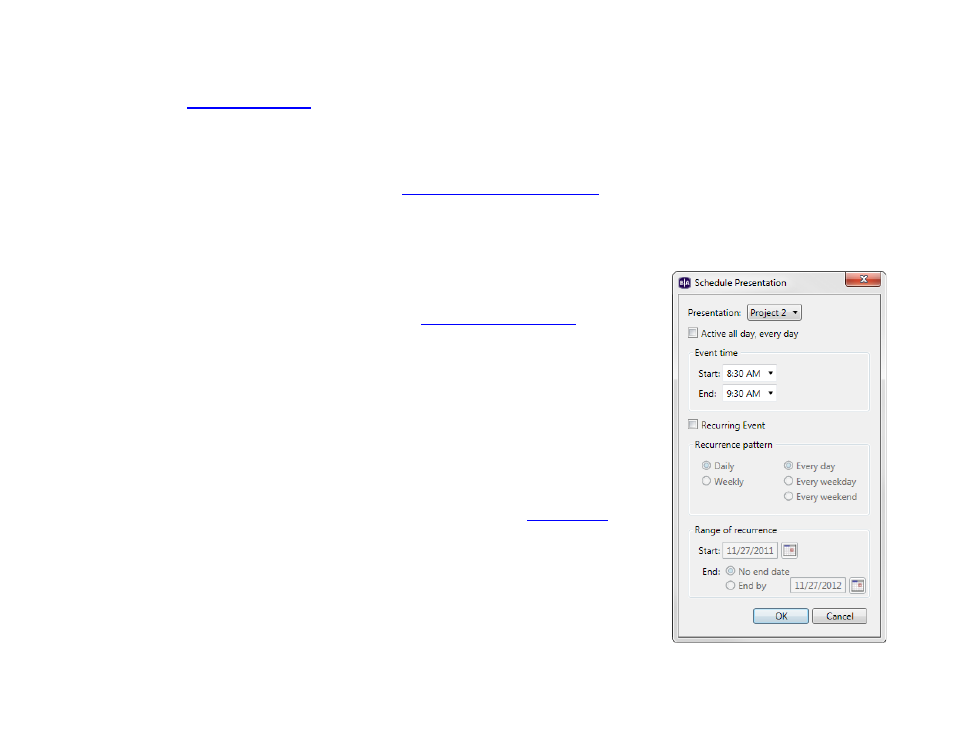
5. Create schedules for each presentation you want to publish:
a. Select a presentation from the
Presentations dropdown list.
b. Drag the presentation to a time slot during which you want it to play.
c. Click and drag the selection handles to adjust playing time within one day.