Assembly, part i – Elecraft KPA100 Manual User Manual
Page 12
12
Assembly, Part I
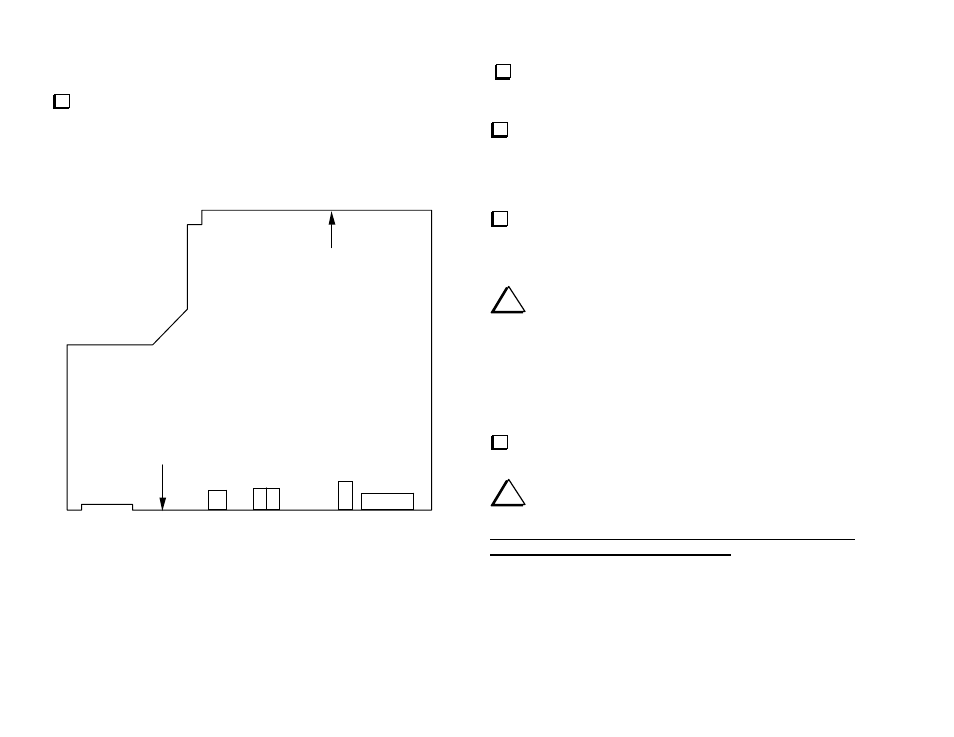
Place the KPA100 PC board as shown in Figure 1, and identify the
top side, which has most of the components. (A complete parts placement
drawing can be found at the end of this appendix.) The "Front Edge" and
"Back Edge" designations are based on the board's orientation when
installed in the K2.
(Top Side)
KPA100 REV A
Front Edge
J7
J3
J6
J8
Back Edge
Figure 1
With the bottom side of the board facing you (speaker cutout at the
upper right), locate the position for resistor R28, along the back edge, far
right. The label "R28" is just above of the resistor’s outline.
Install a 200-ohm, 1-watt resistor (red-black-brown) or (201J)
at R28. Form the leads to fit the given pad spacing. Bend the leads to
hold the resistor in place. Note: It's a good idea to orient all resistors in
one direction for ease in reading the color codes later. If R28 has color
bands, orient it with the first color band (red) toward the left.
Make sure R28 is seated flat on the board, with no excess lead length
exposed. This is necessary to keep the resistor from touching the heat
sink, which will be attached later.
i
The use of acid-core solder, water-soluble flux solder, or any
corrosive or conductive flux or solvent will void your K2's warranty.
Also avoid "No-Clean" solder types, which may make board re-work
more difficult. We recommend the use of Kester type 44 rosin core
solder or similar. The residue from such solder need not be removed,
since it is non-conductive. The use of cleaning solvents may damage
the board or components.
Solder R28 from the top side of the board. Do not use an excessive
amount of solder. Trim the leads to about 1/16" (1.5 mm) or shorter.
i
If your solder joints are not clean and shiny, your iron may
not be hot enough, or you may be using the wrong type of solder.
These "cold" solder joints will likely result in poor performance,
reliability problems, or component failure. Before proceeding, consult
our web site for additional soldering instructions and tool
recommendations.